很多时候,我们在本地开发的时候,想要使用https,这时,我们就需要手动的来一步一步创建我们的CA、证书等等,过程是相当的繁琐。
现在我们可以使用mkcert这个工具,简单2步,生成自己的证书,这个小工具不需要任何的配置。相当方便。
首先,我们来安装一下,mkcert支持Linux和Windows,具体安装过程可以参考这里:https://github.com/FiloSottile/mkcert
这里我们以Mac为例:
$ brew install mkcert
然后首先生成一个CA(CA用来给证书签名):
$ mkcert -install
Created a new local CA at "/Users/yijzhu/Library/Application Support/mkcert"
Sudo password:
The local CA is now installed in the system trust store! ⚡️
这样一个CA就生成好了。
再来生成证书,这里我们来给example.com和127.0.0.1生成证书:
$ mkcert example.com 127.0.0.1
Using the local CA at "/Users/yijzhu/Library/Application Support/mkcert" ✨

Created a new certificate valid for the following names
 - "example.com"
 - "127.0.0.1"

The certificate is at "./example.com+1.pem" and the key at "./example.com+1-key.pem" ✅
现在,我们来使用我们生成的证书,启动一个https服务,这个服务使用FastAPI编写,具体可以参考我之前发布的文章:
$ uvicorn --ssl-certfile ./example.com+1.pem --ssl-keyfile ./example.com+1-key.pem main:app
INFO:     Started server process [12300]
INFO:     Waiting for application startup.
INFO:     Application startup complete.
INFO:     Uvicorn running on https://127.0.0.1:8000 (Press CTRL+C to quit)
INFO:     127.0.0.1:59638 - "GET / HTTP/1.1" 200 OK
可以看到,已经启用了https,我们来使用浏览器访问一下https://127.0.0.1:8000:
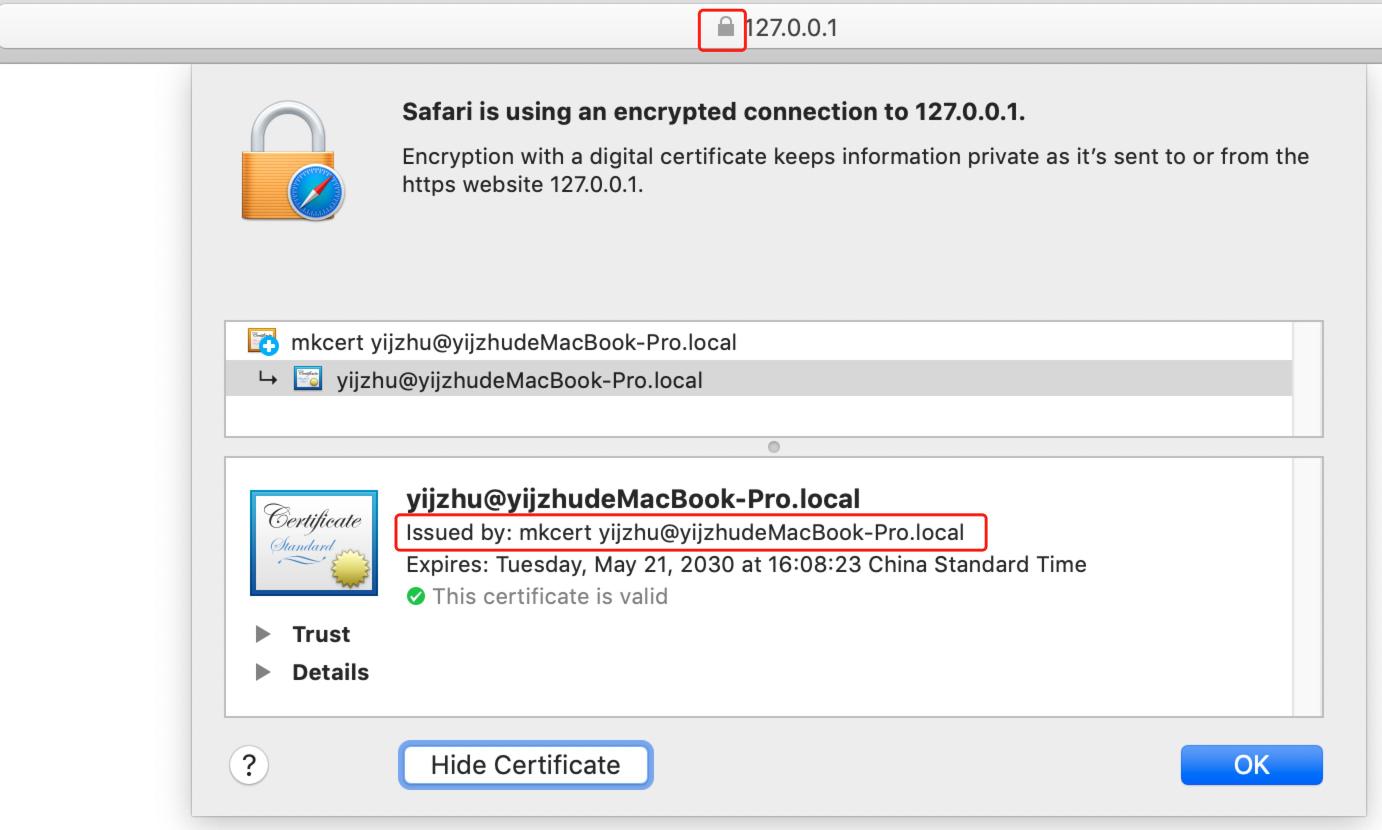
证书被信任
看到前面的小锁没?https已经启用了,也没有报证书错误,点击小锁,可以查看证书是由mkcert签发的。
在/etc/hosts文件中添加一条记录:
127.0.0.1 example.com
然后浏览器访问https://example.com:8000:
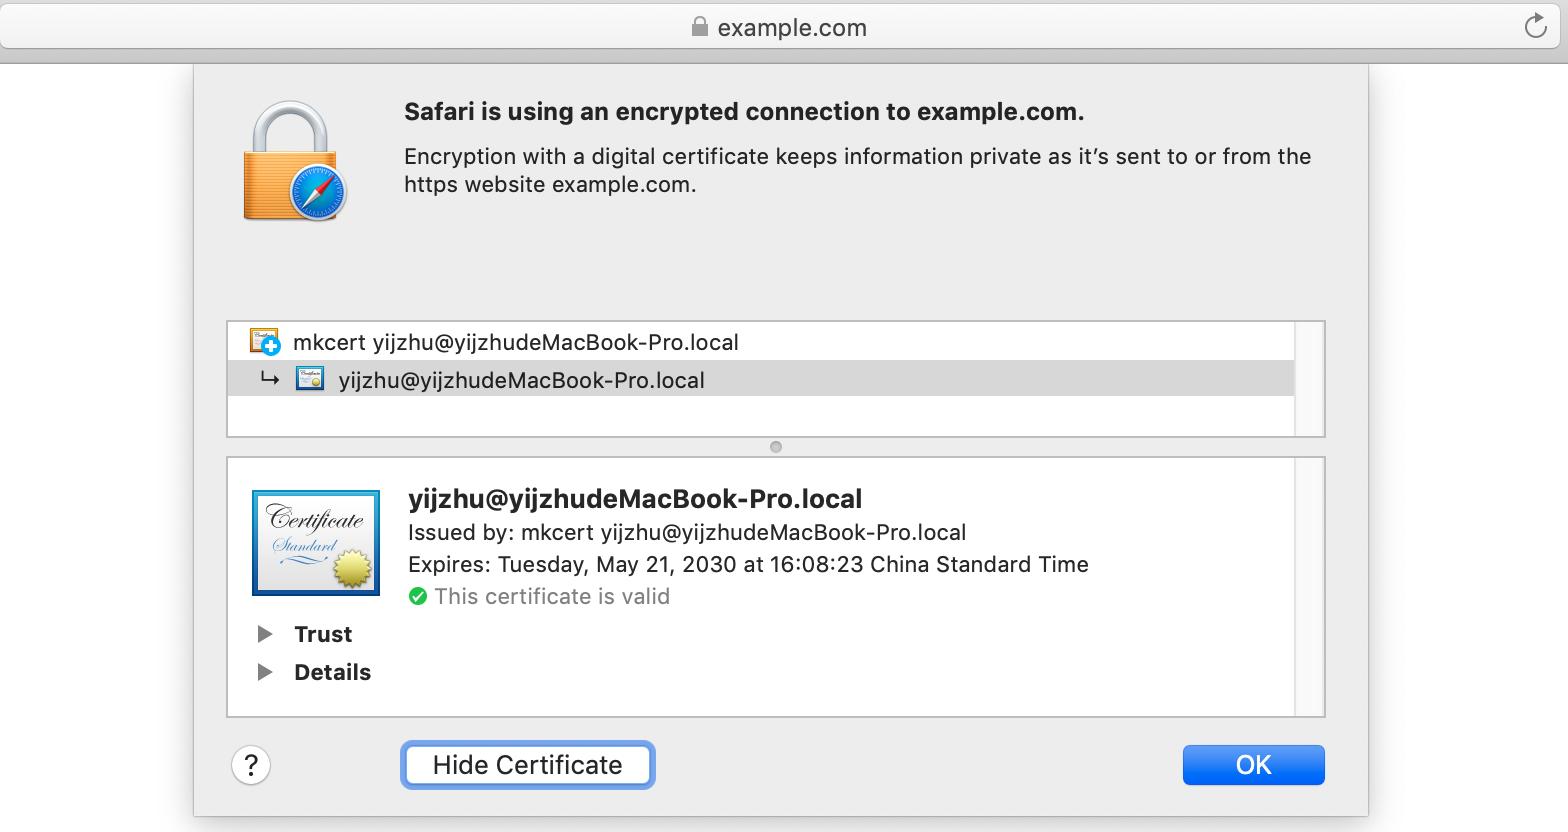
使用域名访问
同样完美。
是不是很简单,赶紧试试吧。