准备工作
- 安装环境介绍
软件:Vmware pro 15、Oracle 11gR2

oracle 11g R2

VMWARE PRO 15
系统:CentOS 7.6 64位

CentOS 7.6
我是在虚拟机上安装的Linux,虚拟机配置如下
内存2G、1个2核CPU、硬盘空间40G
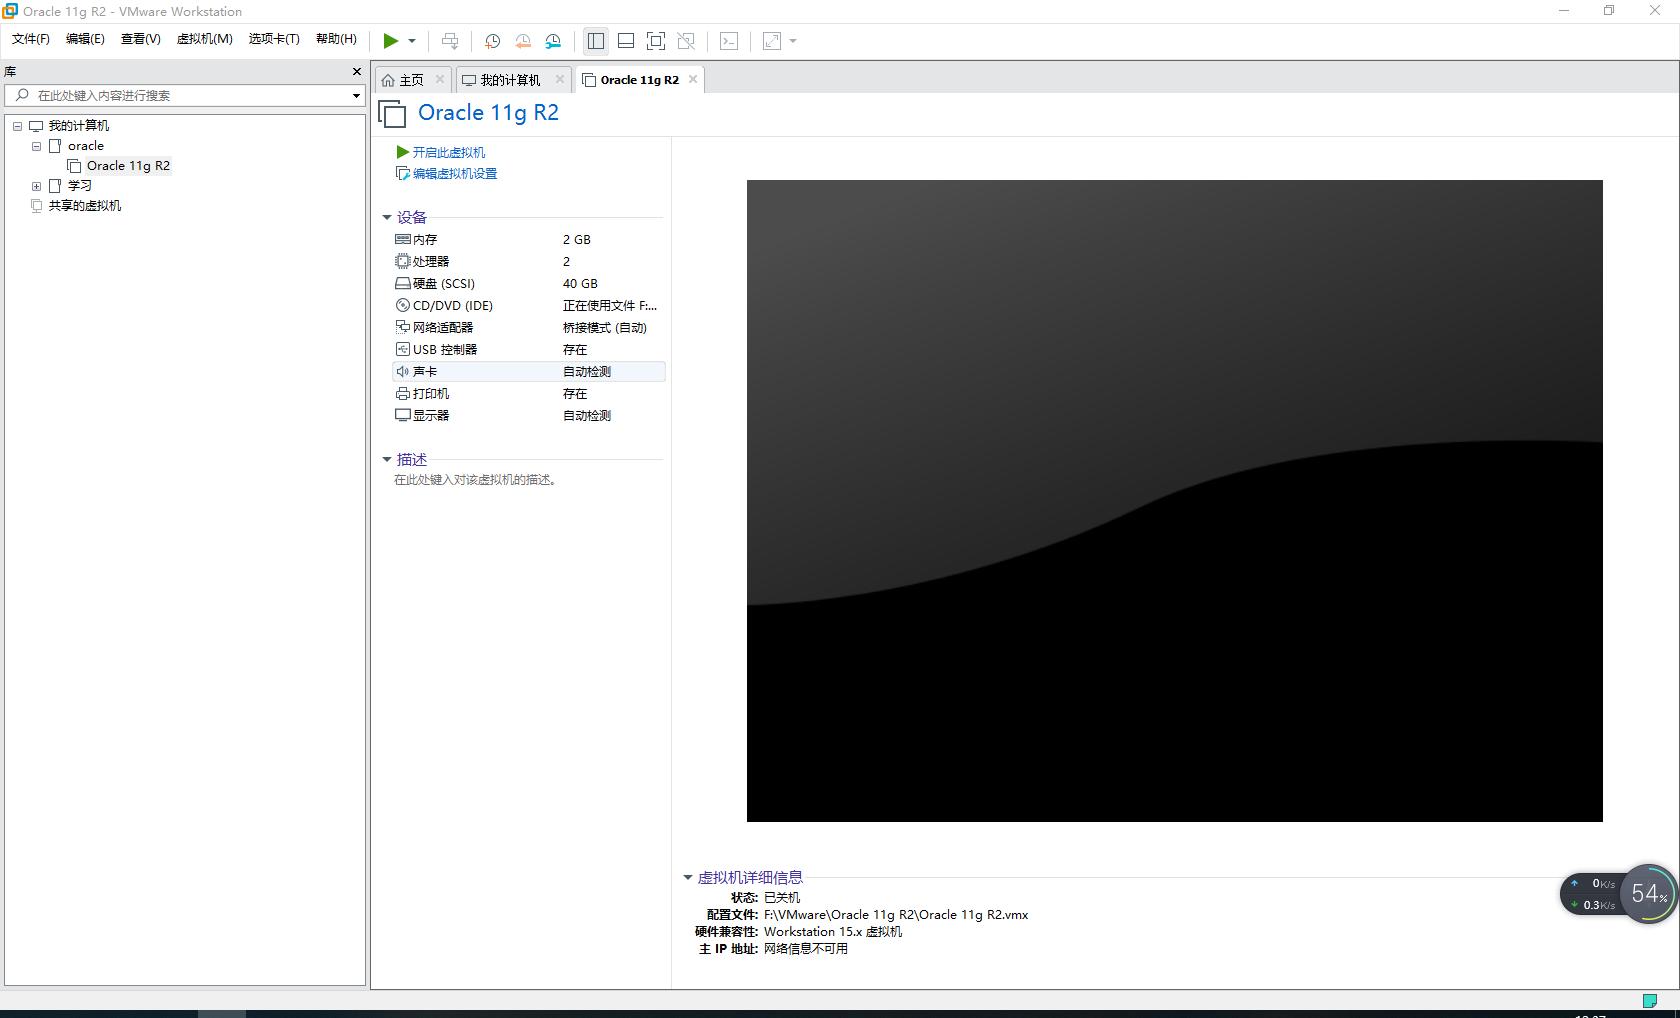
虚拟机配置
- *载下**Oracle安装文件官网*载下**地址: https://www.oracle.com/database/technologies/oracle-database-software-downloads.html
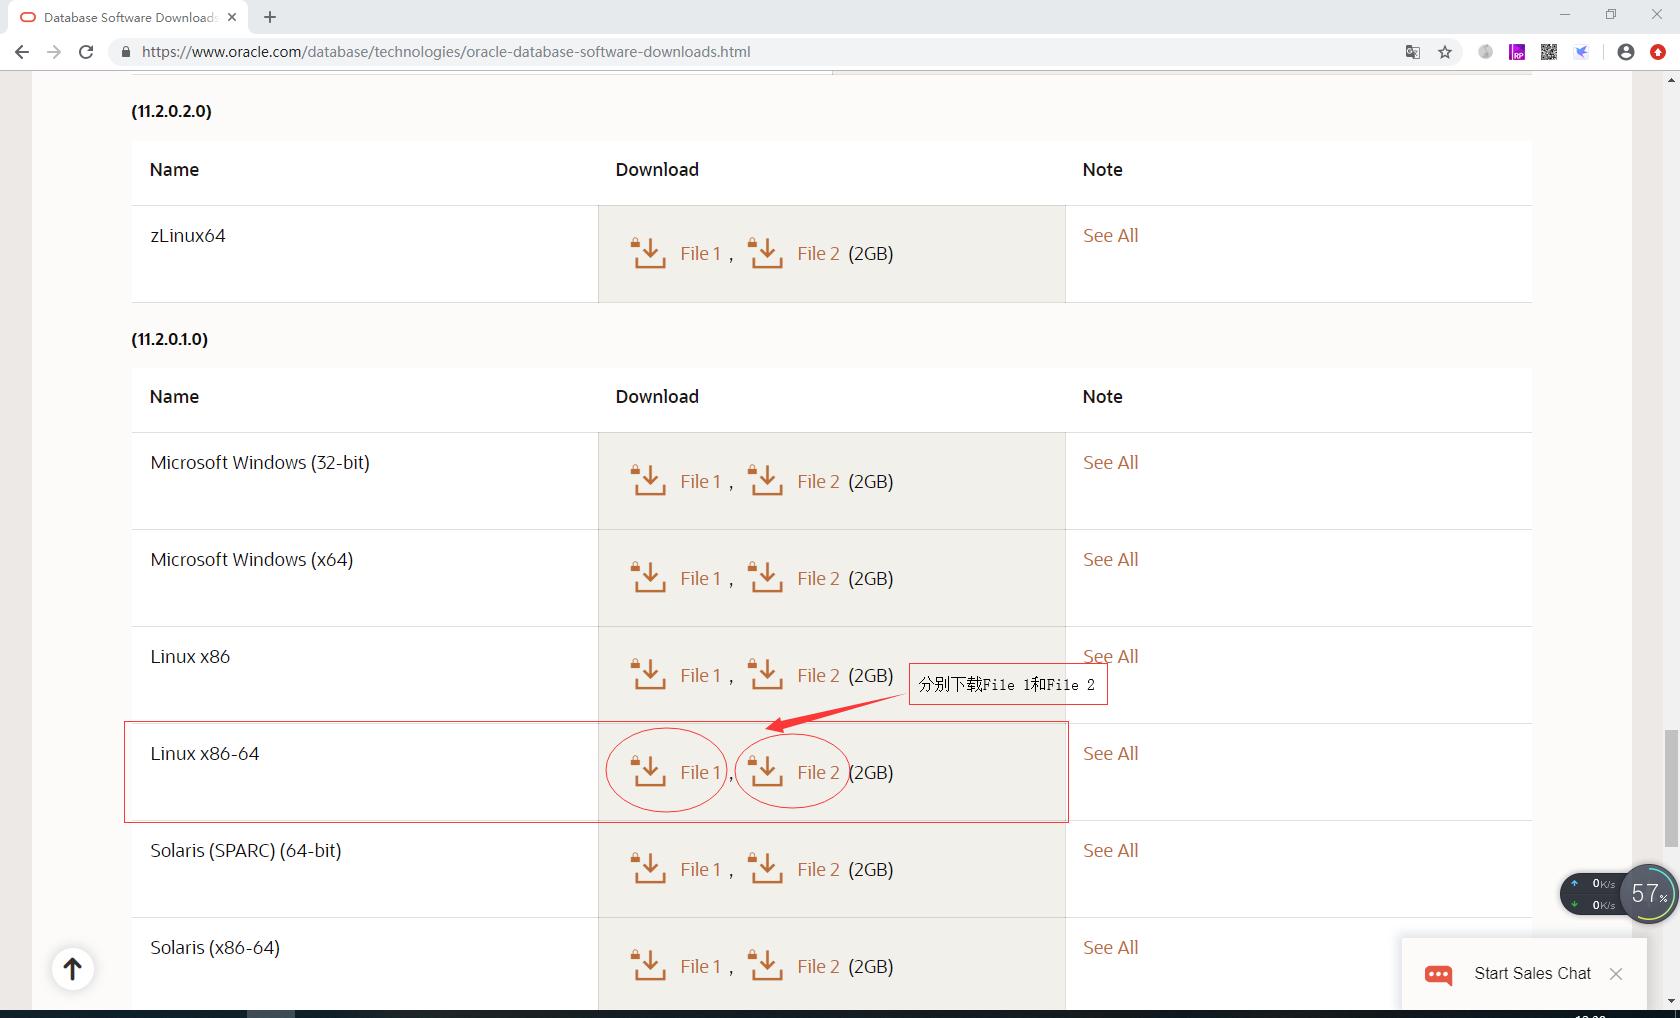
oracle 11g R2官网*载下**页面
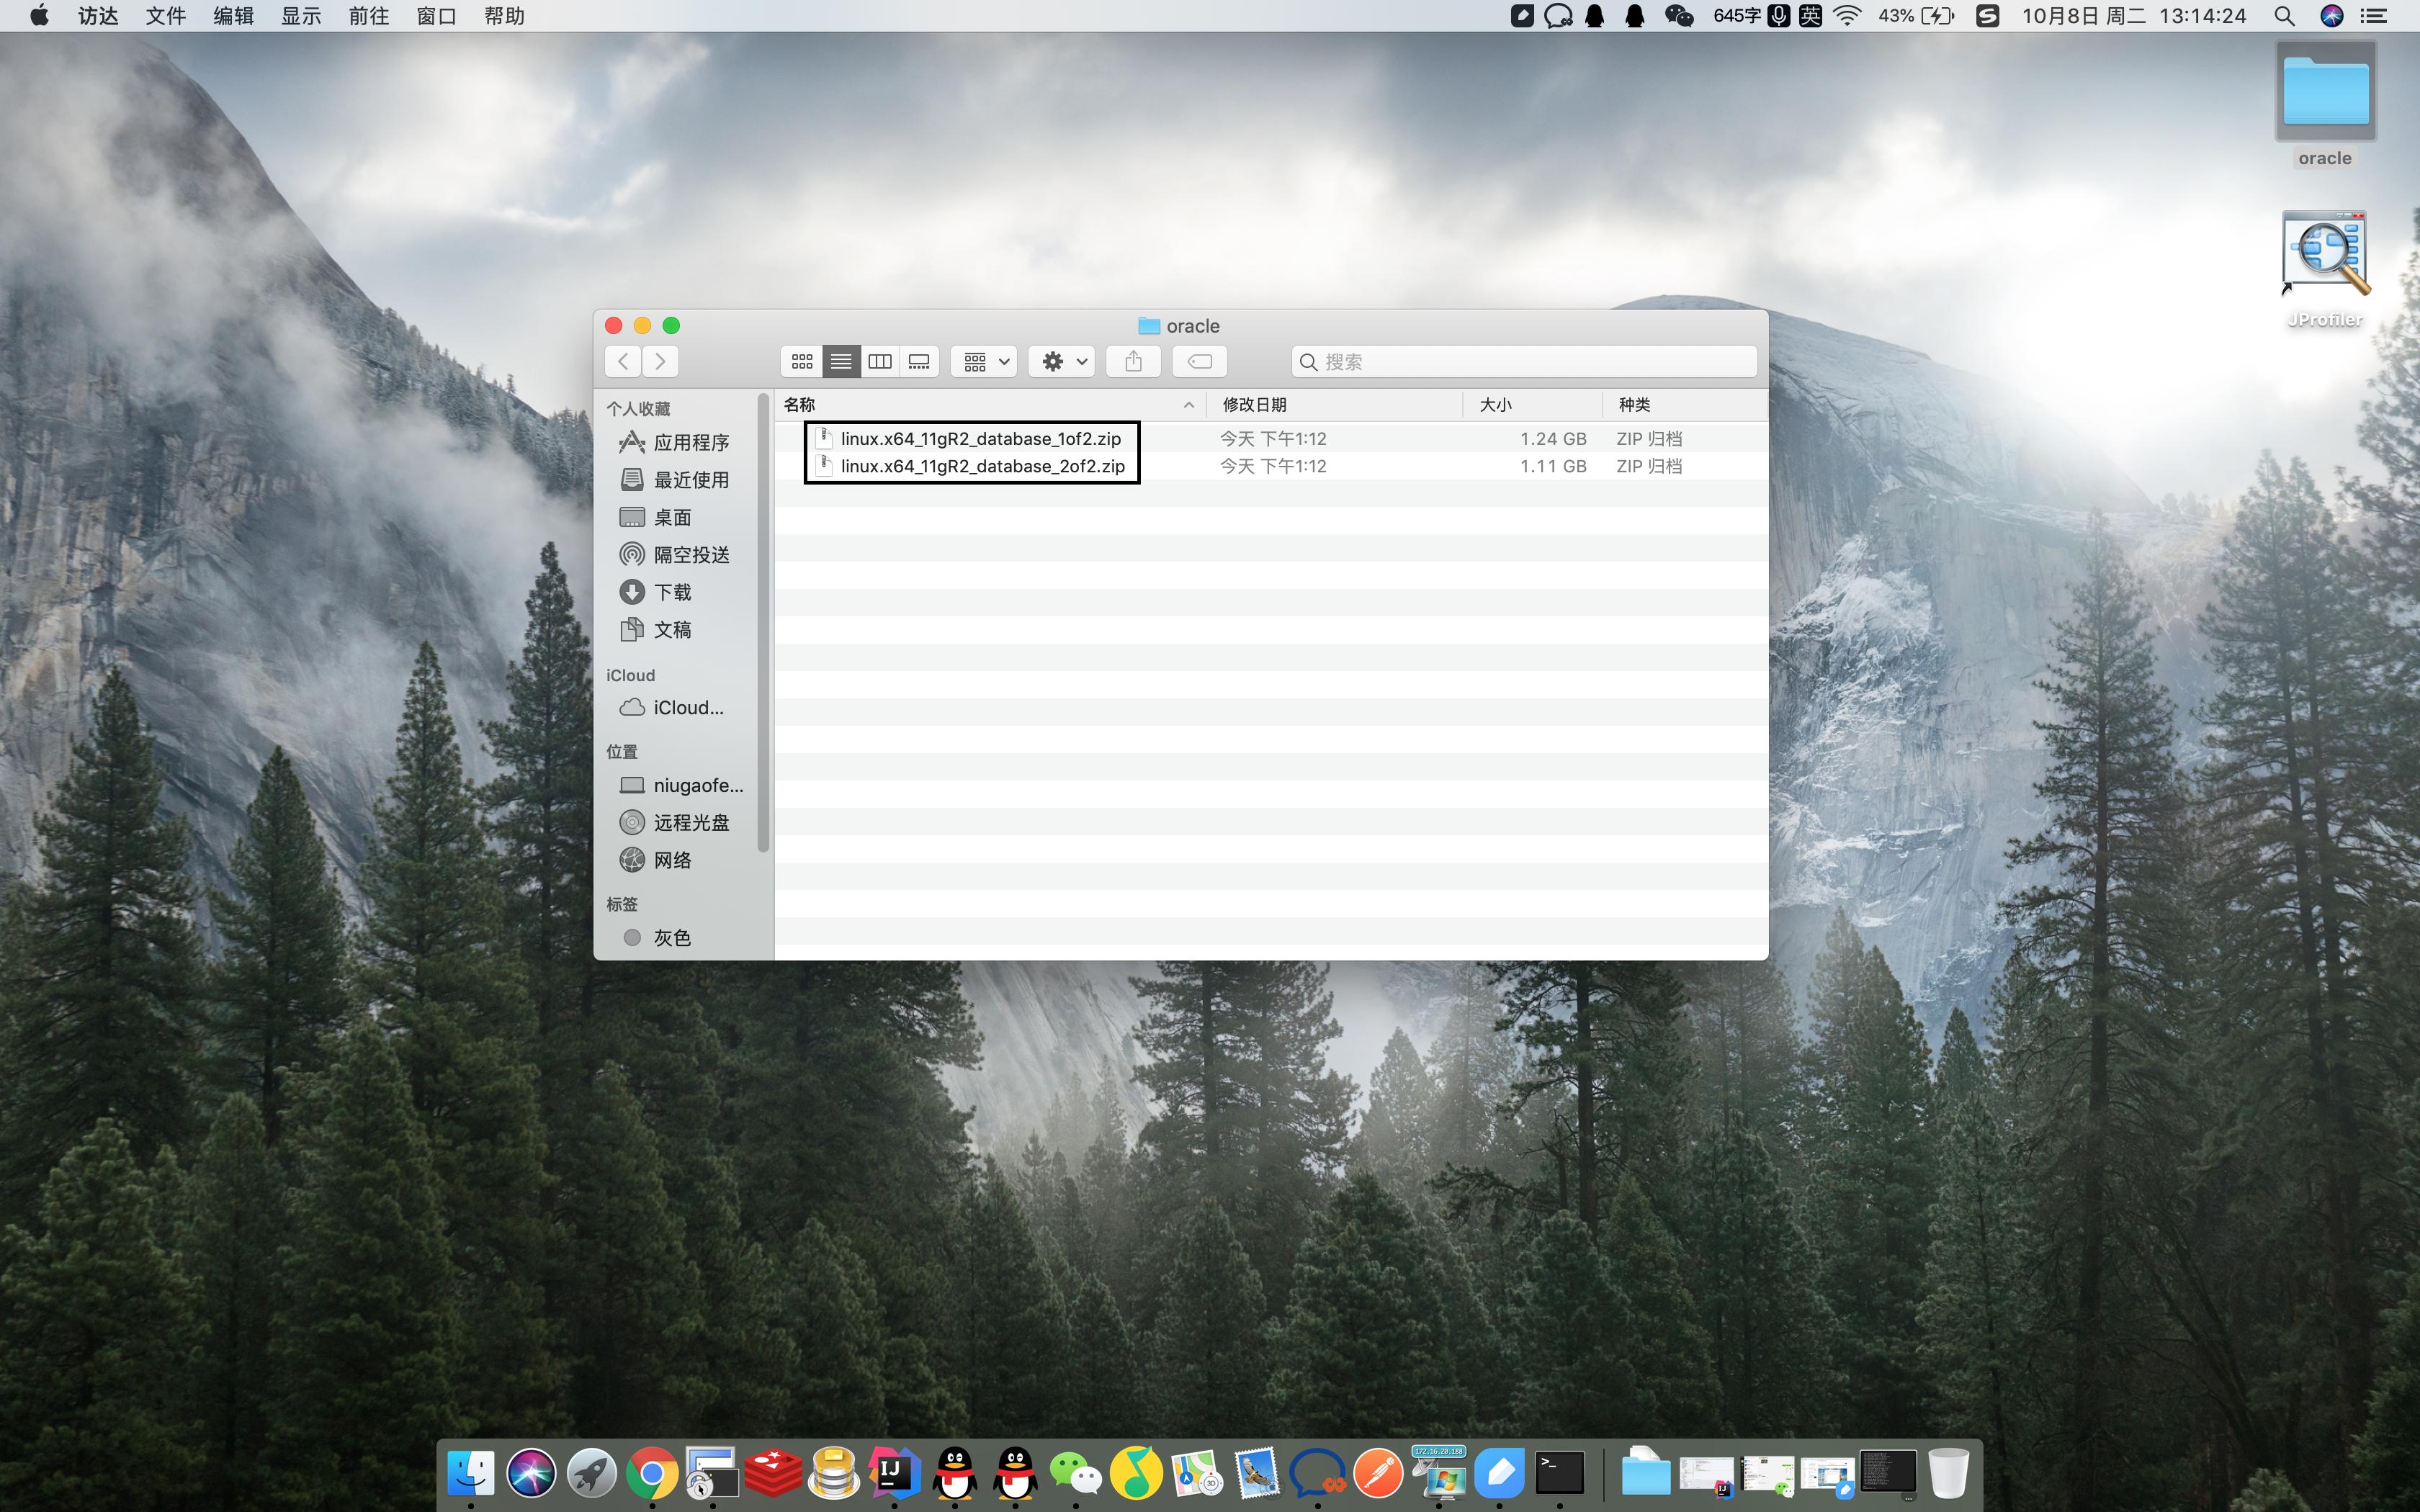
*载下**完毕,会得到如下两个压缩文件:
- linux.x64_11gR2_database_1of2.zip
- linux.x64_11gR2_database_2of2.zip
- 检查系统版本
[root@localhost ~]# uname -m
x86_64
[root@localhost ~]# cat /etc/redhat-release
CentOS Linux release 7.6.1810 (Core)
[root@localhost ~]#
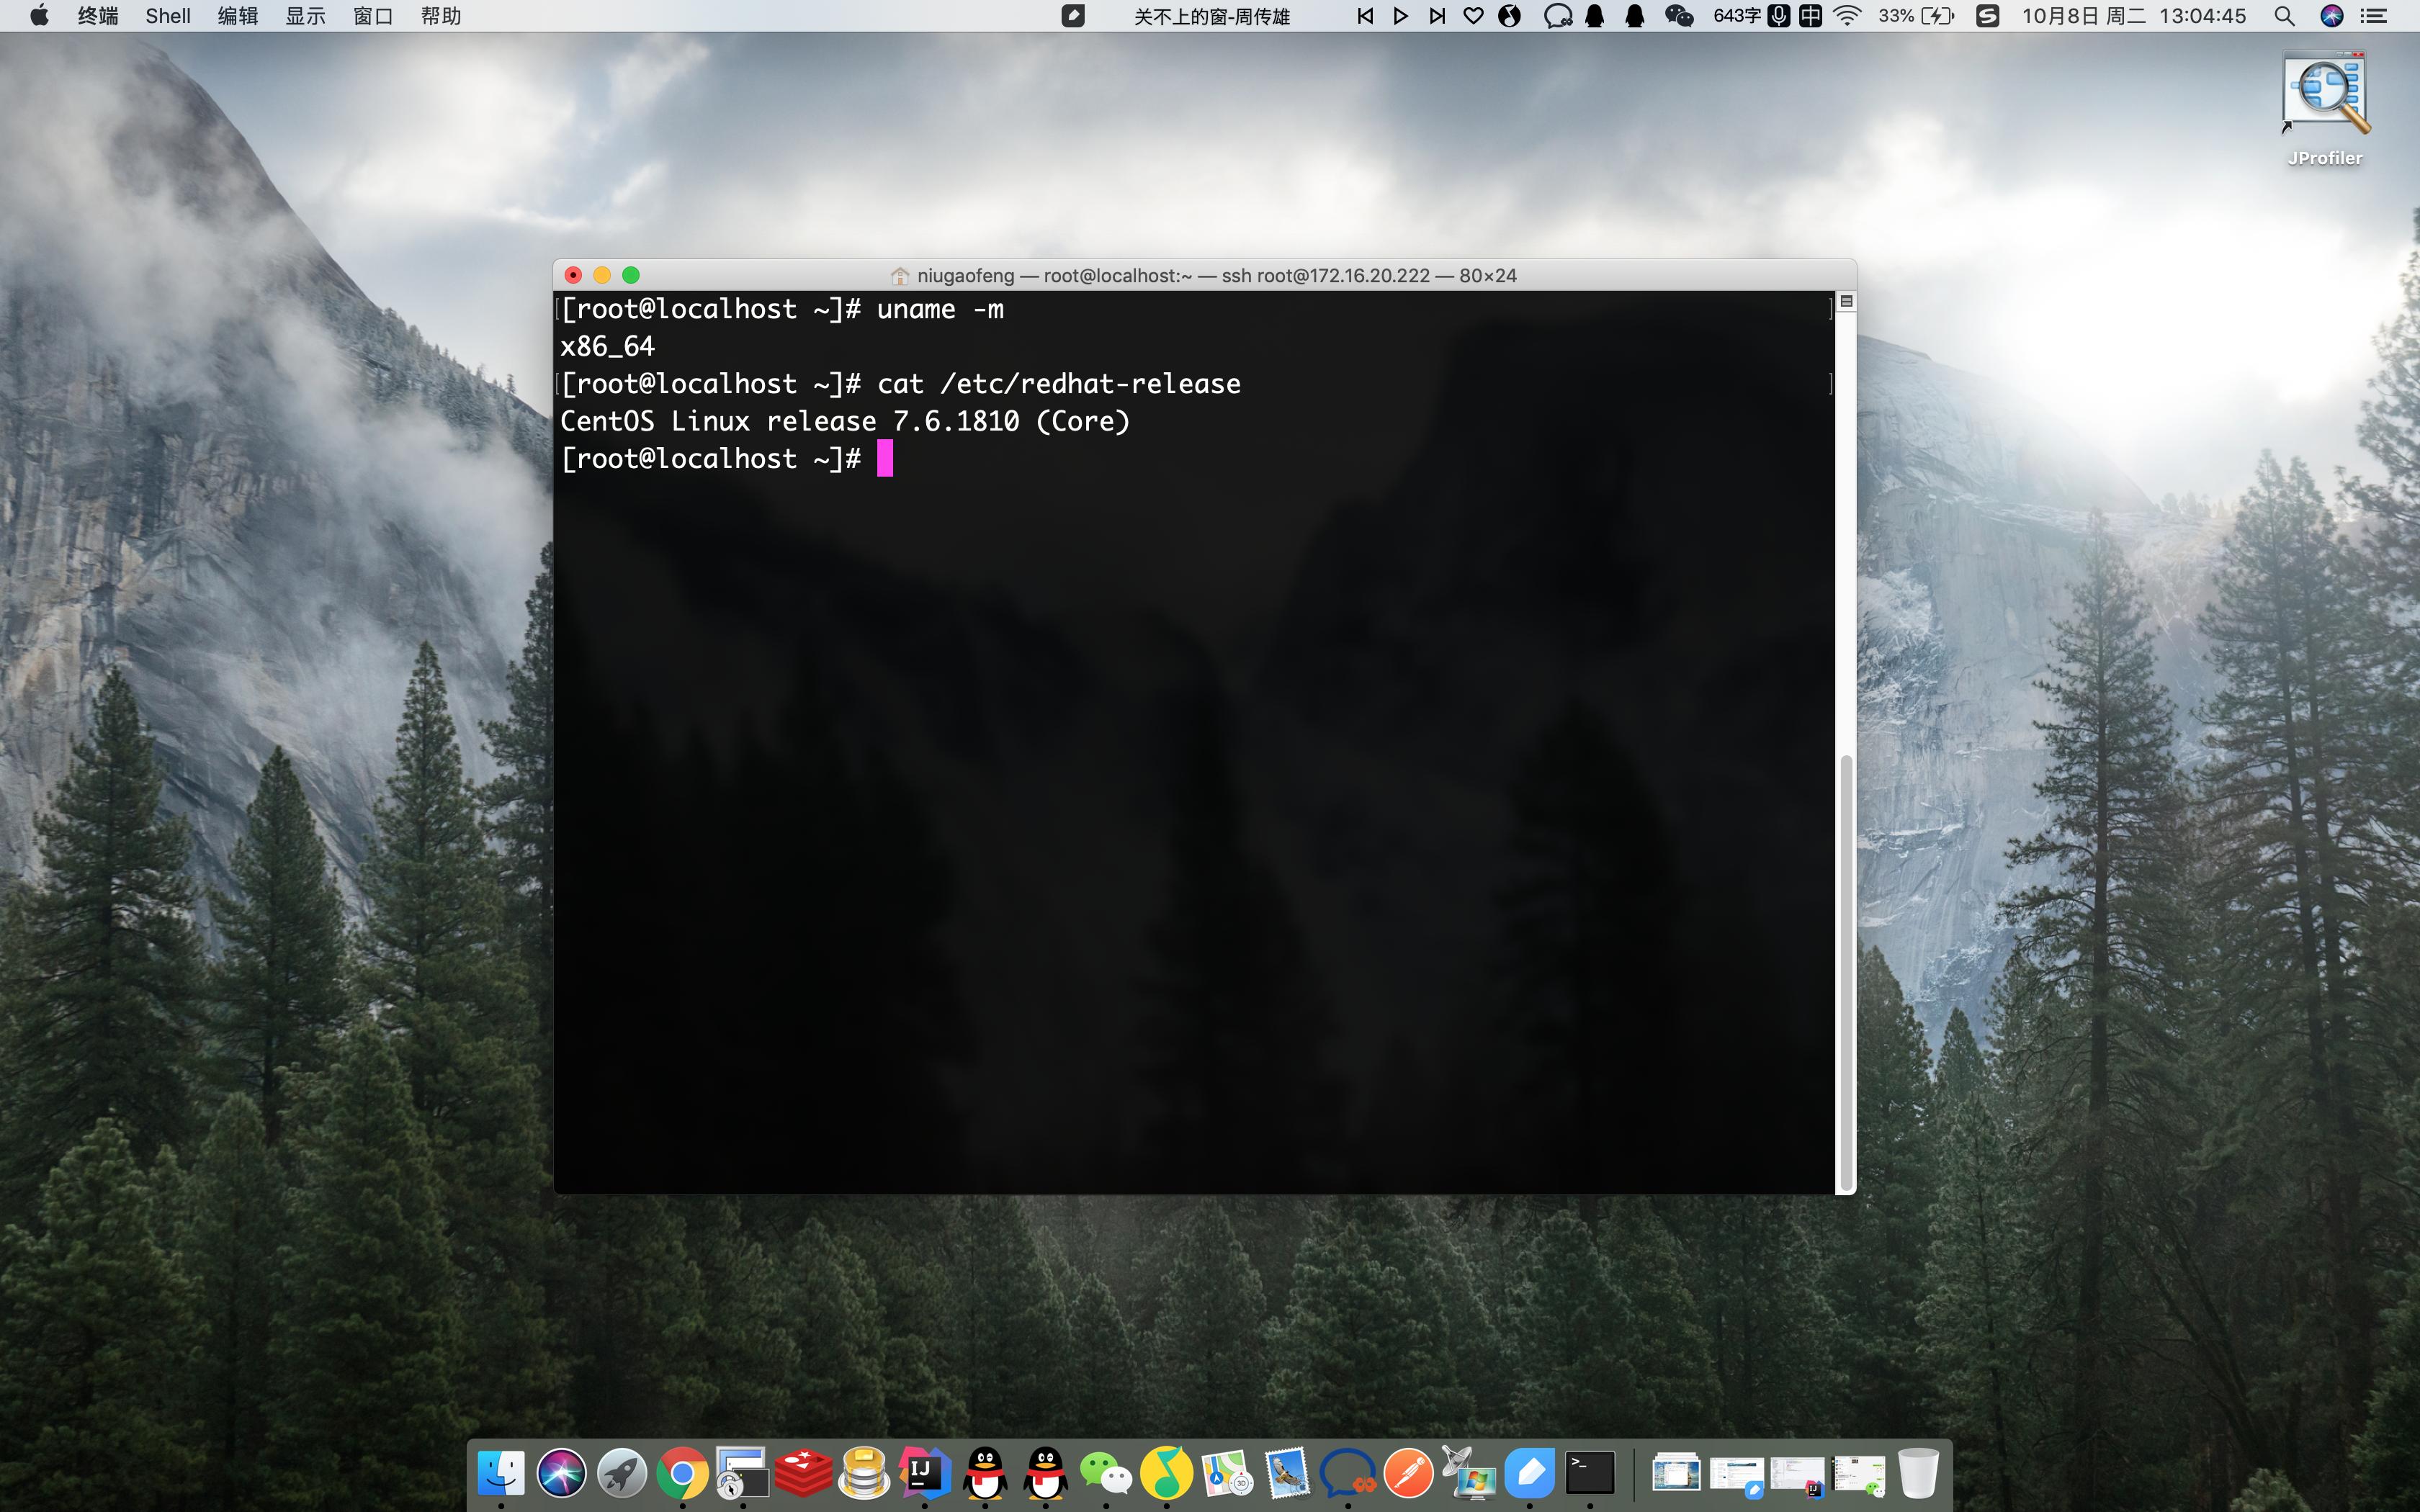
Linux系统版本
- 修改主机名
[root@localhost home]# sed -i "s/HOSTNAME=localhost.localdomain/HOSTNAME=oracledb/" /etc/sysconfig/network
[root@localhost home]# hostname oracledb
- 添加主机名与IP对应记录
[root@localhost home]# vim /etc/hosts
在末尾处添加:本机IP地址 oracledb
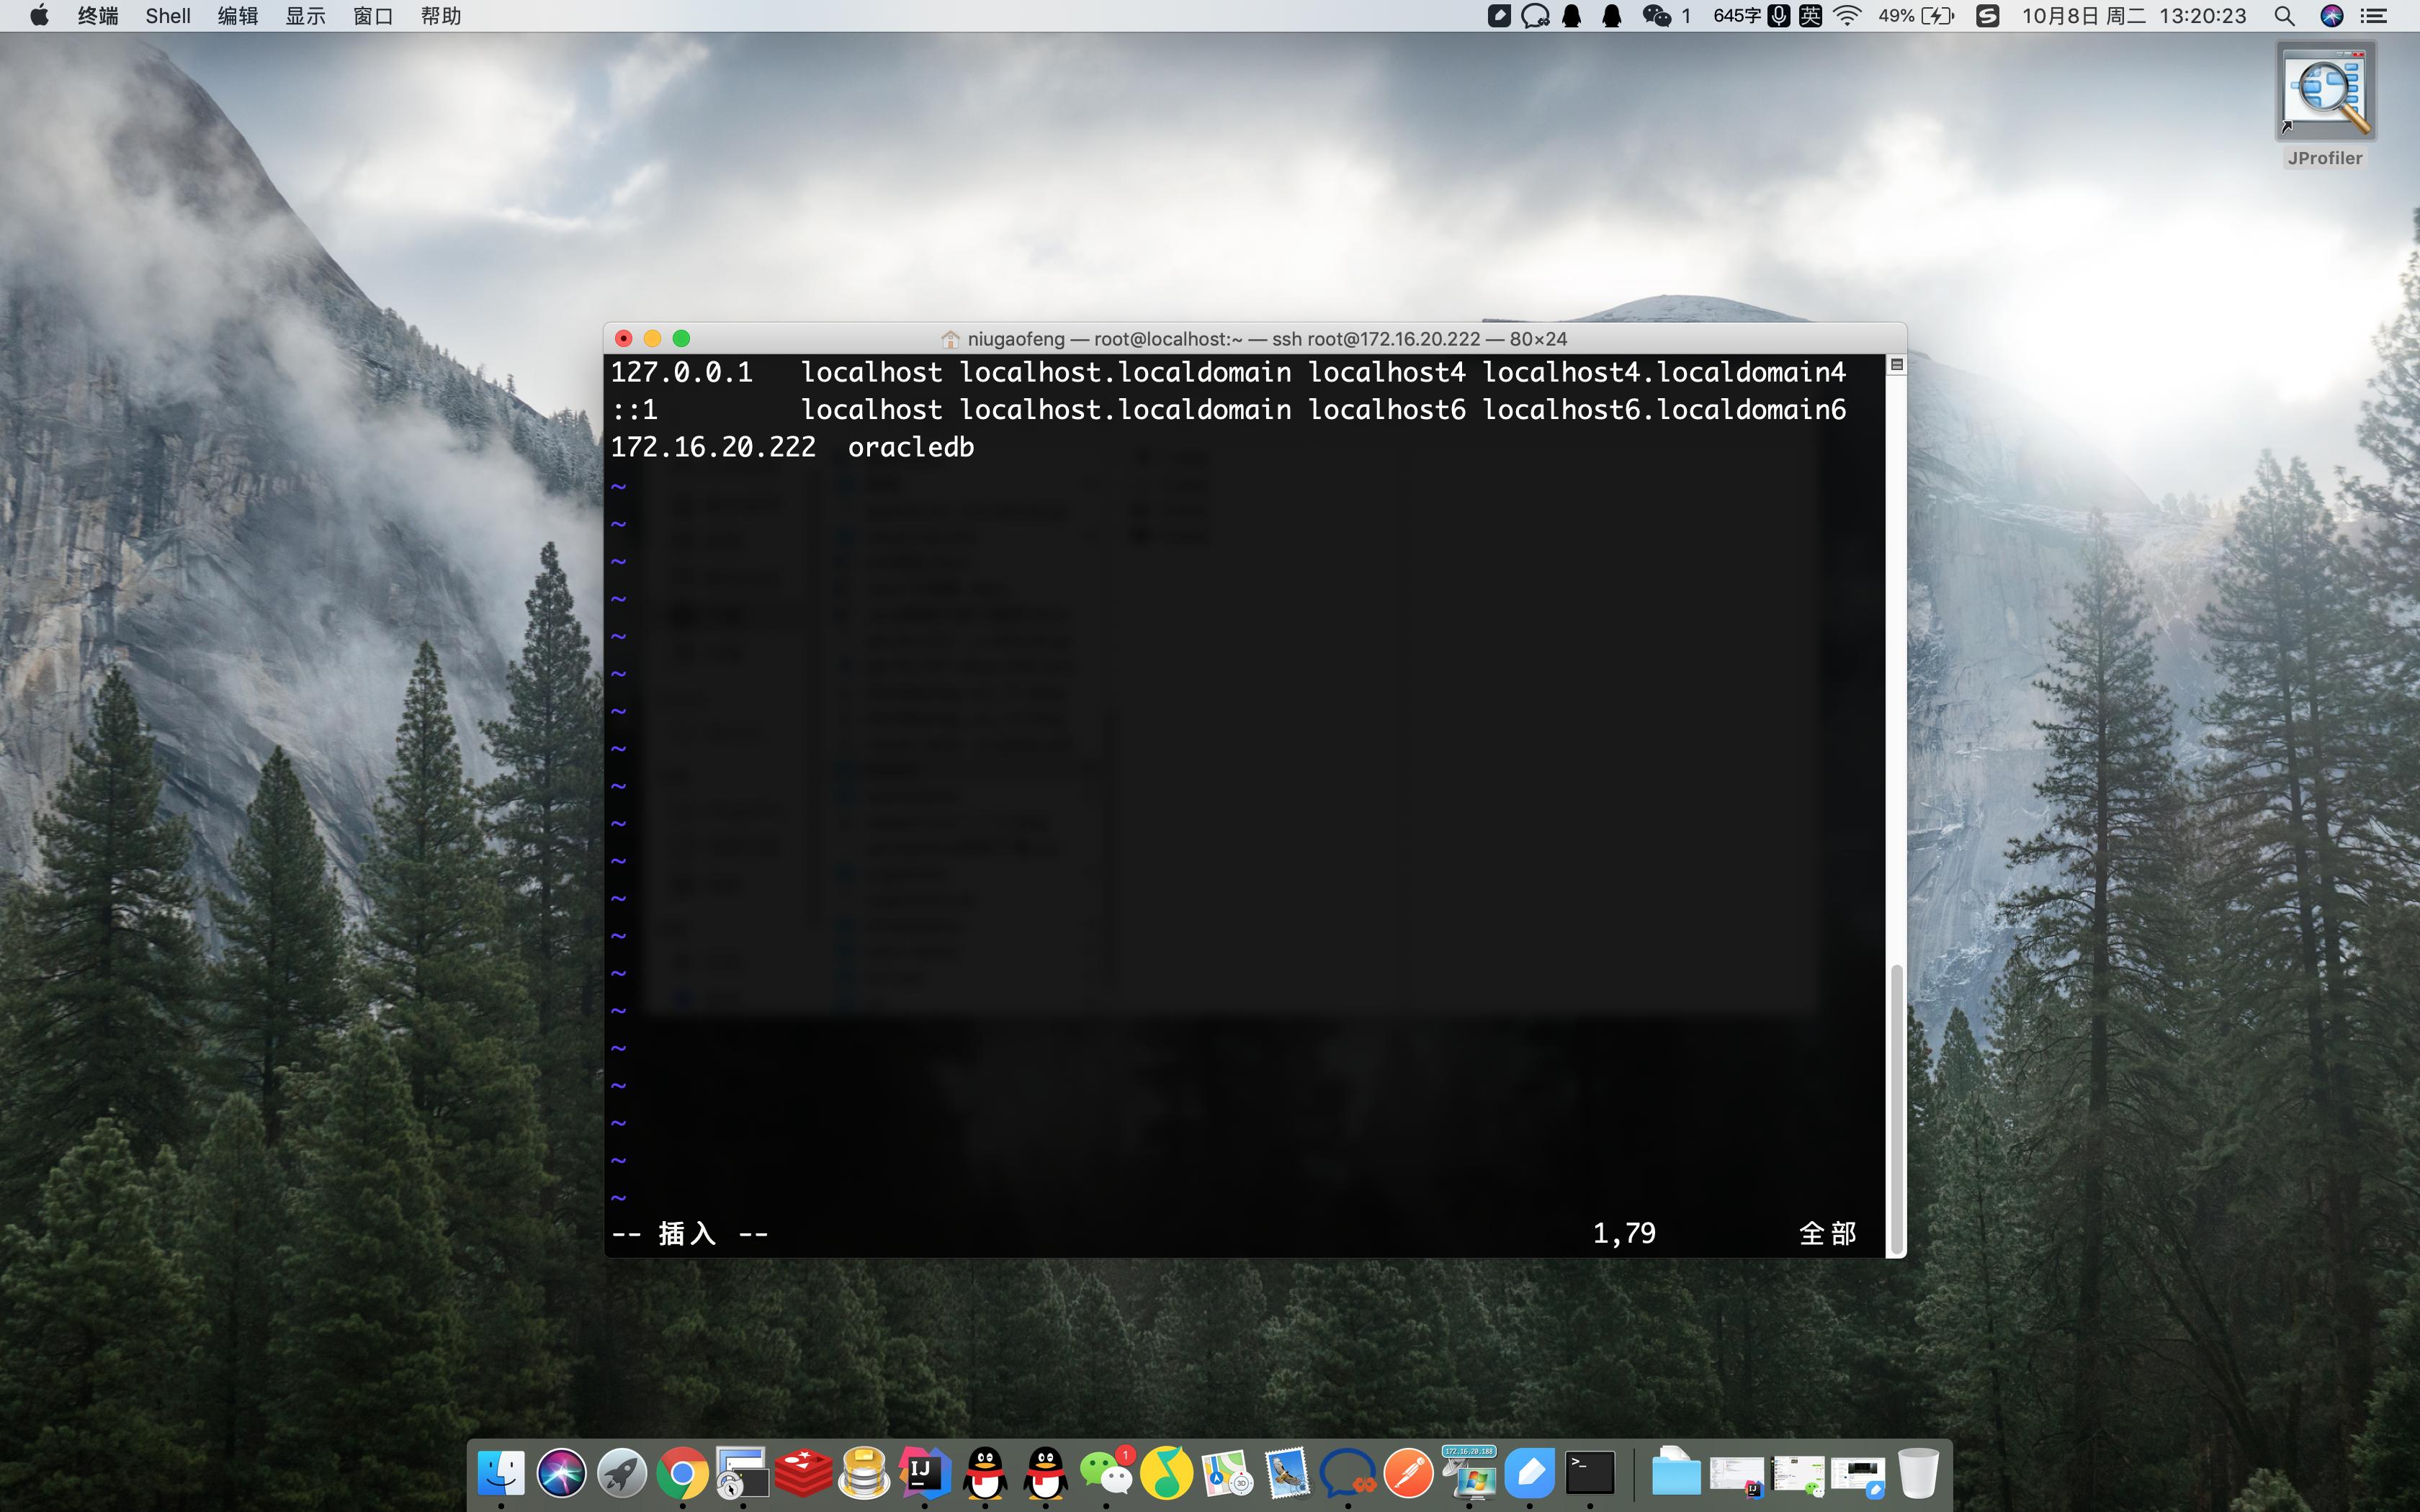
修改主机名
- 关闭Selinux
[root@localhost home]# sed -i "s/SELINUX=enforcing/SELINUX=disabled/" /etc/selinux/config
[root@localhost home]# setenforce 0
- 创建用户和组(root用户:创建Oracle安装组oinstall,数据库管理员组dba,及oracle用户)
[root@localhost home]# groupadd -g 200 oinstall
[root@localhost home]# groupadd -g 201 dba
[root@localhost home]# useradd -u 440 -g oinstall -G dba oracle #主组oinstall,其它组:dba
[root@localhost home]# passwd oracle #设置密码
更改用户 oracle 的密码 。
新的 密码:
无效的密码: 密码未通过字典检查 - 它基于(颠倒的)字典单词 #Linux密码验证机制,请忽略
重新输入新的 密码:
passwd:所有的身份验证令牌已经成功更新。
[root@localhost home]#
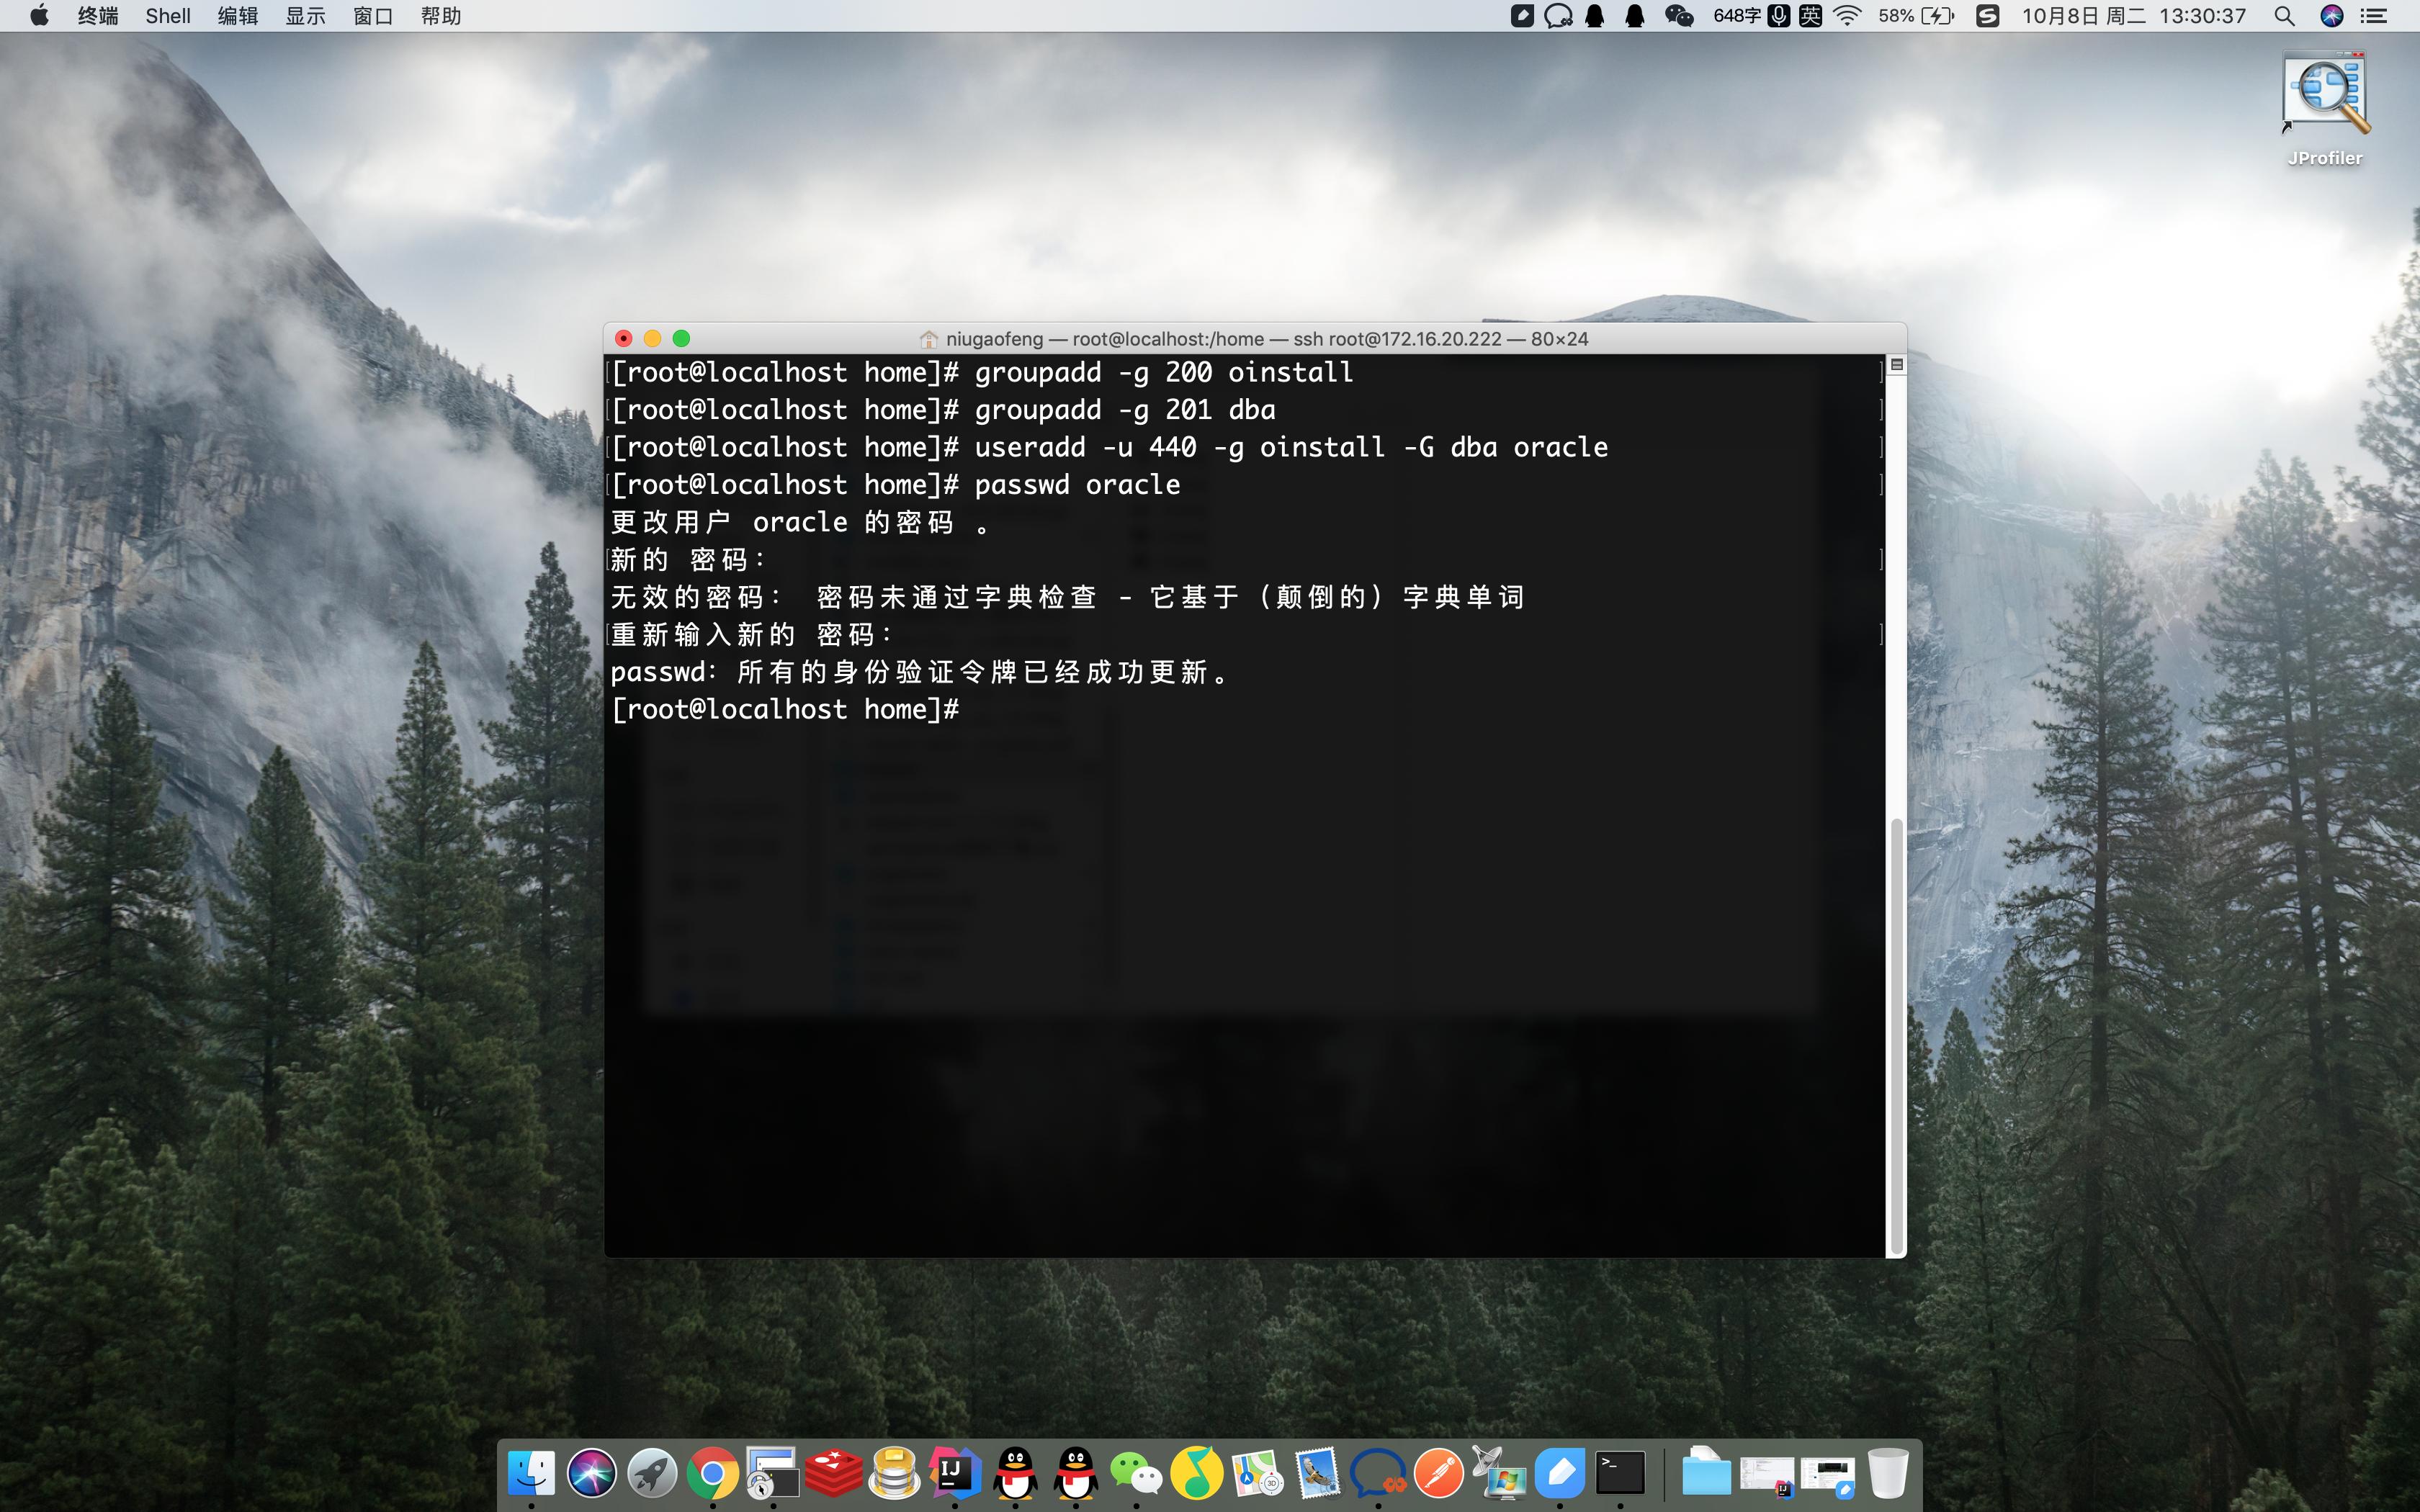
新建用户组及用户
- 修改内核参数(root用户:修改 /etc/sysctl.conf 文件,加上如下参数)
[root@localhost home]# vim /etc/sysctl.conf #末尾添加如下
net.ipv4.ip_local_port_range= 9000 65500
fs.file-max = 6815744
kernel.shmall = 10523004
kernel.shmmax = 6465333657
kernel.shmmni = 4096
kernel.sem = 250 32000 100128
net.core.rmem_default=262144
net.core.wmem_default=262144
net.core.rmem_max=4194304
net.core.wmem_max=1048576
fs.aio-max-nr = 1048576
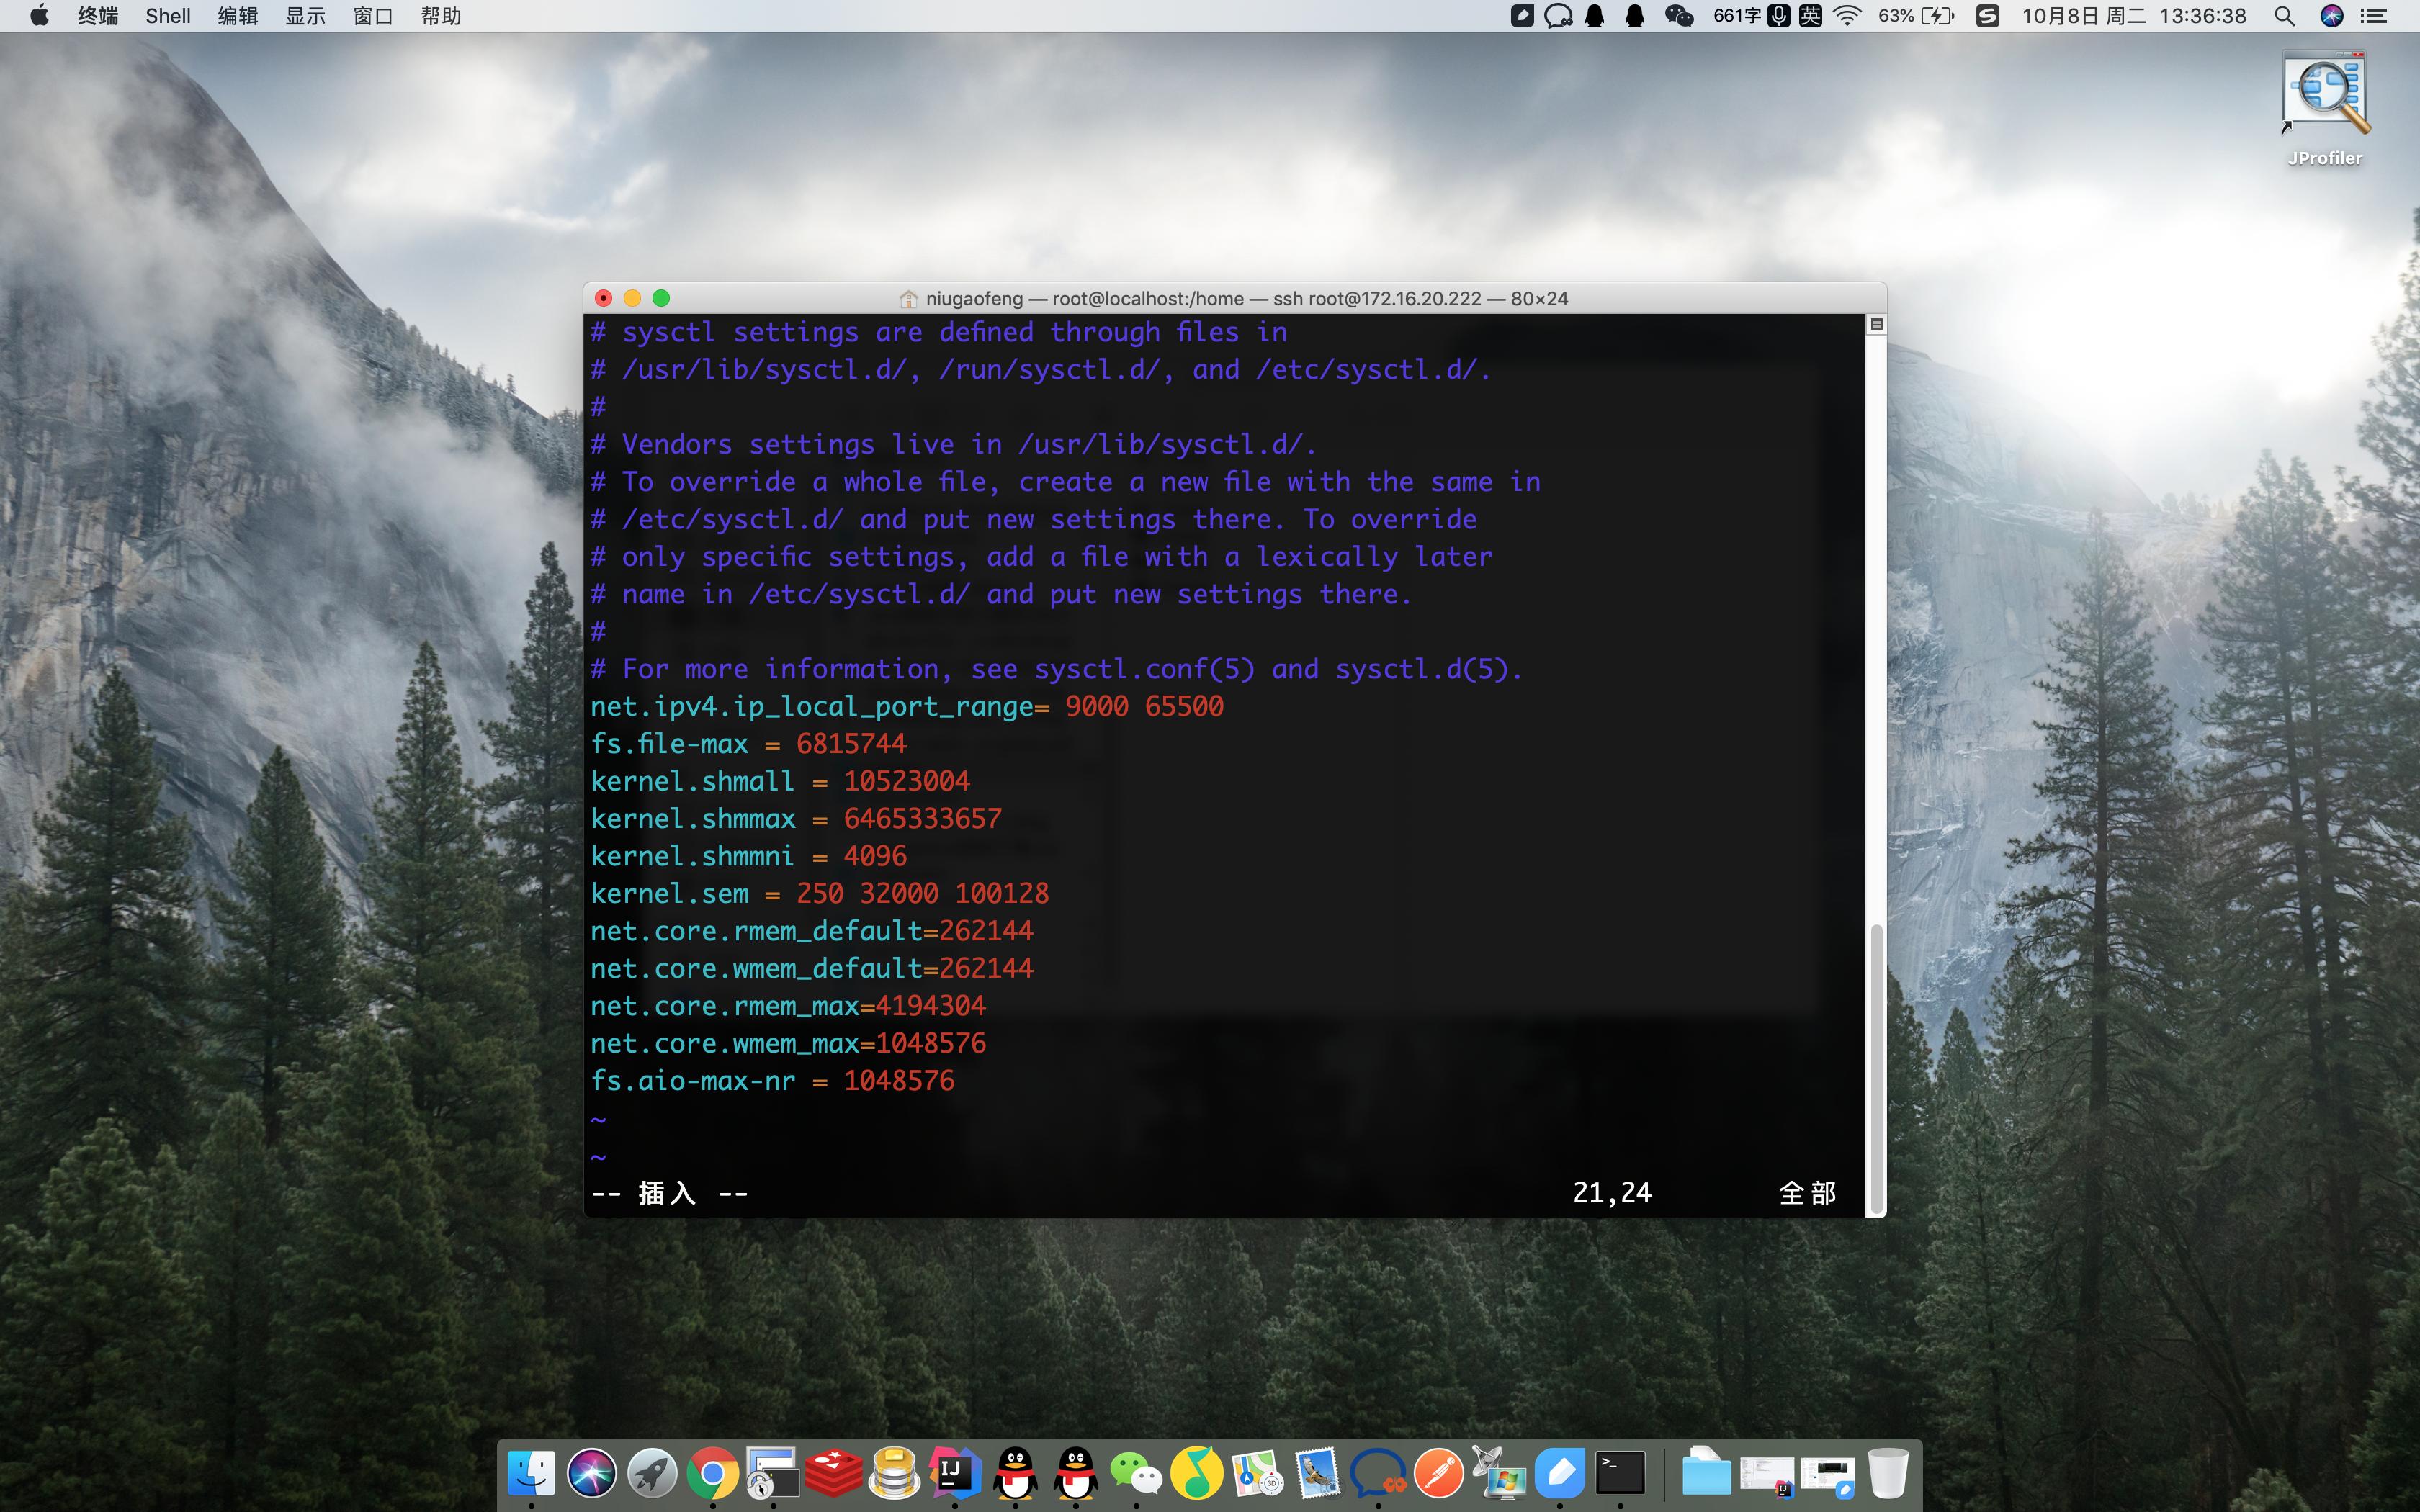
修改Linux内核
[root@localhost home]# sysctl -p #使配置生效
net.ipv4.ip_local_port_range = 9000 65500
fs.file-max = 6815744
kernel.shmall = 10523004
kernel.shmmax = 6465333657
kernel.shmmni = 4096
kernel.sem = 250 32000 100128
net.core.rmem_default = 262144
net.core.wmem_default = 262144
net.core.rmem_max = 4194304
net.core.wmem_max = 1048576
fs.aio-max-nr = 1048576
[root@localhost home]#
- 修改系统资源限制(root用户:修改 /etc/security/limits.conf 文件,加上下面的参数)
[root@localhost home]# vim /etc/security/limits.conf #末尾添加如下
oracle soft nproc 2047
oracle hard nproc 16384
oracle soft nofile 1024
oracle hard nofile 65536
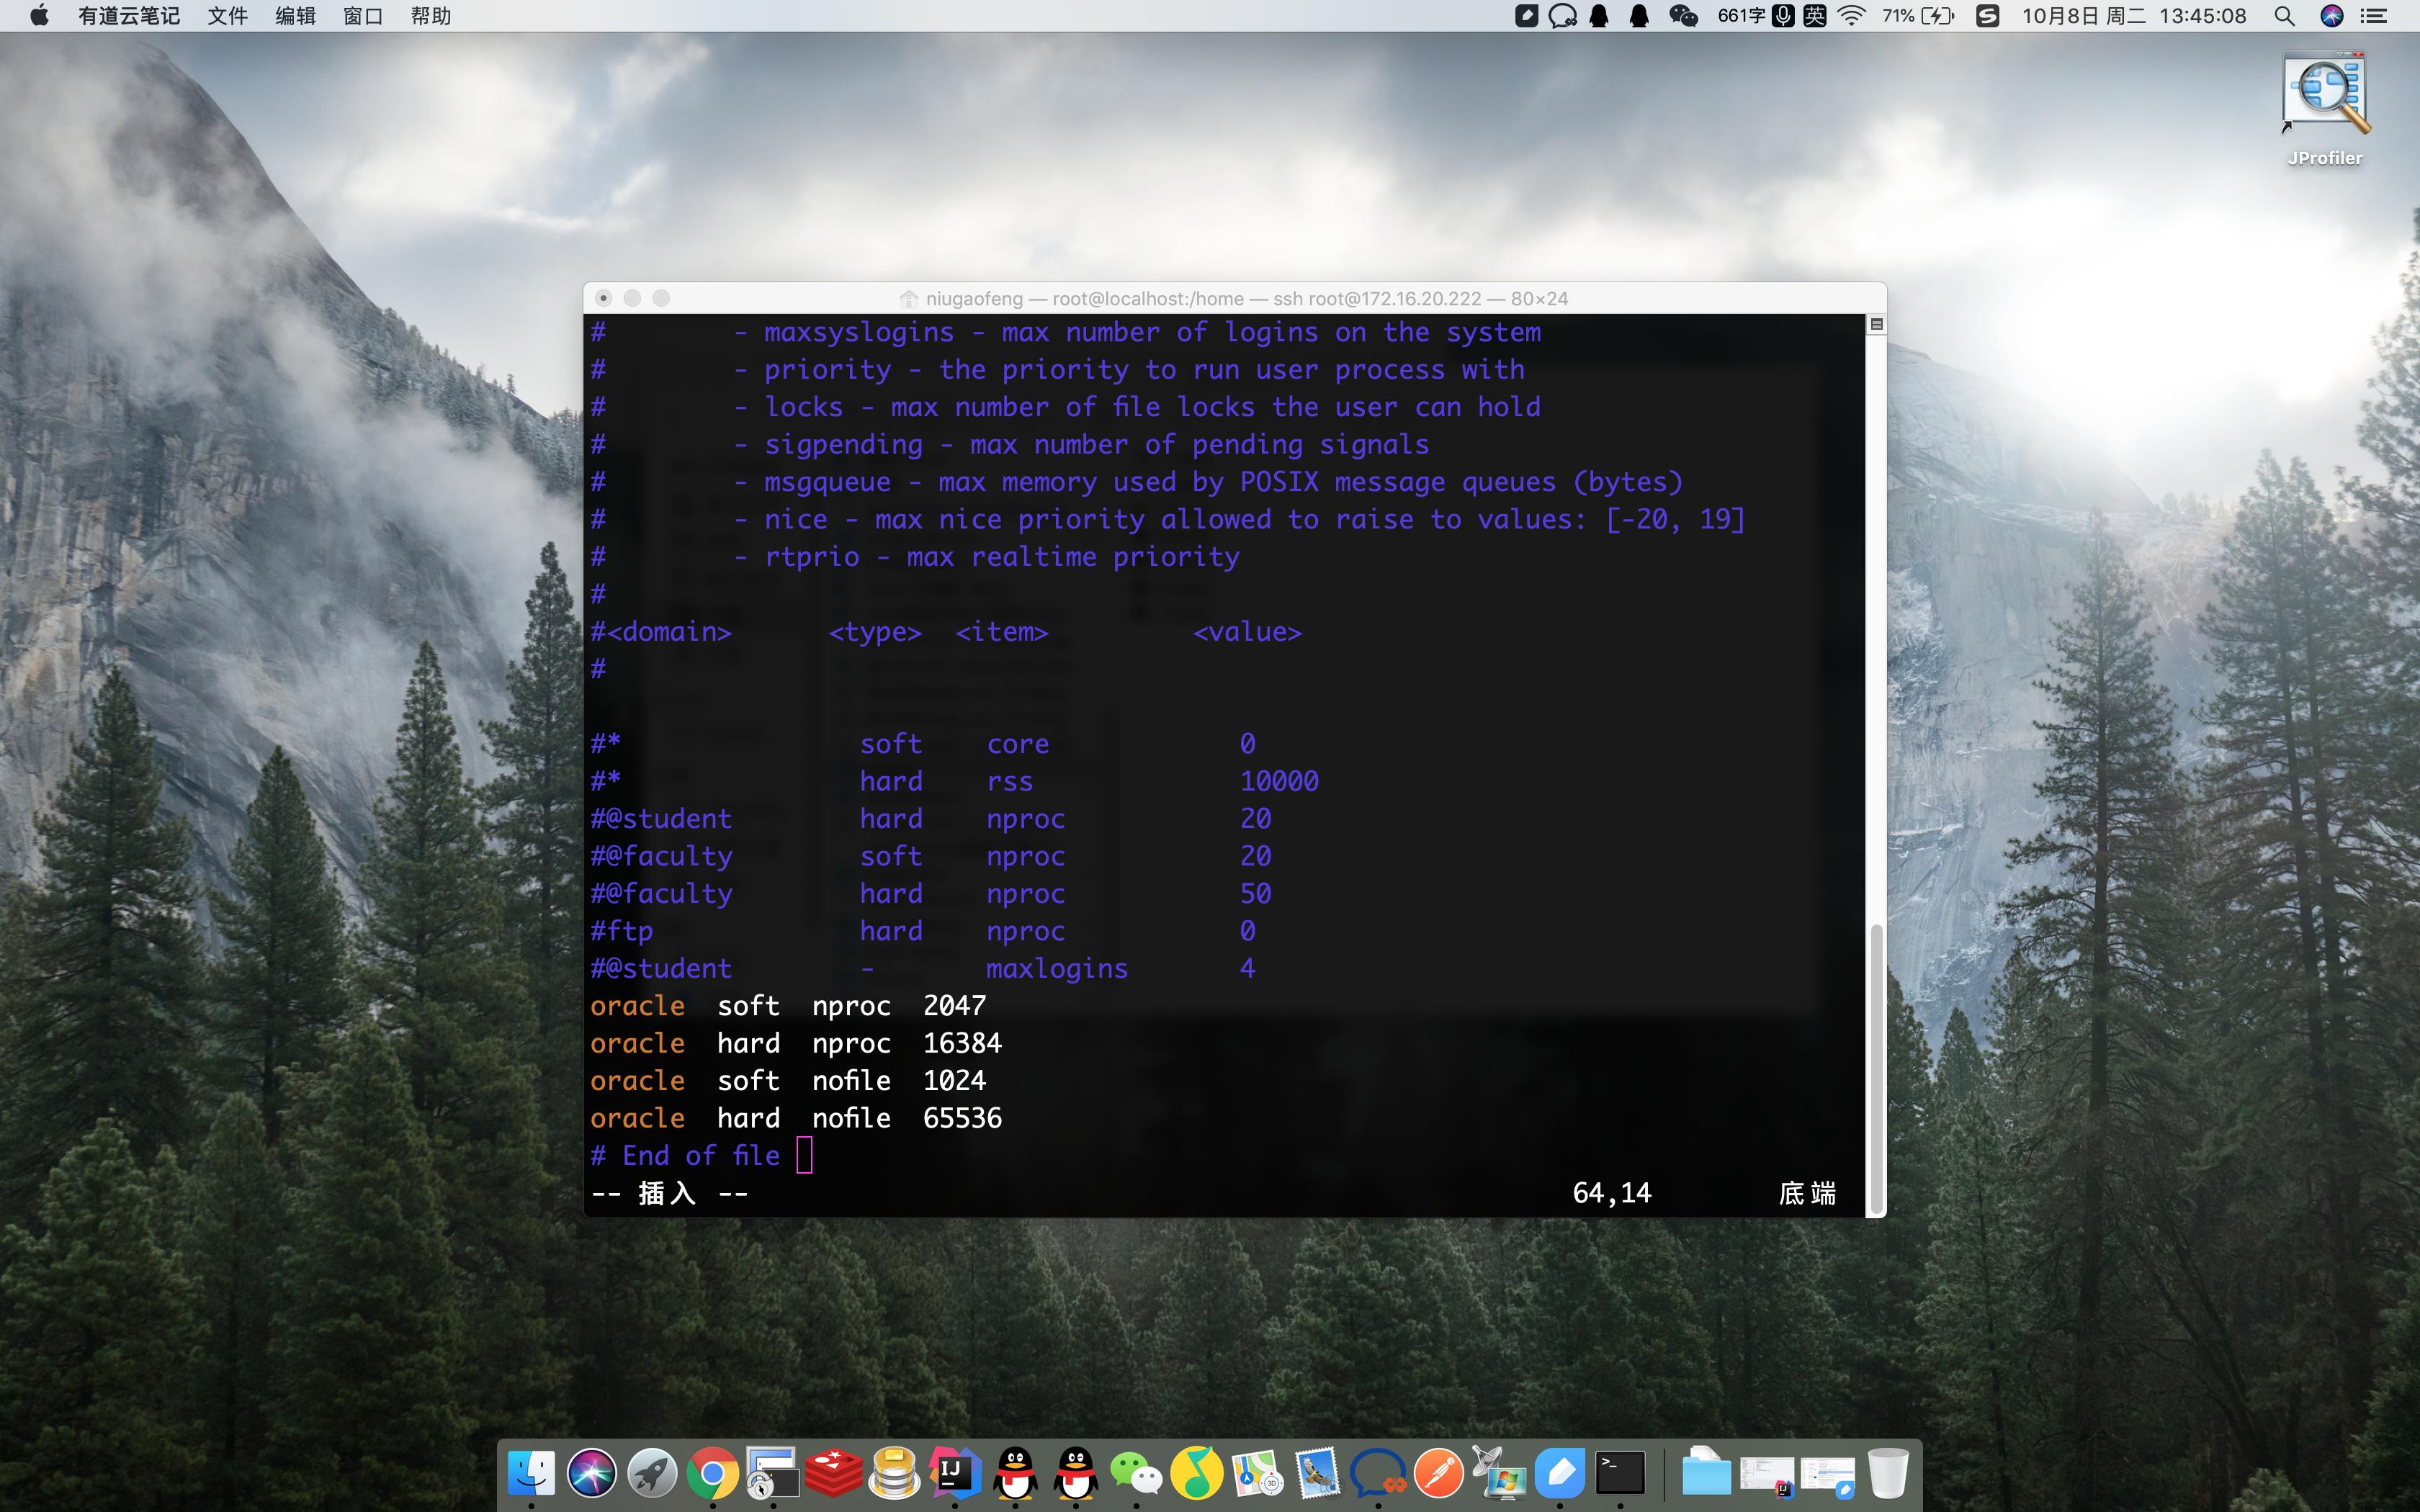
资源限制修改
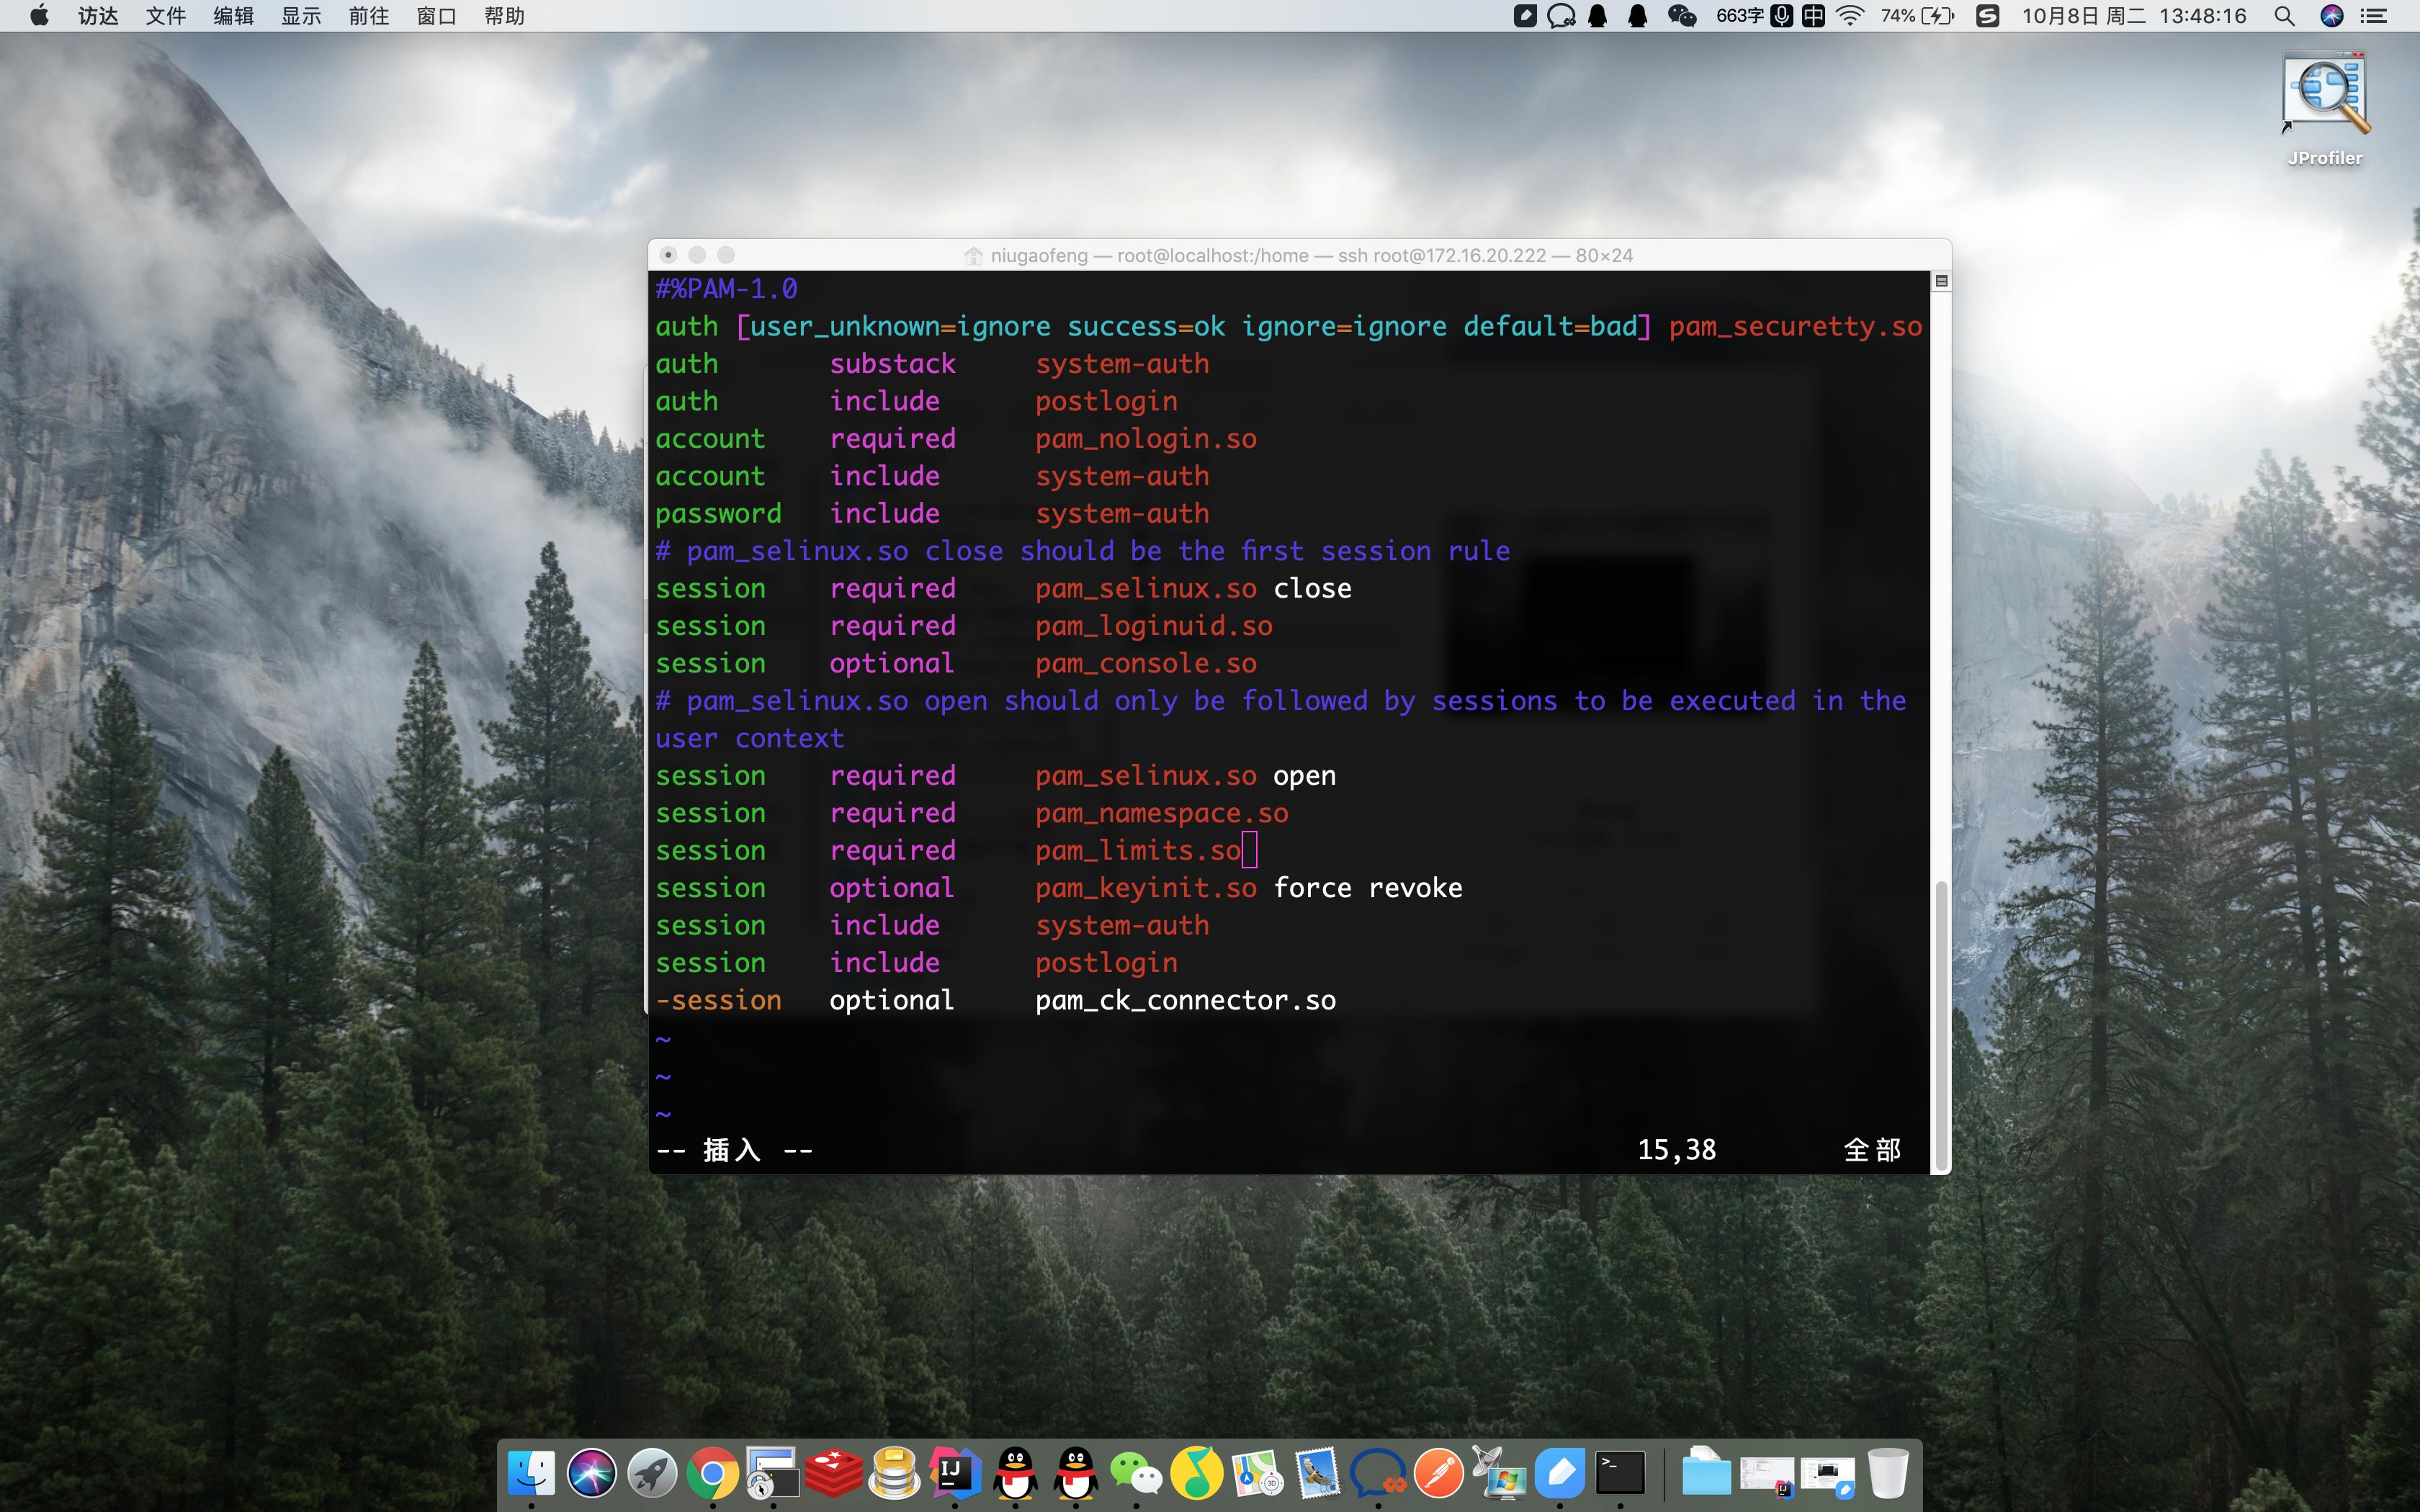
- 修改用户验证选项(root用户下:修改/etc/pam.d/login文件加上如下参数)
$ vim /etc/pam.d/login
session required pam_namespace.so #下面添加一条pam_limits.so
session required pam_limits.so
- 修改用户配置文件(root用户下:修改/etc/profile文件加入如下参数)
[root@localhost home]# vim /etc/profile #(如果做了第9步的limits.conf设置,这个设置就不需要了)
if [ $USER ="oracle" ]; then
 if [ $SHELL = "/bin/ksh" ];then
 ulimit -p 16384
 ulimit -n 65536
 else
 ulimit -u 16384 -n 65536
 fi
fi
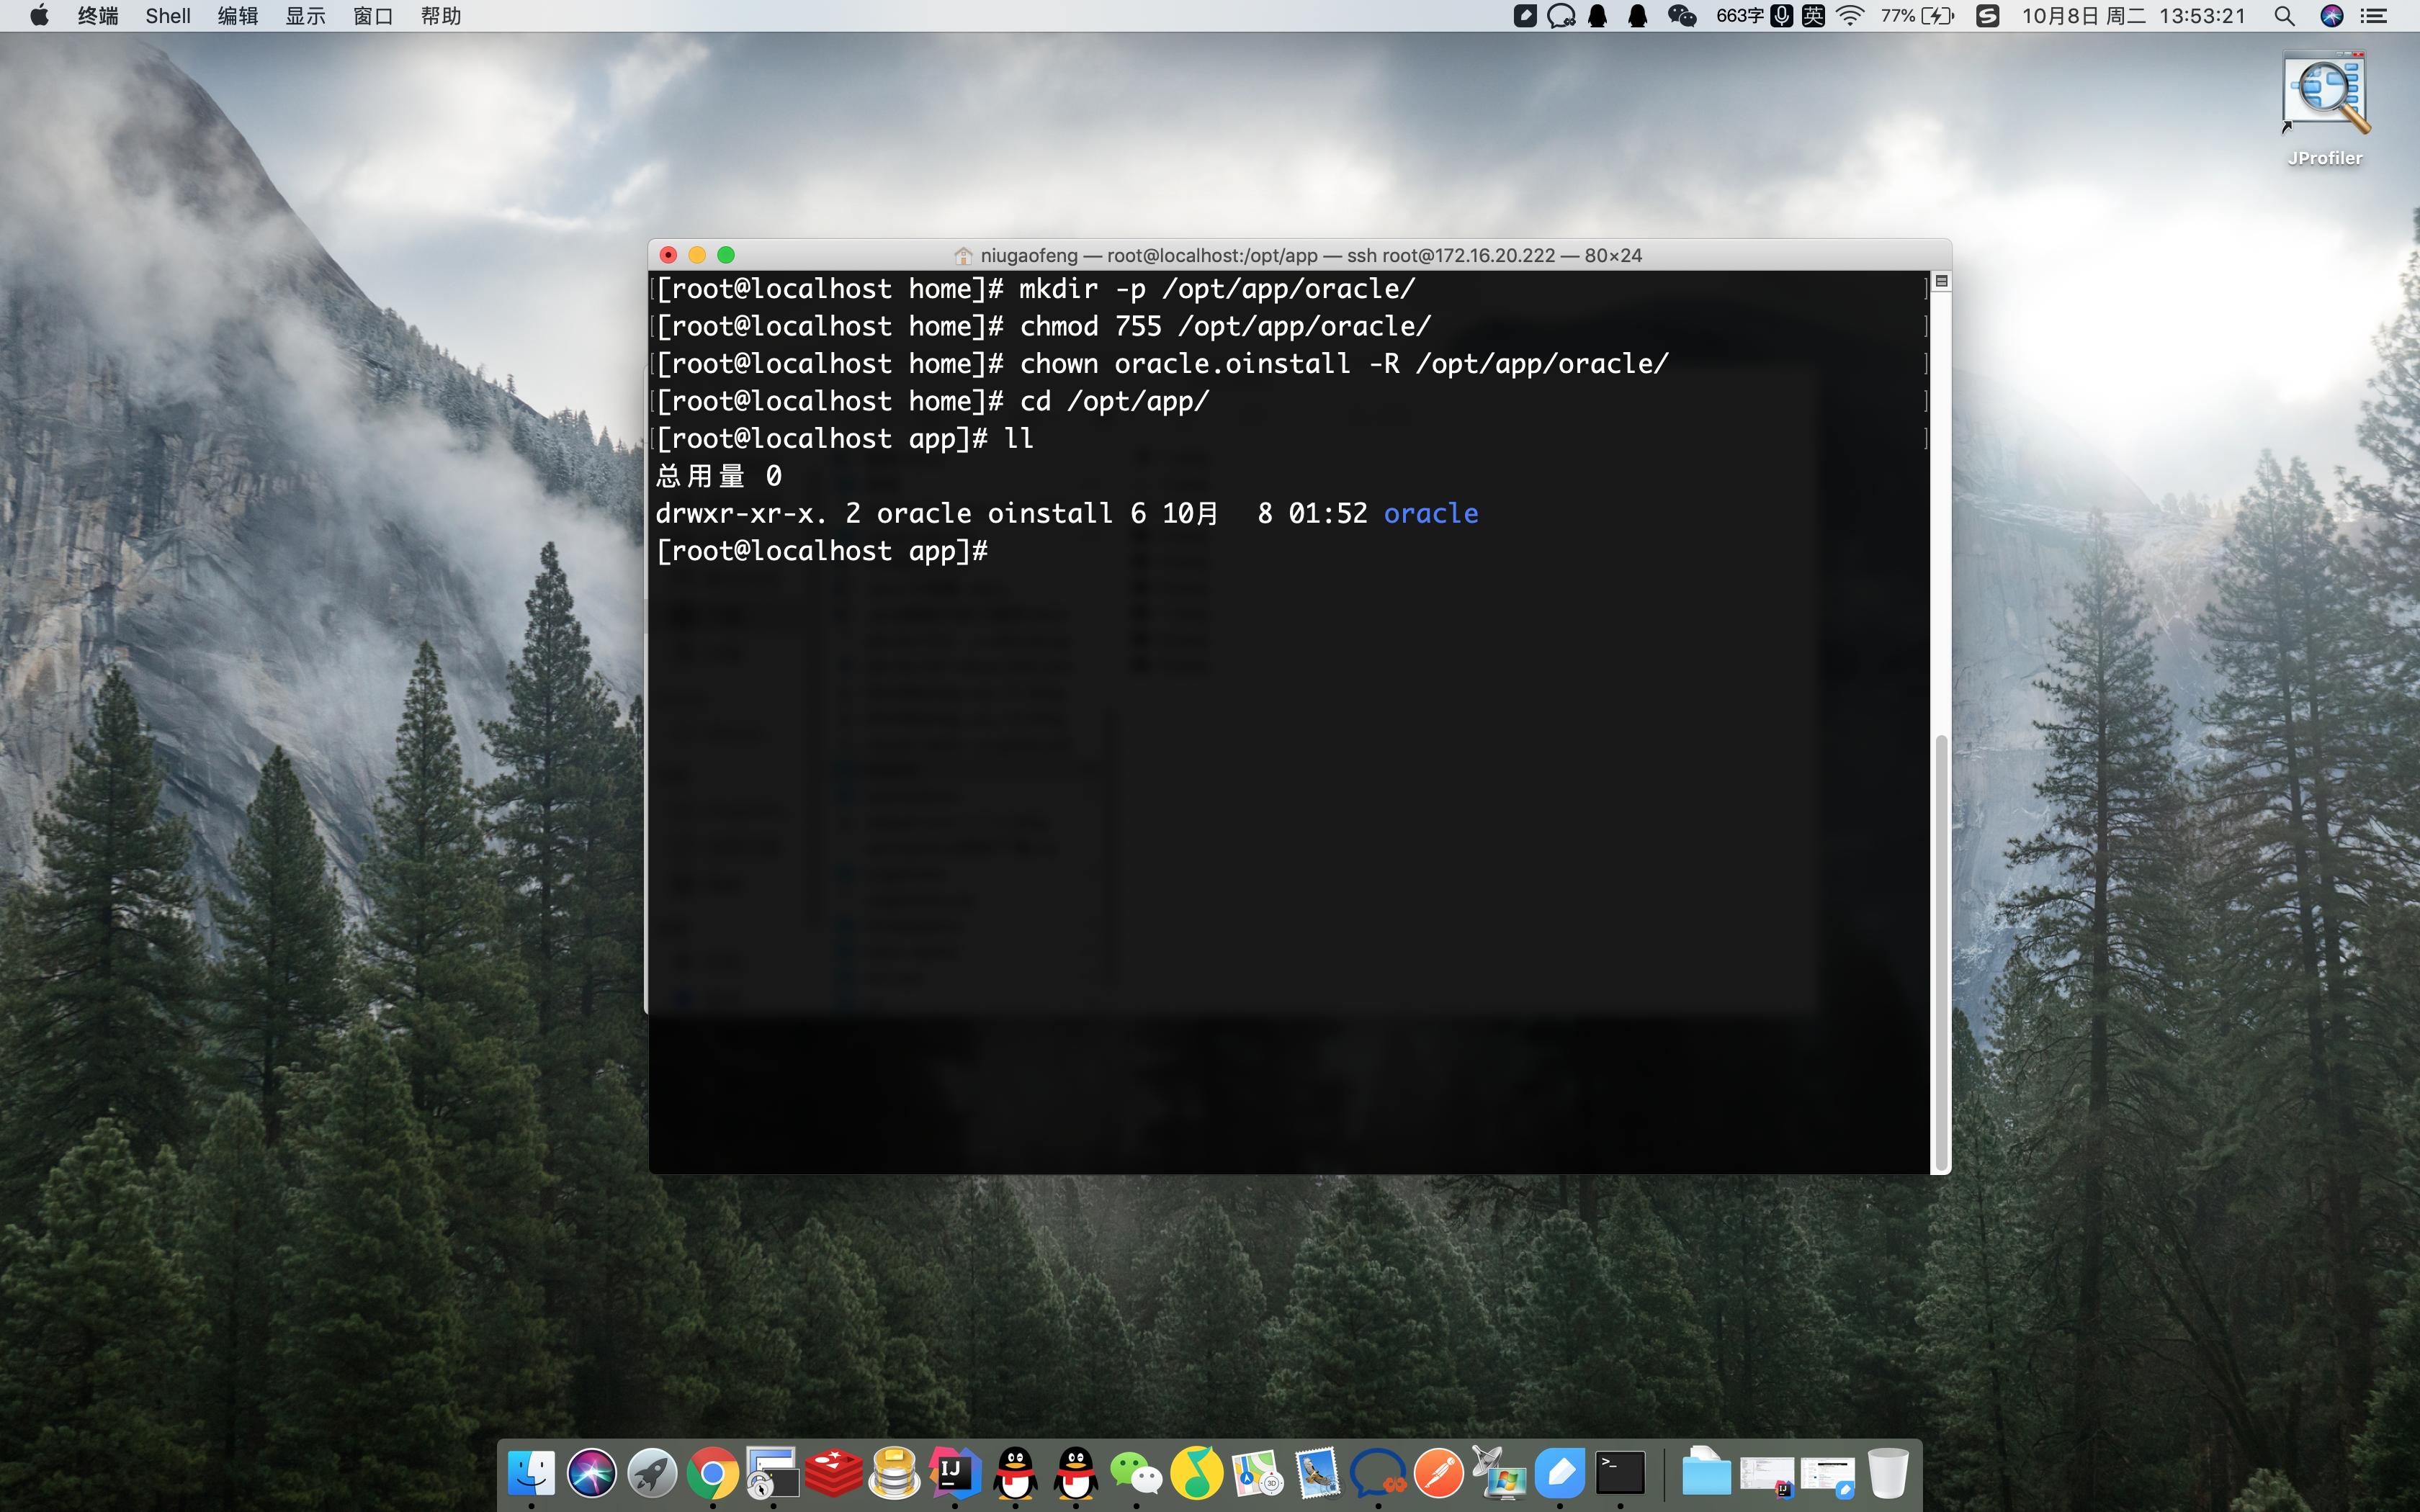
- 创建安装目录及设置权限
[root@localhost home]# mkdir -p /opt/app/oracle/
[root@localhost home]# chmod 755 /opt/app/oracle/
[root@localhost home]# chown oracle.oinstall -R /opt/app/oracle/
- 设置Oracle环境变量
[root@localhost app]# su - oracle
[oracle@oracledb ~]$ vim ~/.bash_profile
 #添加一下内如
 export ORACLE_BASE=/opt/app/oracle
 export ORACLE_HOME=$ORACLE_BASE/product/11.2.0/db_1
 export PATH=$PATH:$HOME/bin:$ORACLE_HOME/bin
 export ORACLE_SID=orcl
 export ORACLE_PID=ora11g
 export NLS_LANG=AMERICAN_AMERICA.AL32UTF8
export LD_LIBRARY_PATH=$ORACLE_HOME/lib:/usr/lib
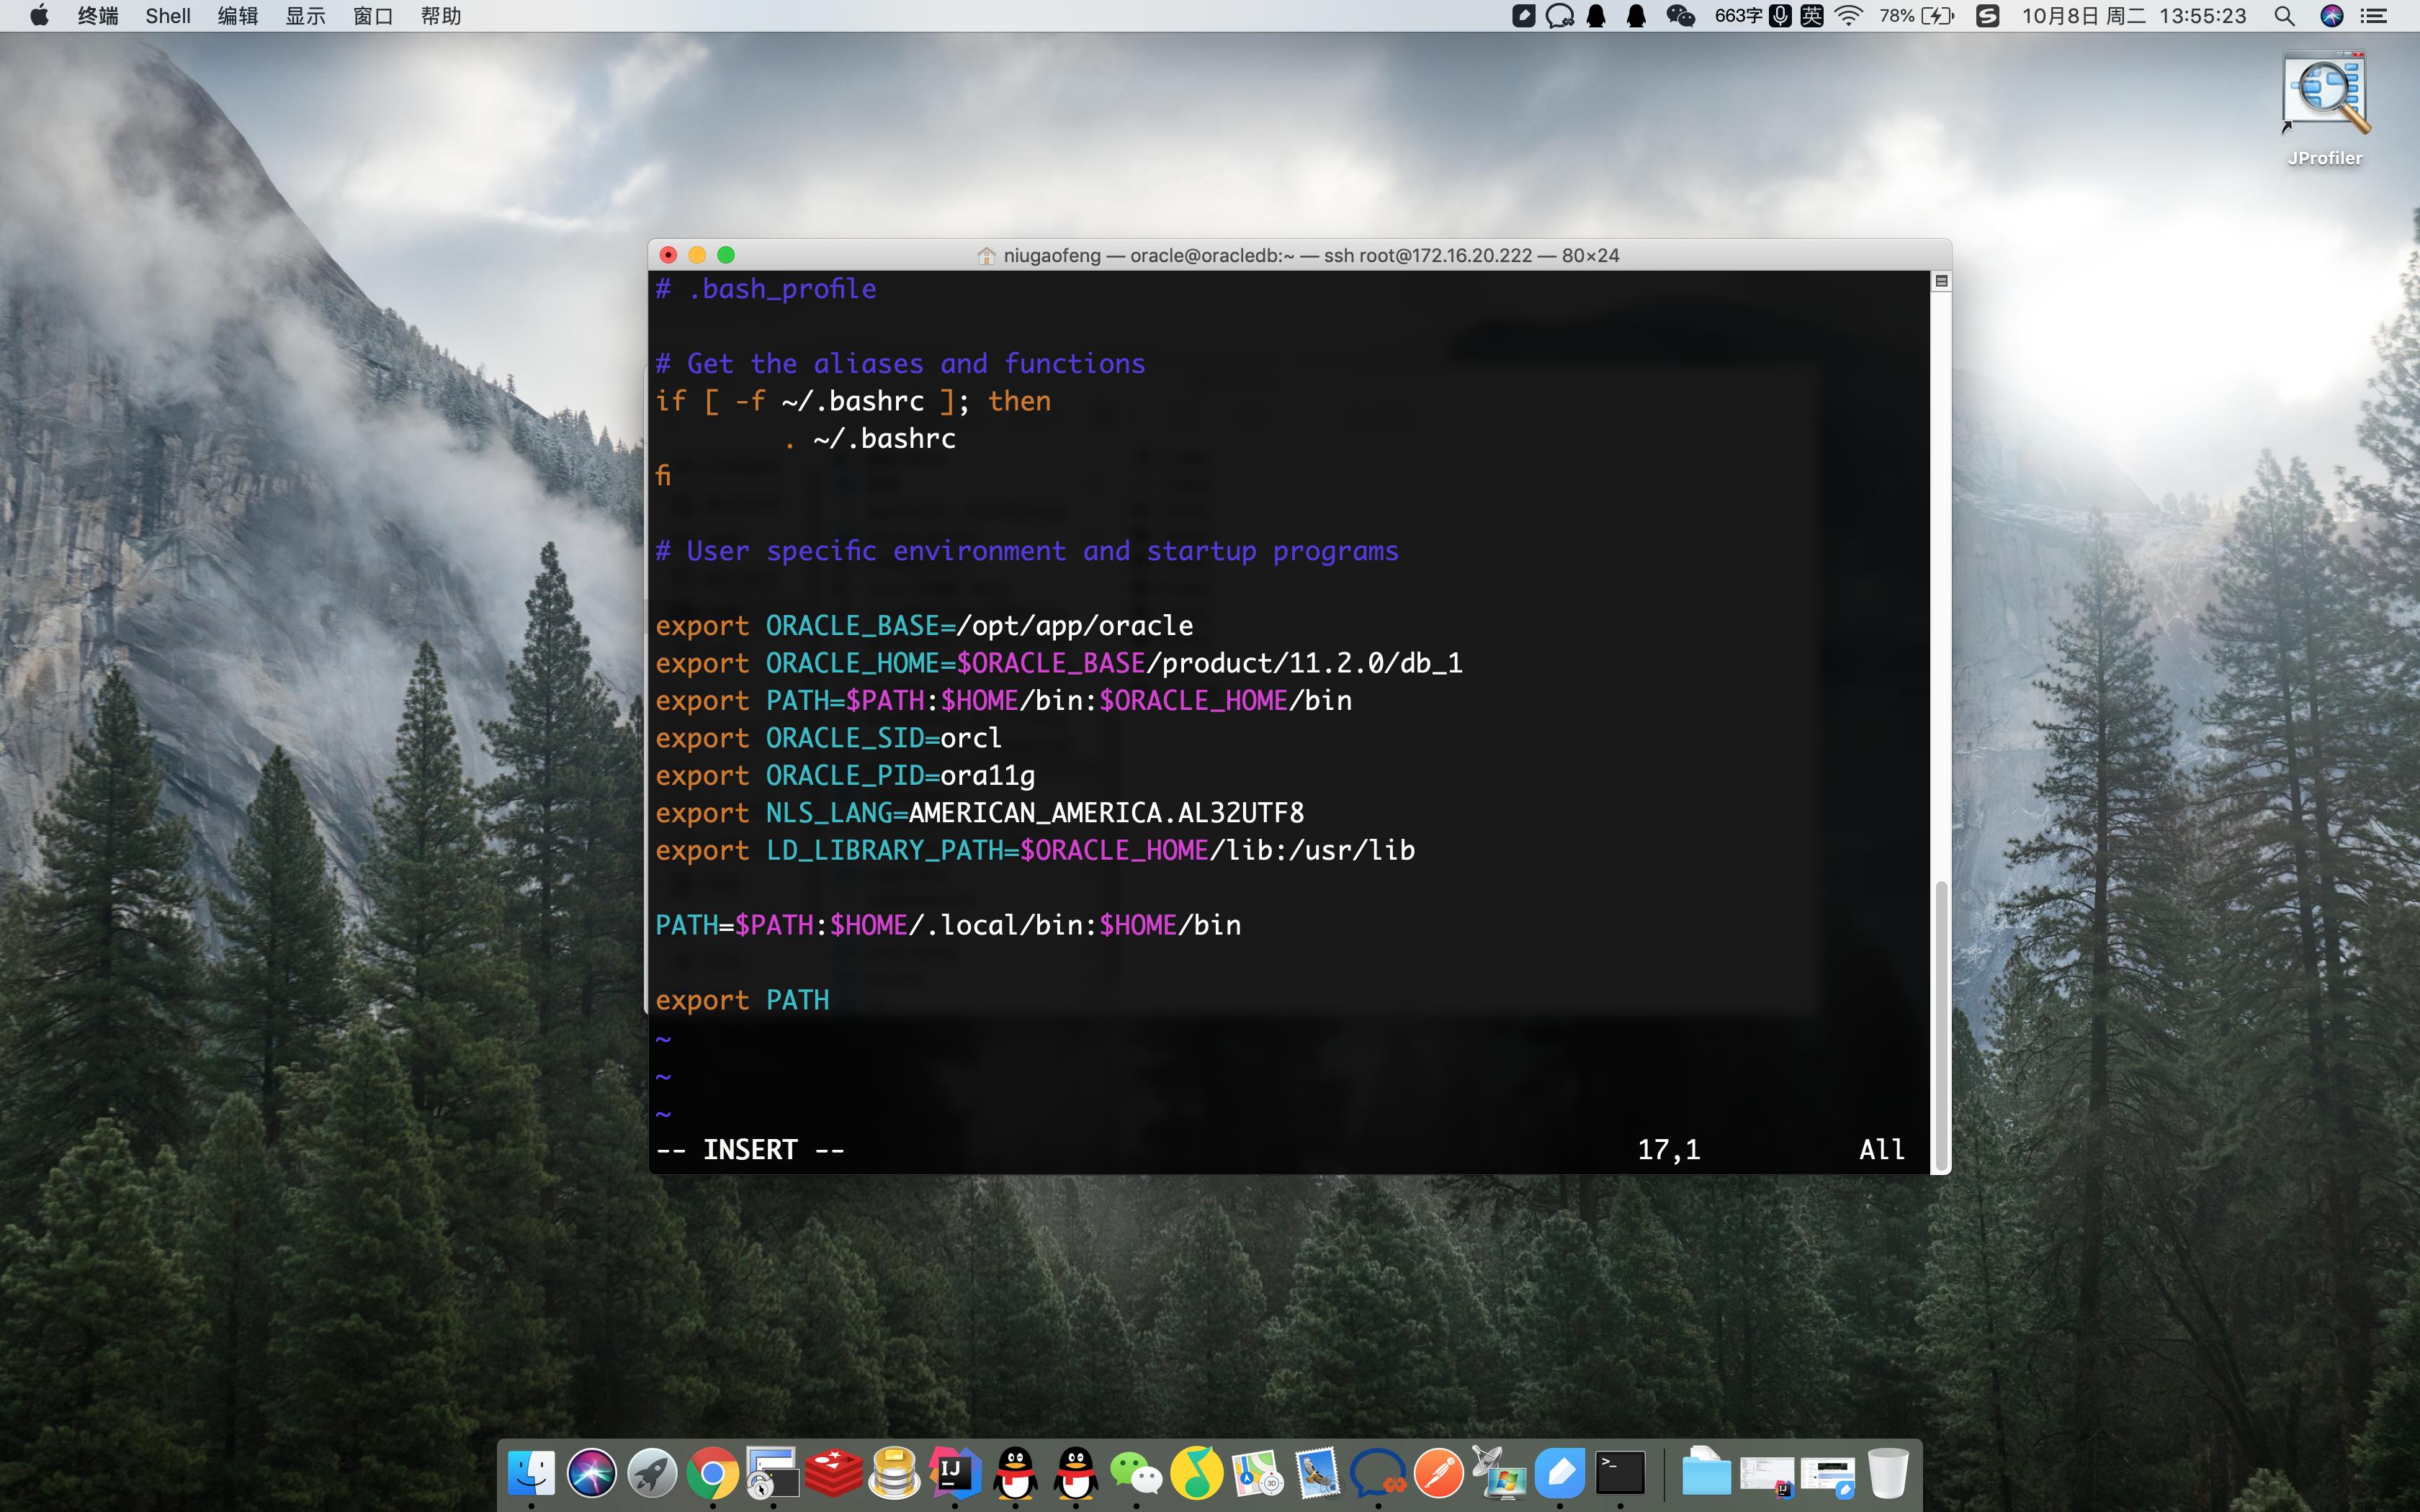
修改环境变量
完成后执行:
[oracle@oracledb ~]$ source ~/.bash_profile #立即生效
[oracle@oracledb ~]$ env | grep ORA #查看环境变量是否完成
ORACLE_SID=orcl
ORACLE_BASE=/opt/app/oracle
ORACLE_PID=ora11g
ORACLE_HOME=/opt/app/oracle/product/11.2.0/db_1
[oracle@oracledb ~]$
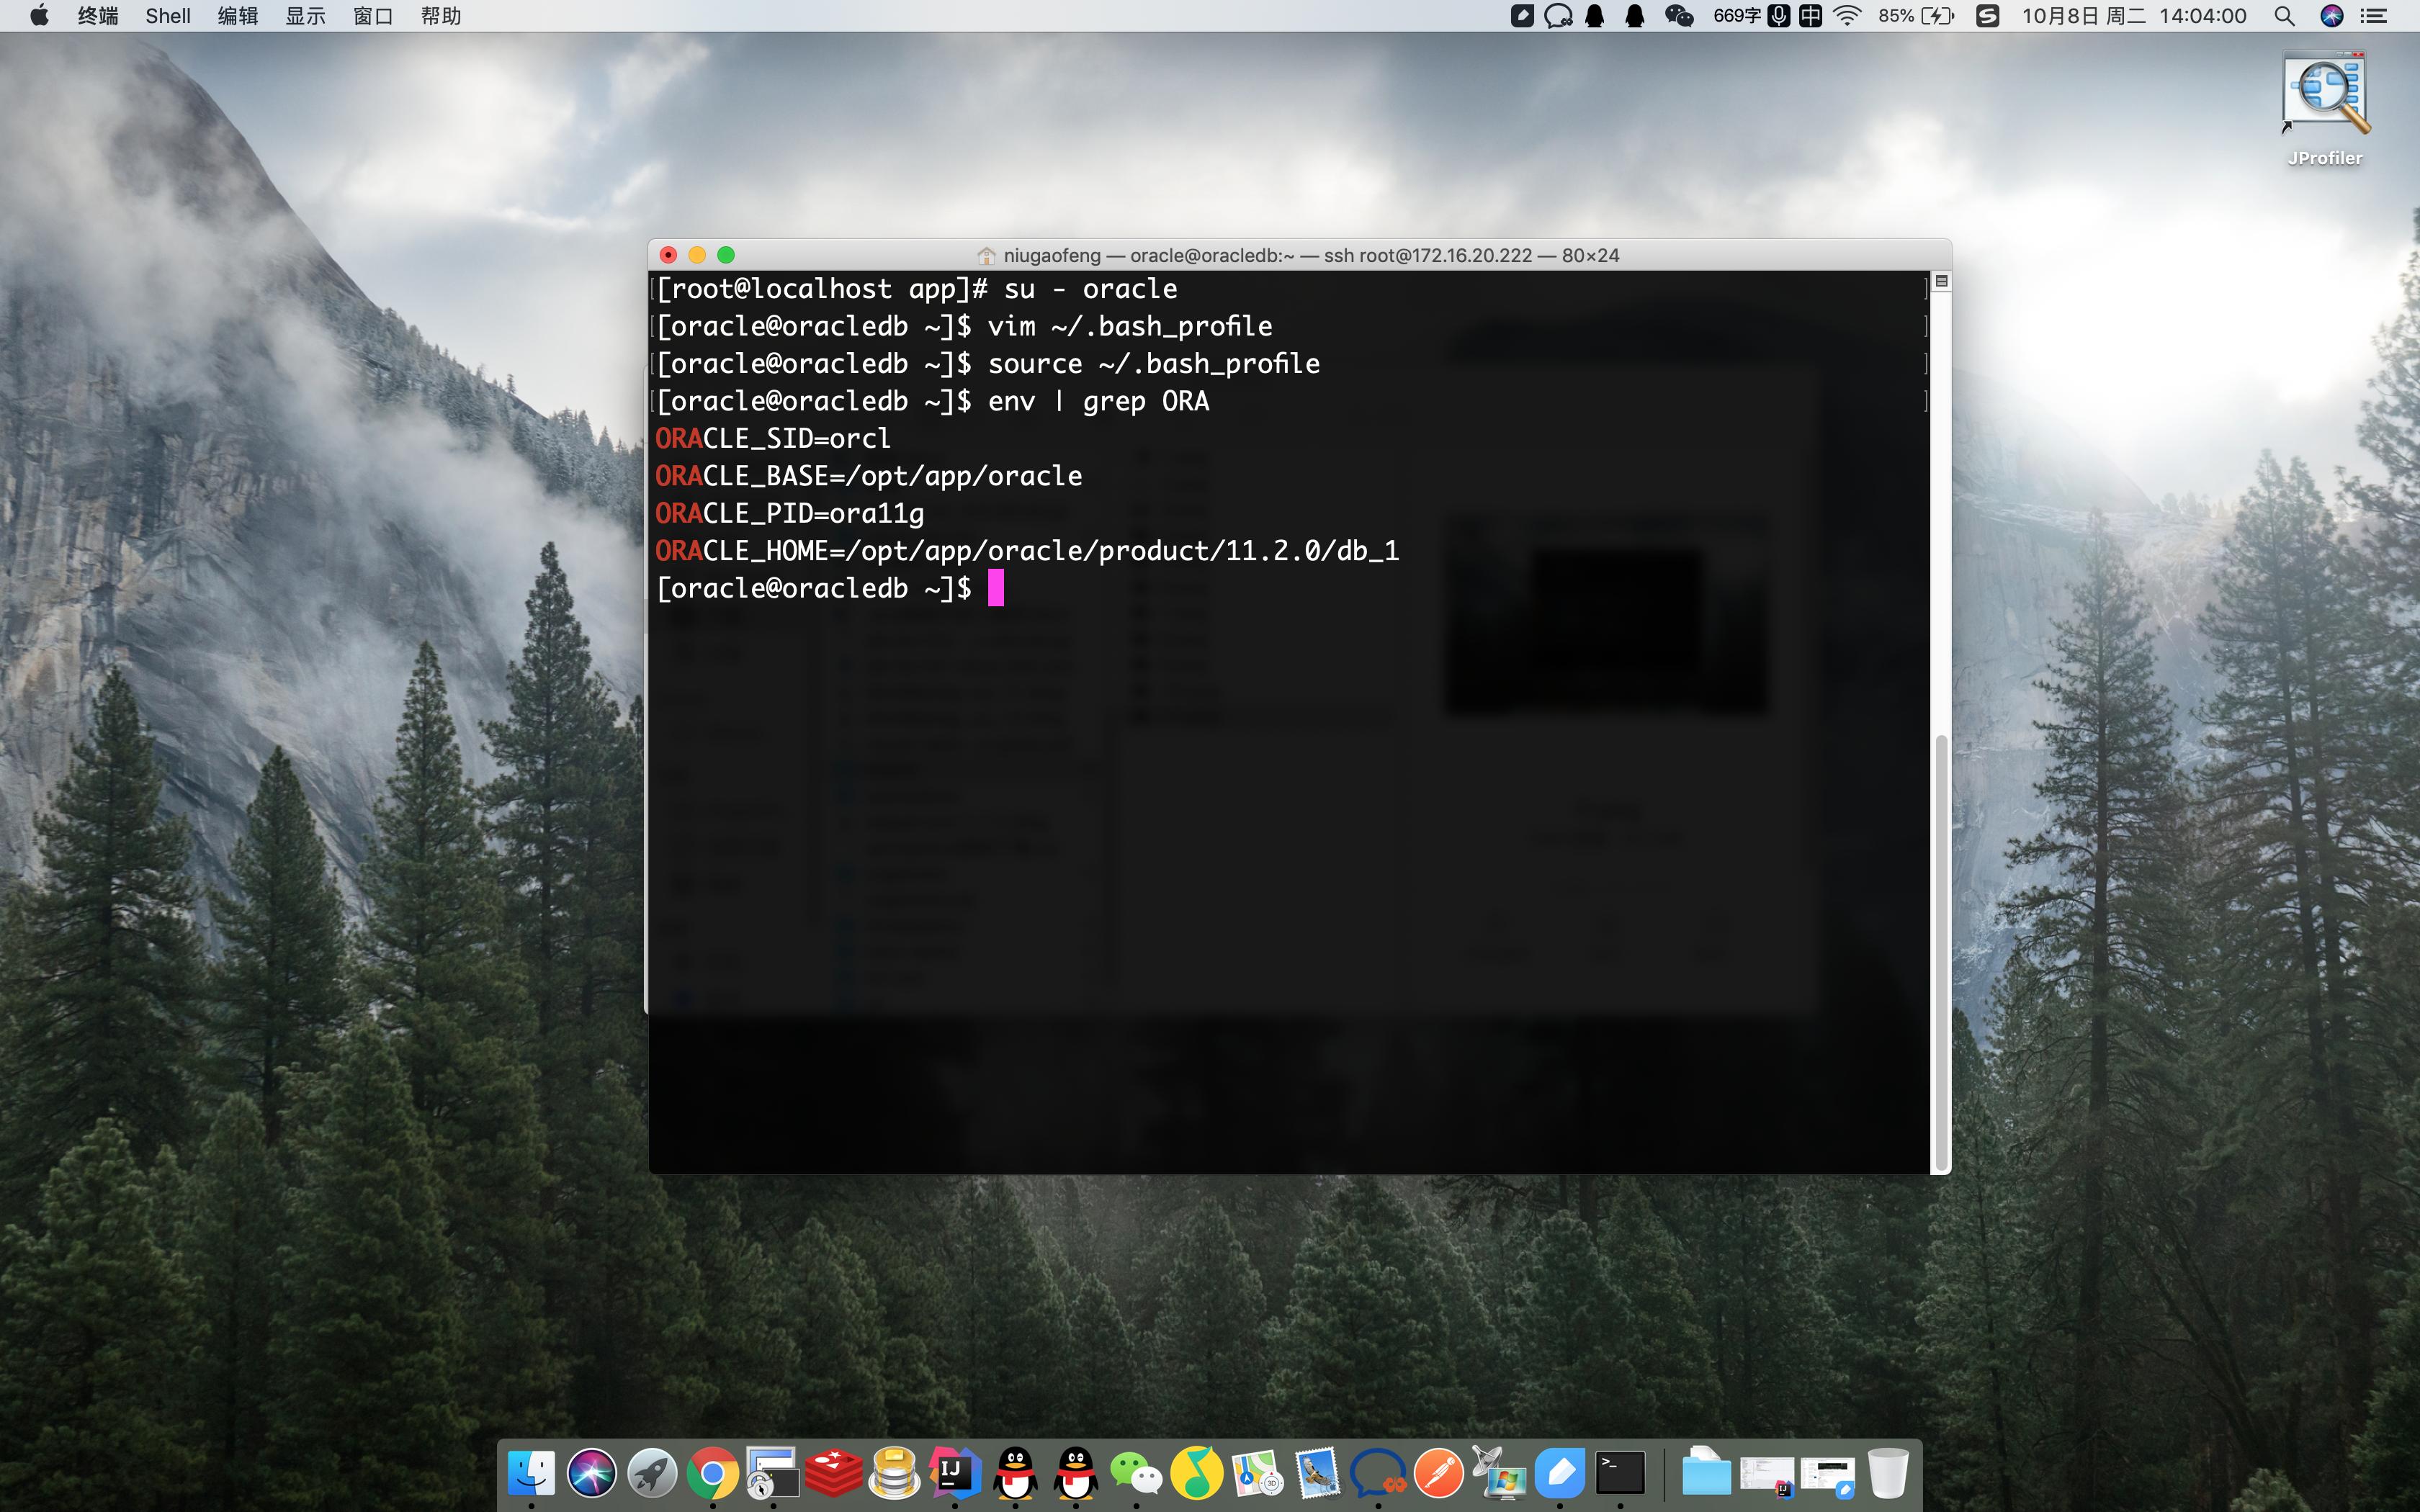
设置环境变量生效
安装及配置
- 安装依赖包所需依赖列表:
- binutils-2.23.52.0.1-12.el7.x86_64
- compat-libcap1-1.10-3.el7.x86_64
- compat-libstdc++-33-3.2.3-71.el7.i686
- compat-libstdc++-33-3.2.3-71.el7.x86_64
- gcc-4.8.2-3.el7.x86_64
- gcc-c++-4.8.2-3.el7.x86_64
- glibc-2.17-36.el7.i686
- glibc-2.17-36.el7.x86_64
- glibc-devel-2.17-36.el7.i686
- glibc-devel-2.17-36.el7.x86_64
- ksh
- libaio-0.3.109-9.el7.i686
- libaio-0.3.109-9.el7.x86_64
- libaio-devel-0.3.109-9.el7.i686
- libaio-devel-0.3.109-9.el7.x86_64
- libgcc-4.8.2-3.el7.i686
- libgcc-4.8.2-3.el7.x86_64
- libstdc++-4.8.2-3.el7.i686
- libstdc++-4.8.2-3.el7.x86_64
- libstdc++-devel-4.8.2-3.el7.i686
- libstdc++-devel-4.8.2-3.el7.x86_64
- libXi-1.7.2-1.el7.i686
- libXi-1.7.2-1.el7.x86_64
- libXtst-1.2.2-1.el7.i686
- libXtst-1.2.2-1.el7.x86_64
- make-3.82-19.el7.x86_64
- sysstat-10.1.5-1.el7.x86_64
- unixODBC-2.3.1-6.el7.x86_64 or later
- unixODBC-2.3.1-6.el7.i686 or later
- unixODBC-devel-2.3.1-6.el7.x86_64 or later
- unixODBC-devel-2.3.1-6.el7.i686 or later
- 使用yum -y install 进行安装(记得切换用户为root)
[root@oracledb oracle]# yum -y install binutils compat-libcap1 compat-libstdc++-33 compat-libstdc++-33*i686 compat-libstdc++-33*.devel compat-libstdc++-33 compat-libstdc++-33*.devel gcc gcc-c++ glibc glibc*.i686 glibc-devel glibc-devel*.i686 ksh libaio libaio*.i686 libaio-devel libaio-devel*.devel libgcc libgcc*.i686 libstdc++ libstdc++*.i686 libstdc++-devel libstdc++-devel*.devel libXi libXi*.i686 libXtst libXtst*.i686 make sysstat unixODBC unixODBC*.i686 unixODBC-devel unixODBC-devel*.i686
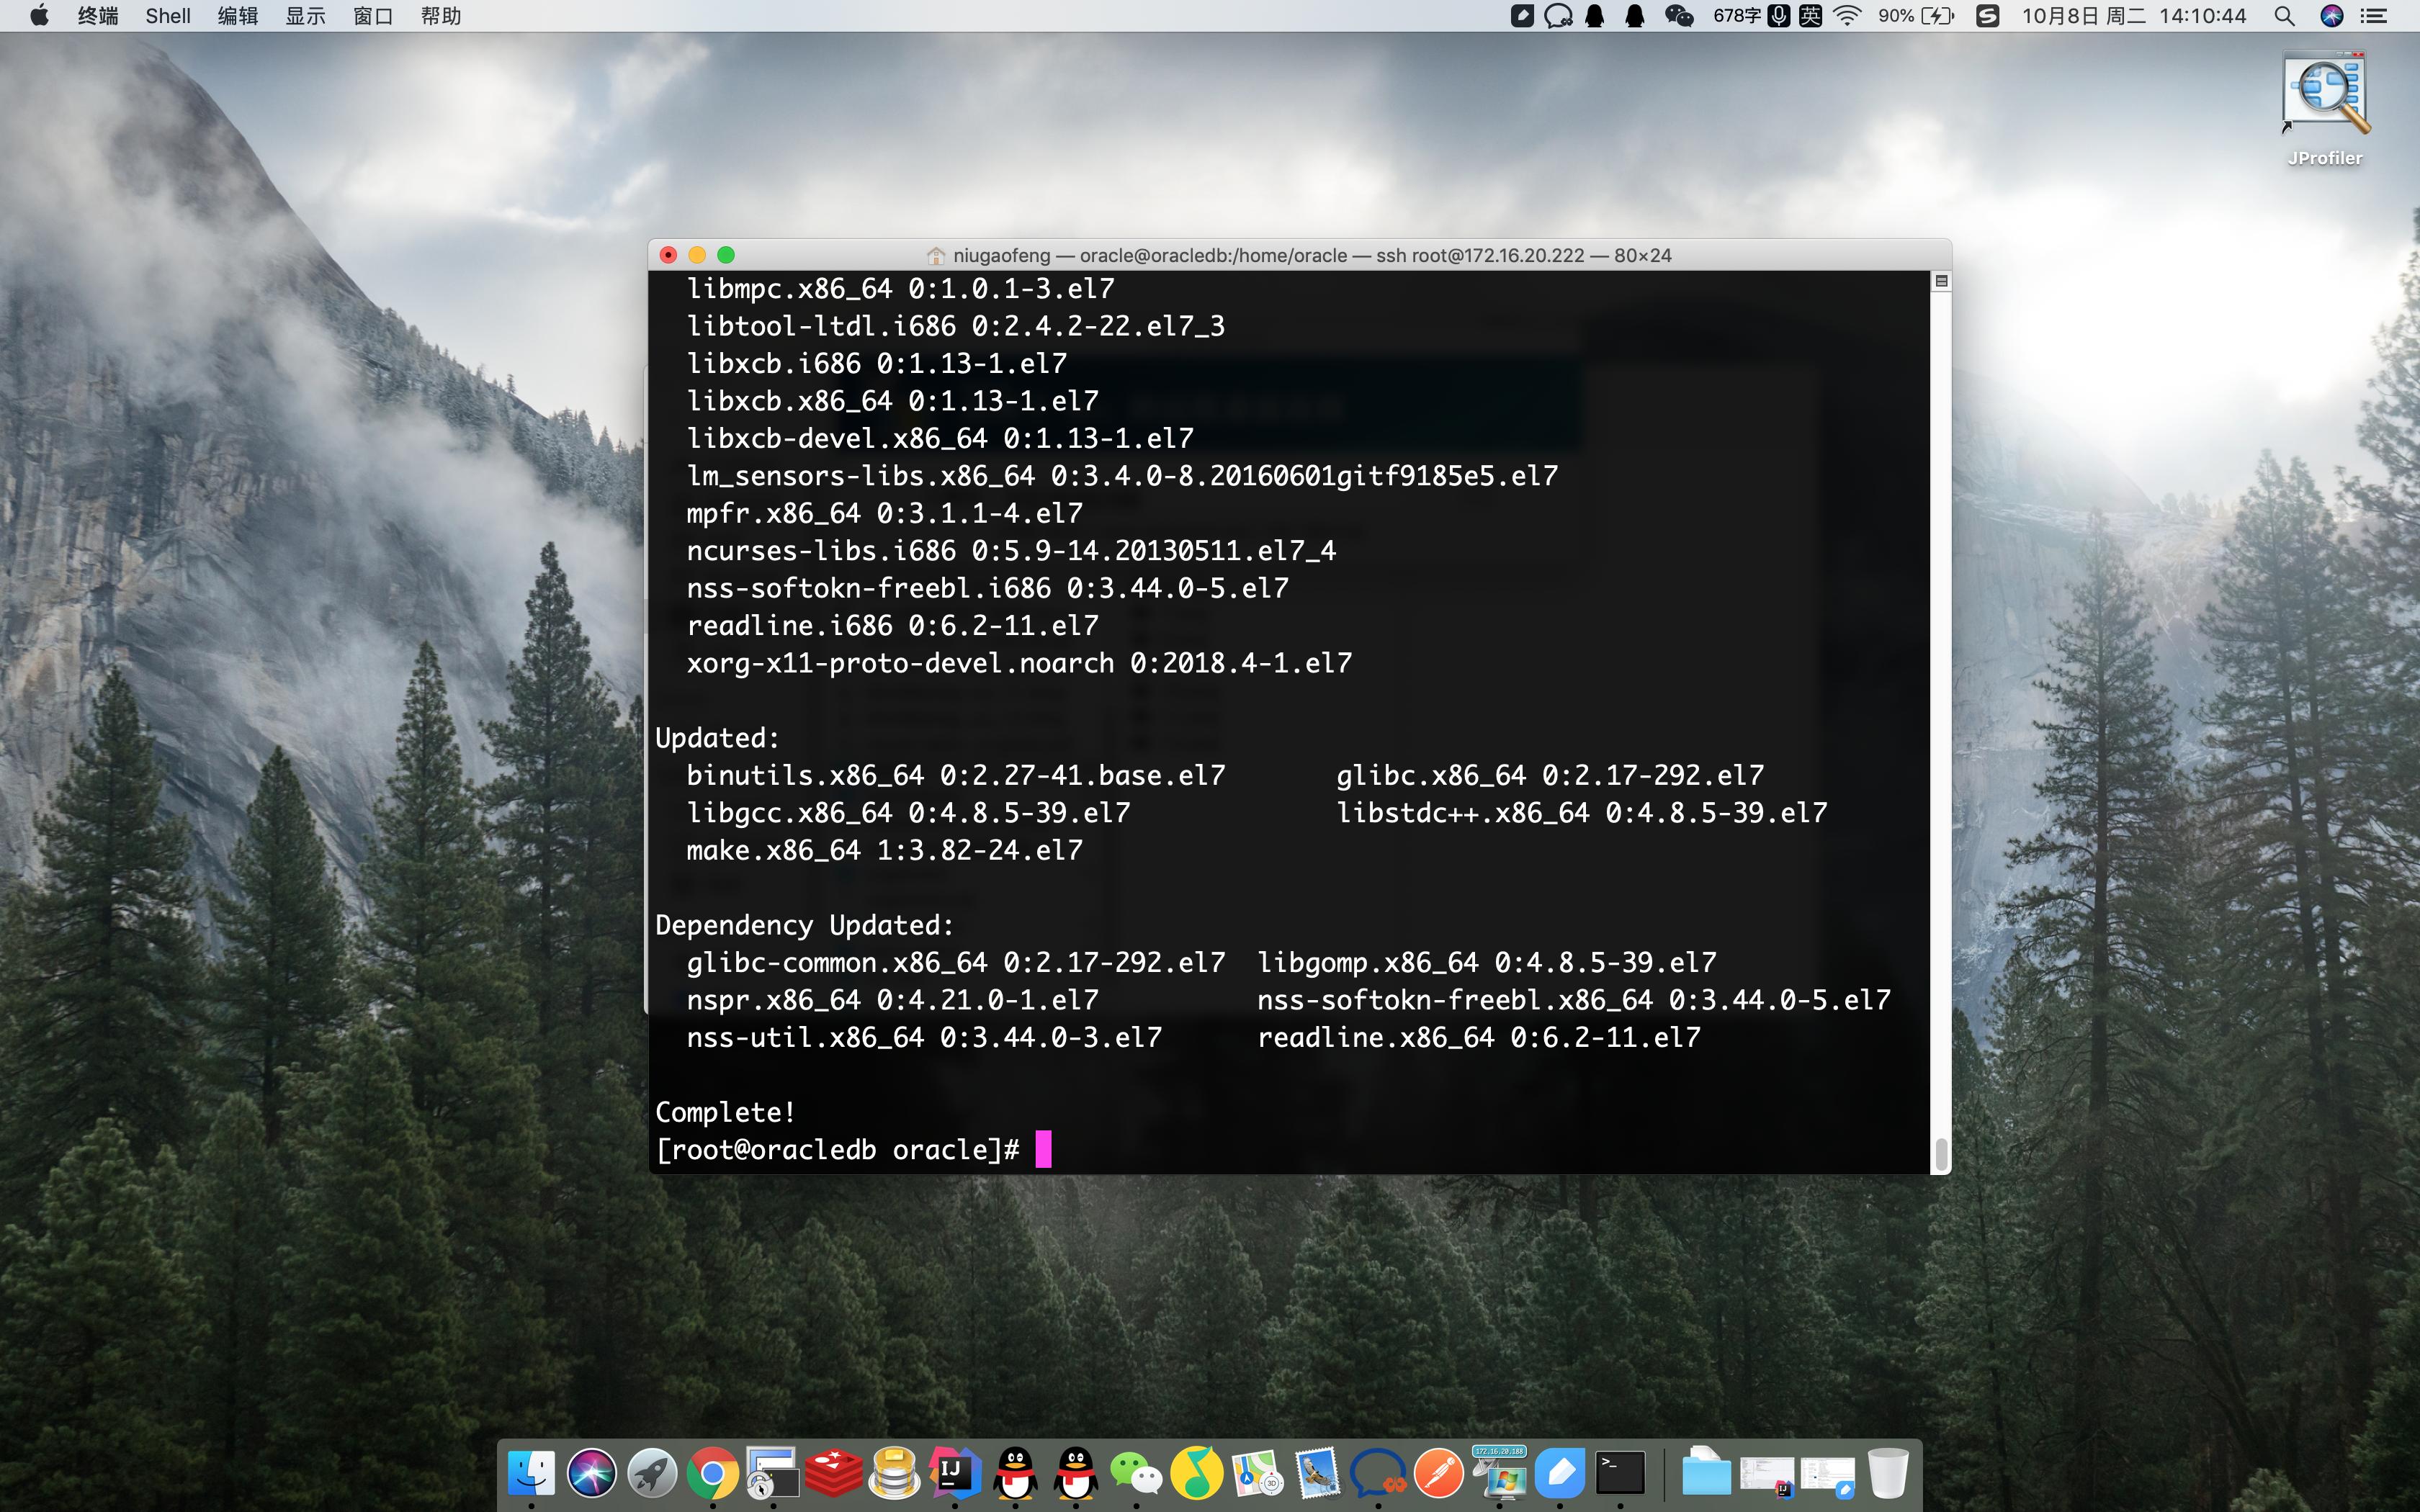
依赖安装
- 检查是否全部已经安装,没安装的单独进行安装
[root@oracledb oracle]# rpm -q binutils compat-libcap1 compat-libstdc++-33 gcc gcc-c++ glibc glibc-devel ksh libaio libaio-devel libgcc libstdc++ libstdc++-devel libXi libXtst make sysstat unixODBC unixODBC-devel
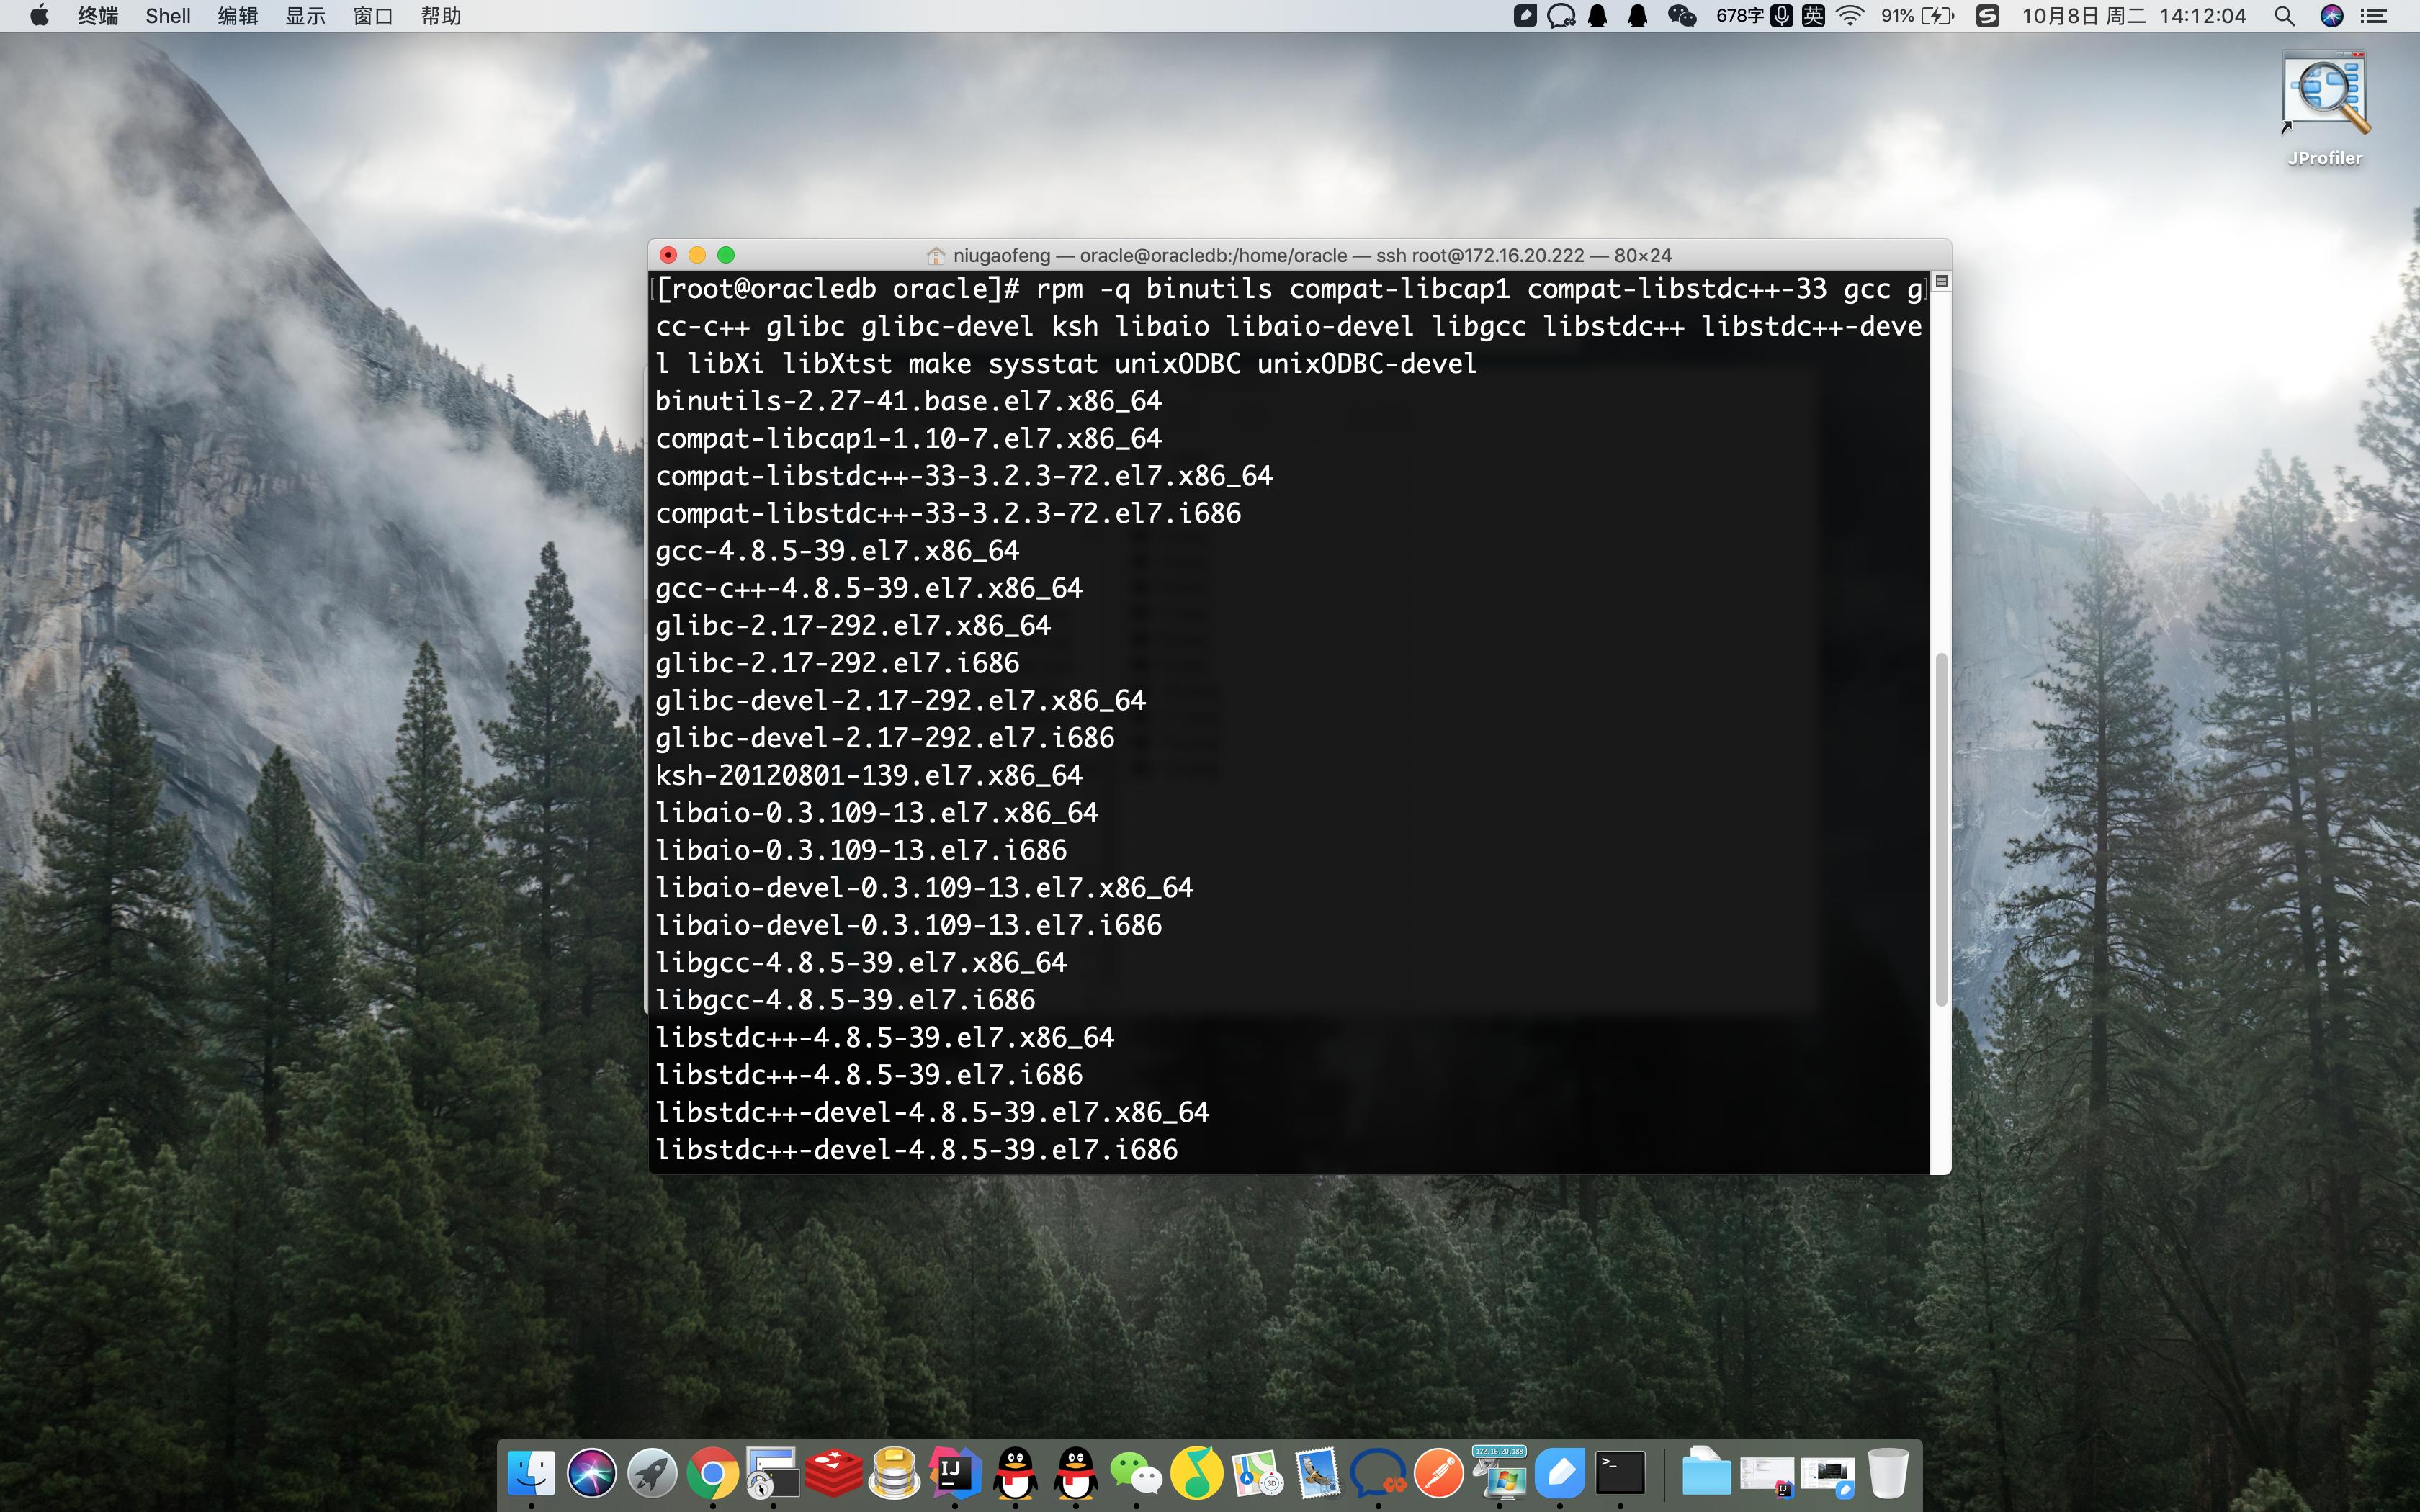
检查依赖
安装Oracle
安装unzip:(如已安装请忽略)
[root@oracledb home]# yum -y install unzip
将*载下**的Oracle压缩包放入/opt目录下,在/opt目录下进行解压
[root@oracledb home]# ls *.zip | xargs -n1 unzip -o
或者
$ unzip linux.x64_11gR2_database_1of2.zip
$ unzip linux.x64_11gR2_database_2of2.zip
解压后得到database,进入database下面的response文件夹,里面有3个文件
[root@oracledb response]# cd /opt/database/response/
[root@oracledb response]# ll
total 76
-rw-rw-r--. 1 root root 44969 Feb 13 2009 dbca.rsp #创建数据库应答
-rw-rw-r--. 1 root root 22557 Aug 15 2009 db_install.rsp #安装应答
-rwxrwxr-x. 1 root root 5740 Feb 26 2009 netca.rsp #建立监听、本地服务名等网络设置的应答
[root@oracledb response]#
将db_install.rsp备份一份,在其基础上修改内容
修改静默安装的配置文件
[root@oracledb response]# vim db_install.rsp #按照下方的参数进行修改
oracle.install.responseFileVersion=/oracle/install/rspfmt_dbinstall_response_schema_v11_2_0
oracle.install.option=INSTALL_DB_SWONLY
ORACLE_HOSTNAME=oracledb
UNIX_GROUP_NAME=oinstall
INVENTORY_LOCATION=/opt/app/oracle/oraInventory
SELECTED_LANGUAGES=en,zh_CN
ORACLE_HOME=/opt/app/oracle/product/11.2.0/db_1
ORACLE_BASE=/opt/app/oracle
oracle.install.db.InstallEdition=EE
oracle.install.db.isCustomInstall=false
oracle.install.db.customComponents=oracle.server:11.2.0.1.0,oracle.sysman.ccr:10.2.7.0.0,oracle.xdk:11.2.0.1.0,oracle.rdbms.oci:11.2.0.1.0,oracle.network:11.2.0.1.0,oracle.network.listener:11.2.0.1.0,oracle.rdbms:11.2.0.1.0,oracle.options:11.2.0.1.0,oracle.rdbms.partitioning:11.2.0.1.0,oracle.oraolap:11.2.0.1.0,oracle.rdbms.dm:11.2.0.1.0,oracle.rdbms.dv:11.2.0.1.0,orcle.rdbms.lbac:11.2.0.1.0,oracle.rdbms.rat:11.2.0.1.0
oracle.install.db.DBA_GROUP=dba
oracle.install.db.OPER_GROUP=oinstall
oracle.install.db.CLUSTER_NODES=
oracle.install.db.config.starterdb.type=GENERAL_PURPOSE
oracle.install.db.config.starterdb.globalDBName=ora11g
oracle.install.db.config.starterdb.SID=ora11g
oracle.install.db.config.starterdb.characterSet=AL32UTF8
oracle.install.db.config.starterdb.memoryOption=true
oracle.install.db.config.starterdb.memoryLimit=1500
oracle.install.db.config.starterdb.installExampleSchemas=false
oracle.install.db.config.starterdb.enableSecuritySettings=true
oracle.install.db.config.starterdb.password.ALL=oracle
oracle.install.db.config.starterdb.password.SYS=
oracle.install.db.config.starterdb.password.SYSTEM=
oracle.install.db.config.starterdb.password.SYSMAN=
oracle.install.db.config.starterdb.password.DBSNMP=
oracle.install.db.config.starterdb.control=DB_CONTROL
oracle.install.db.config.starterdb.gridcontrol.gridControlServiceURL=
oracle.install.db.config.starterdb.dbcontrol.enableEmailNotification=false
oracle.install.db.config.starterdb.dbcontrol.emailAddress=
oracle.install.db.config.starterdb.dbcontrol.SMTPServer=
oracle.install.db.config.starterdb.automatedBackup.enable=false
oracle.install.db.config.starterdb.automatedBackup.osuid=
oracle.install.db.config.starterdb.automatedBackup.ospwd=
oracle.install.db.config.starterdb.storageType=FILE_SYSTEM_STORAGE
oracle.install.db.config.starterdb.fileSystemStorage.dataLocation=
oracle.install.db.config.starterdb.fileSystemStorage.recoveryLocation=
oracle.install.db.config.asm.diskGroup=
oracle.install.db.config.asm.ASMSNMPPassword=
MYORACLESUPPORT_USERNAME=
MYORACLESUPPORT_PASSWORD=
SECURITY_UPDATES_VIA_MYORACLESUPPORT=
DECLINE_SECURITY_UPDATES=true //一定要设为 true
PROXY_HOST=
PROXY_PORT=
PROXY_USER=
PROXY_PWD=
开始静默安装,使用oracle用户
[root@oracledb database]# su oracle
[oracle@oracledb response]# cd /opt/database/ #进入/opt/database目录
[oracle@oracledb database]# ./runInstaller -silent -force -responseFile /opt/database/response/db_install.rsp
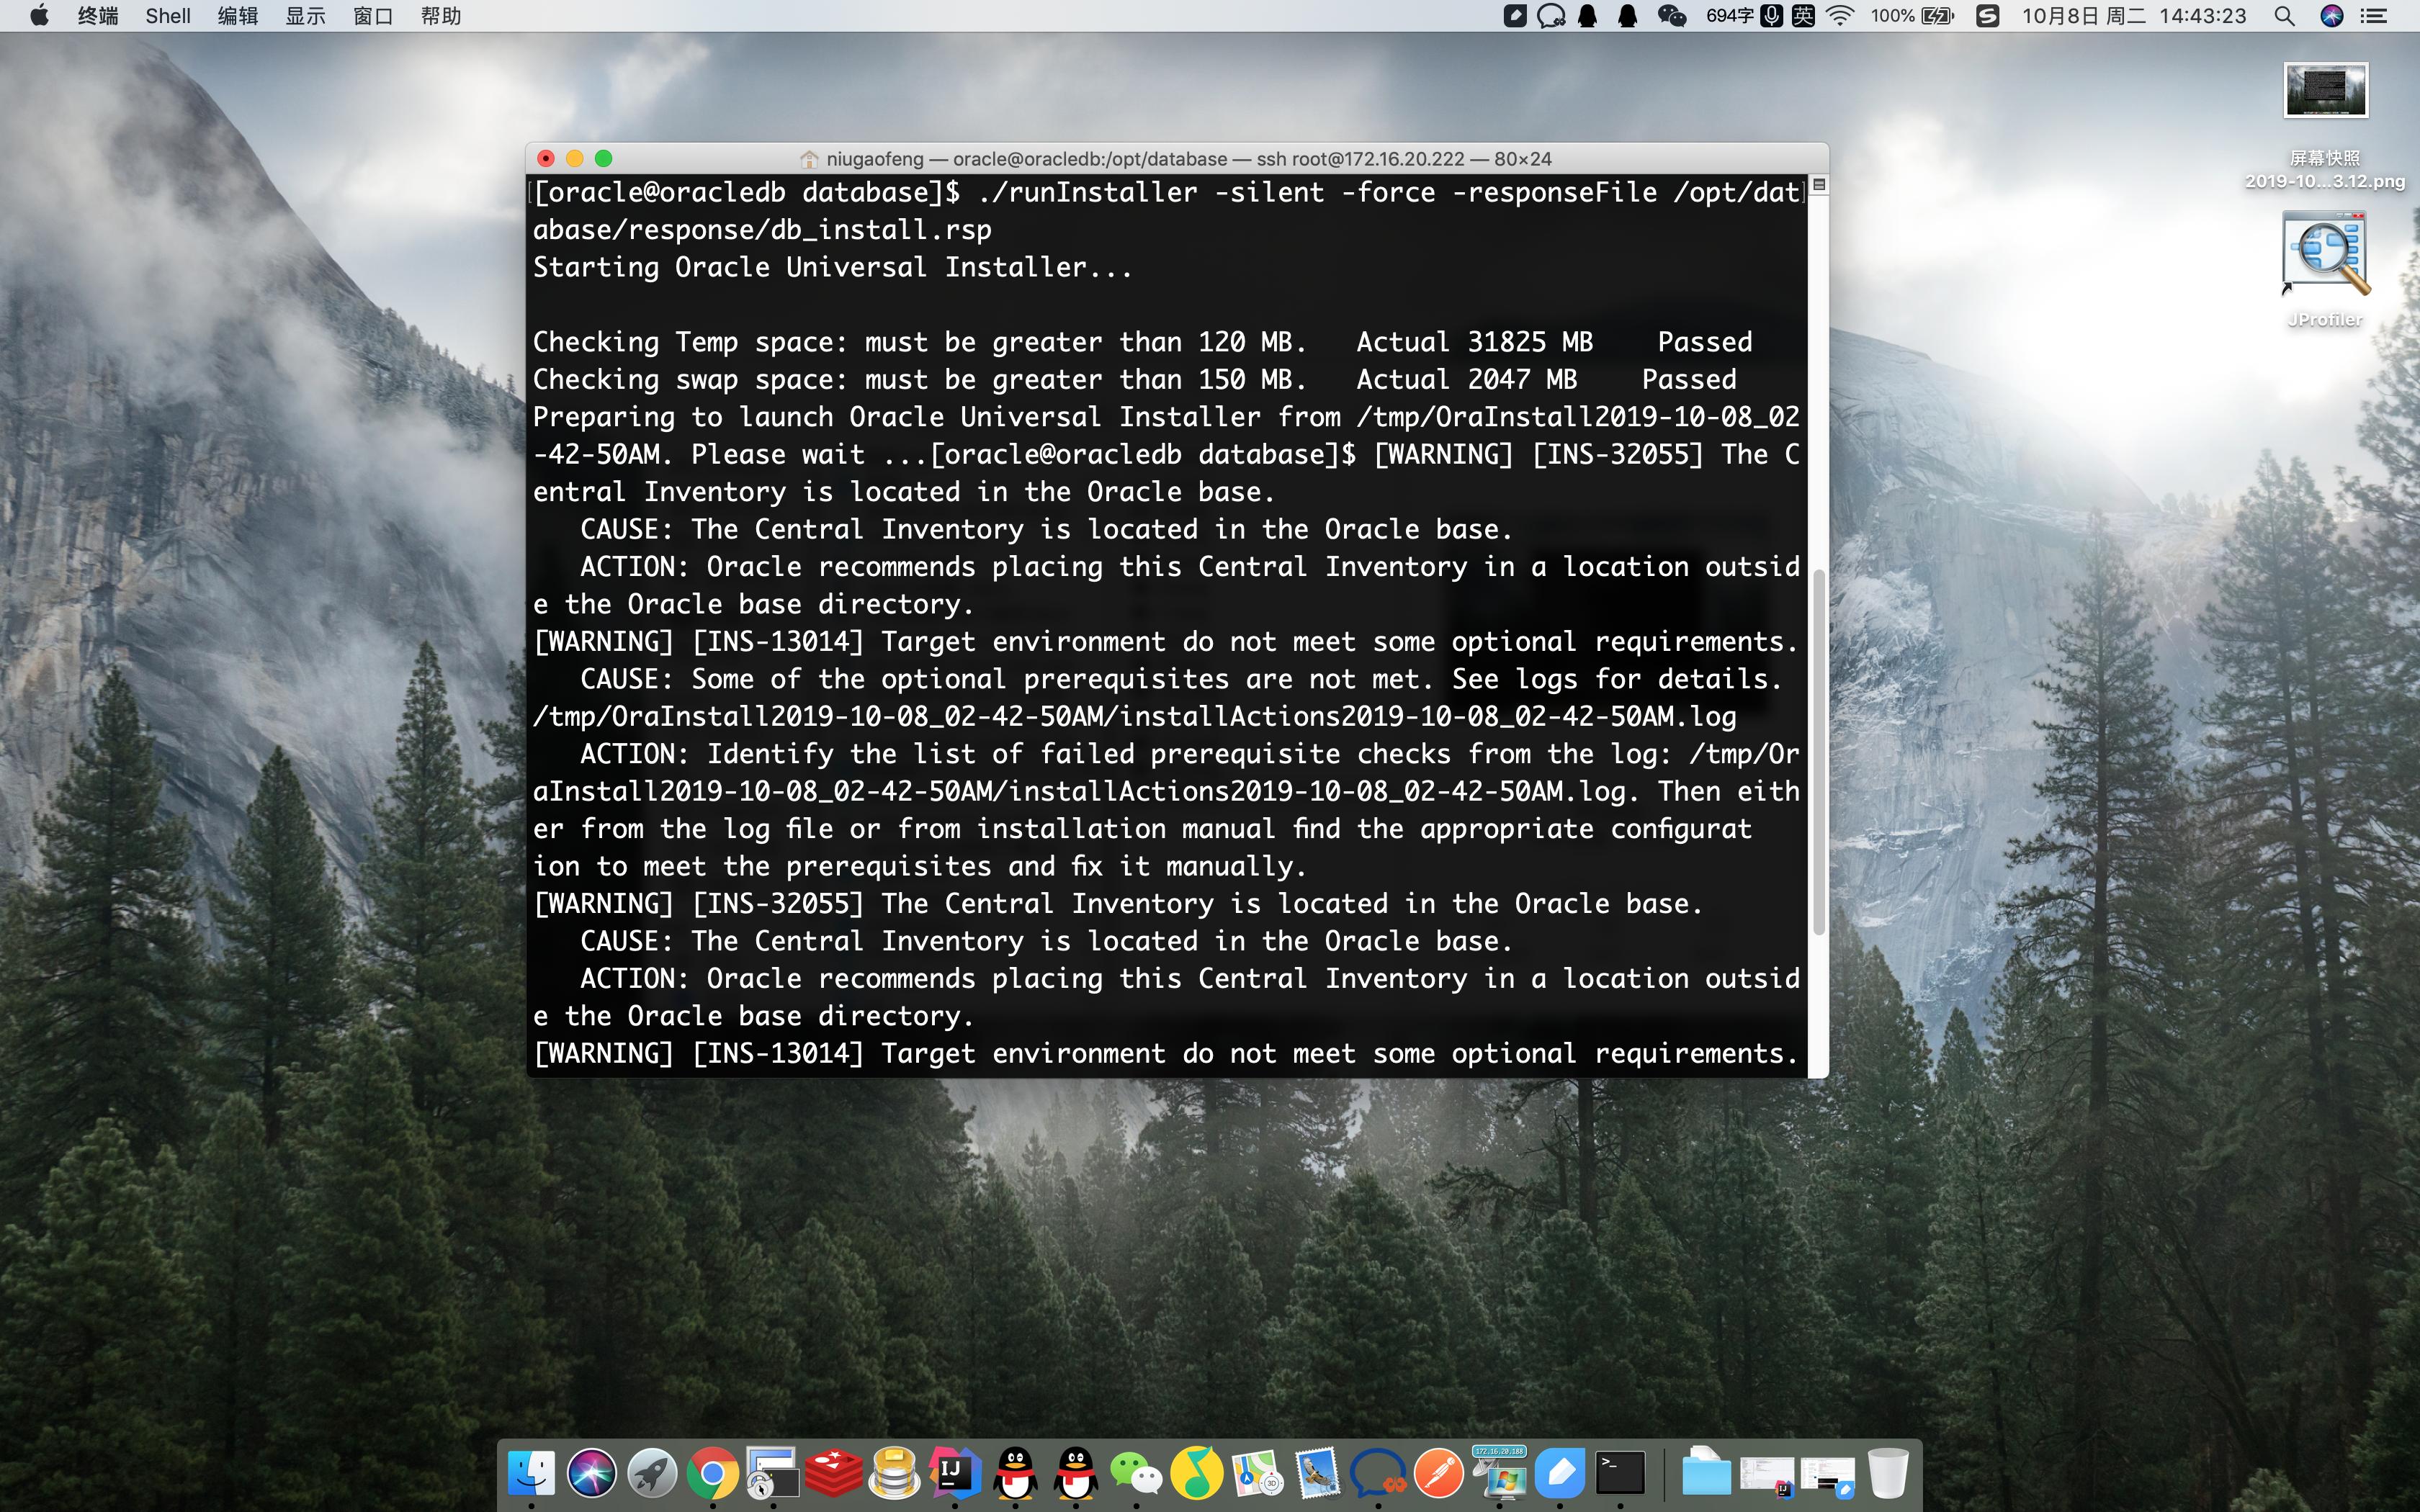
安装过程
[WARING]可暂时忽略,此时安装程序仍在后台进行,如果出现[FATAL],则安装程序已经停止了。
安装需要一会儿,如果想看安装进度,可以再打开一个窗口,输出会话日志
tail -f 日志路径 #日志文件(下图中红色框中未日志文件绝对路径)
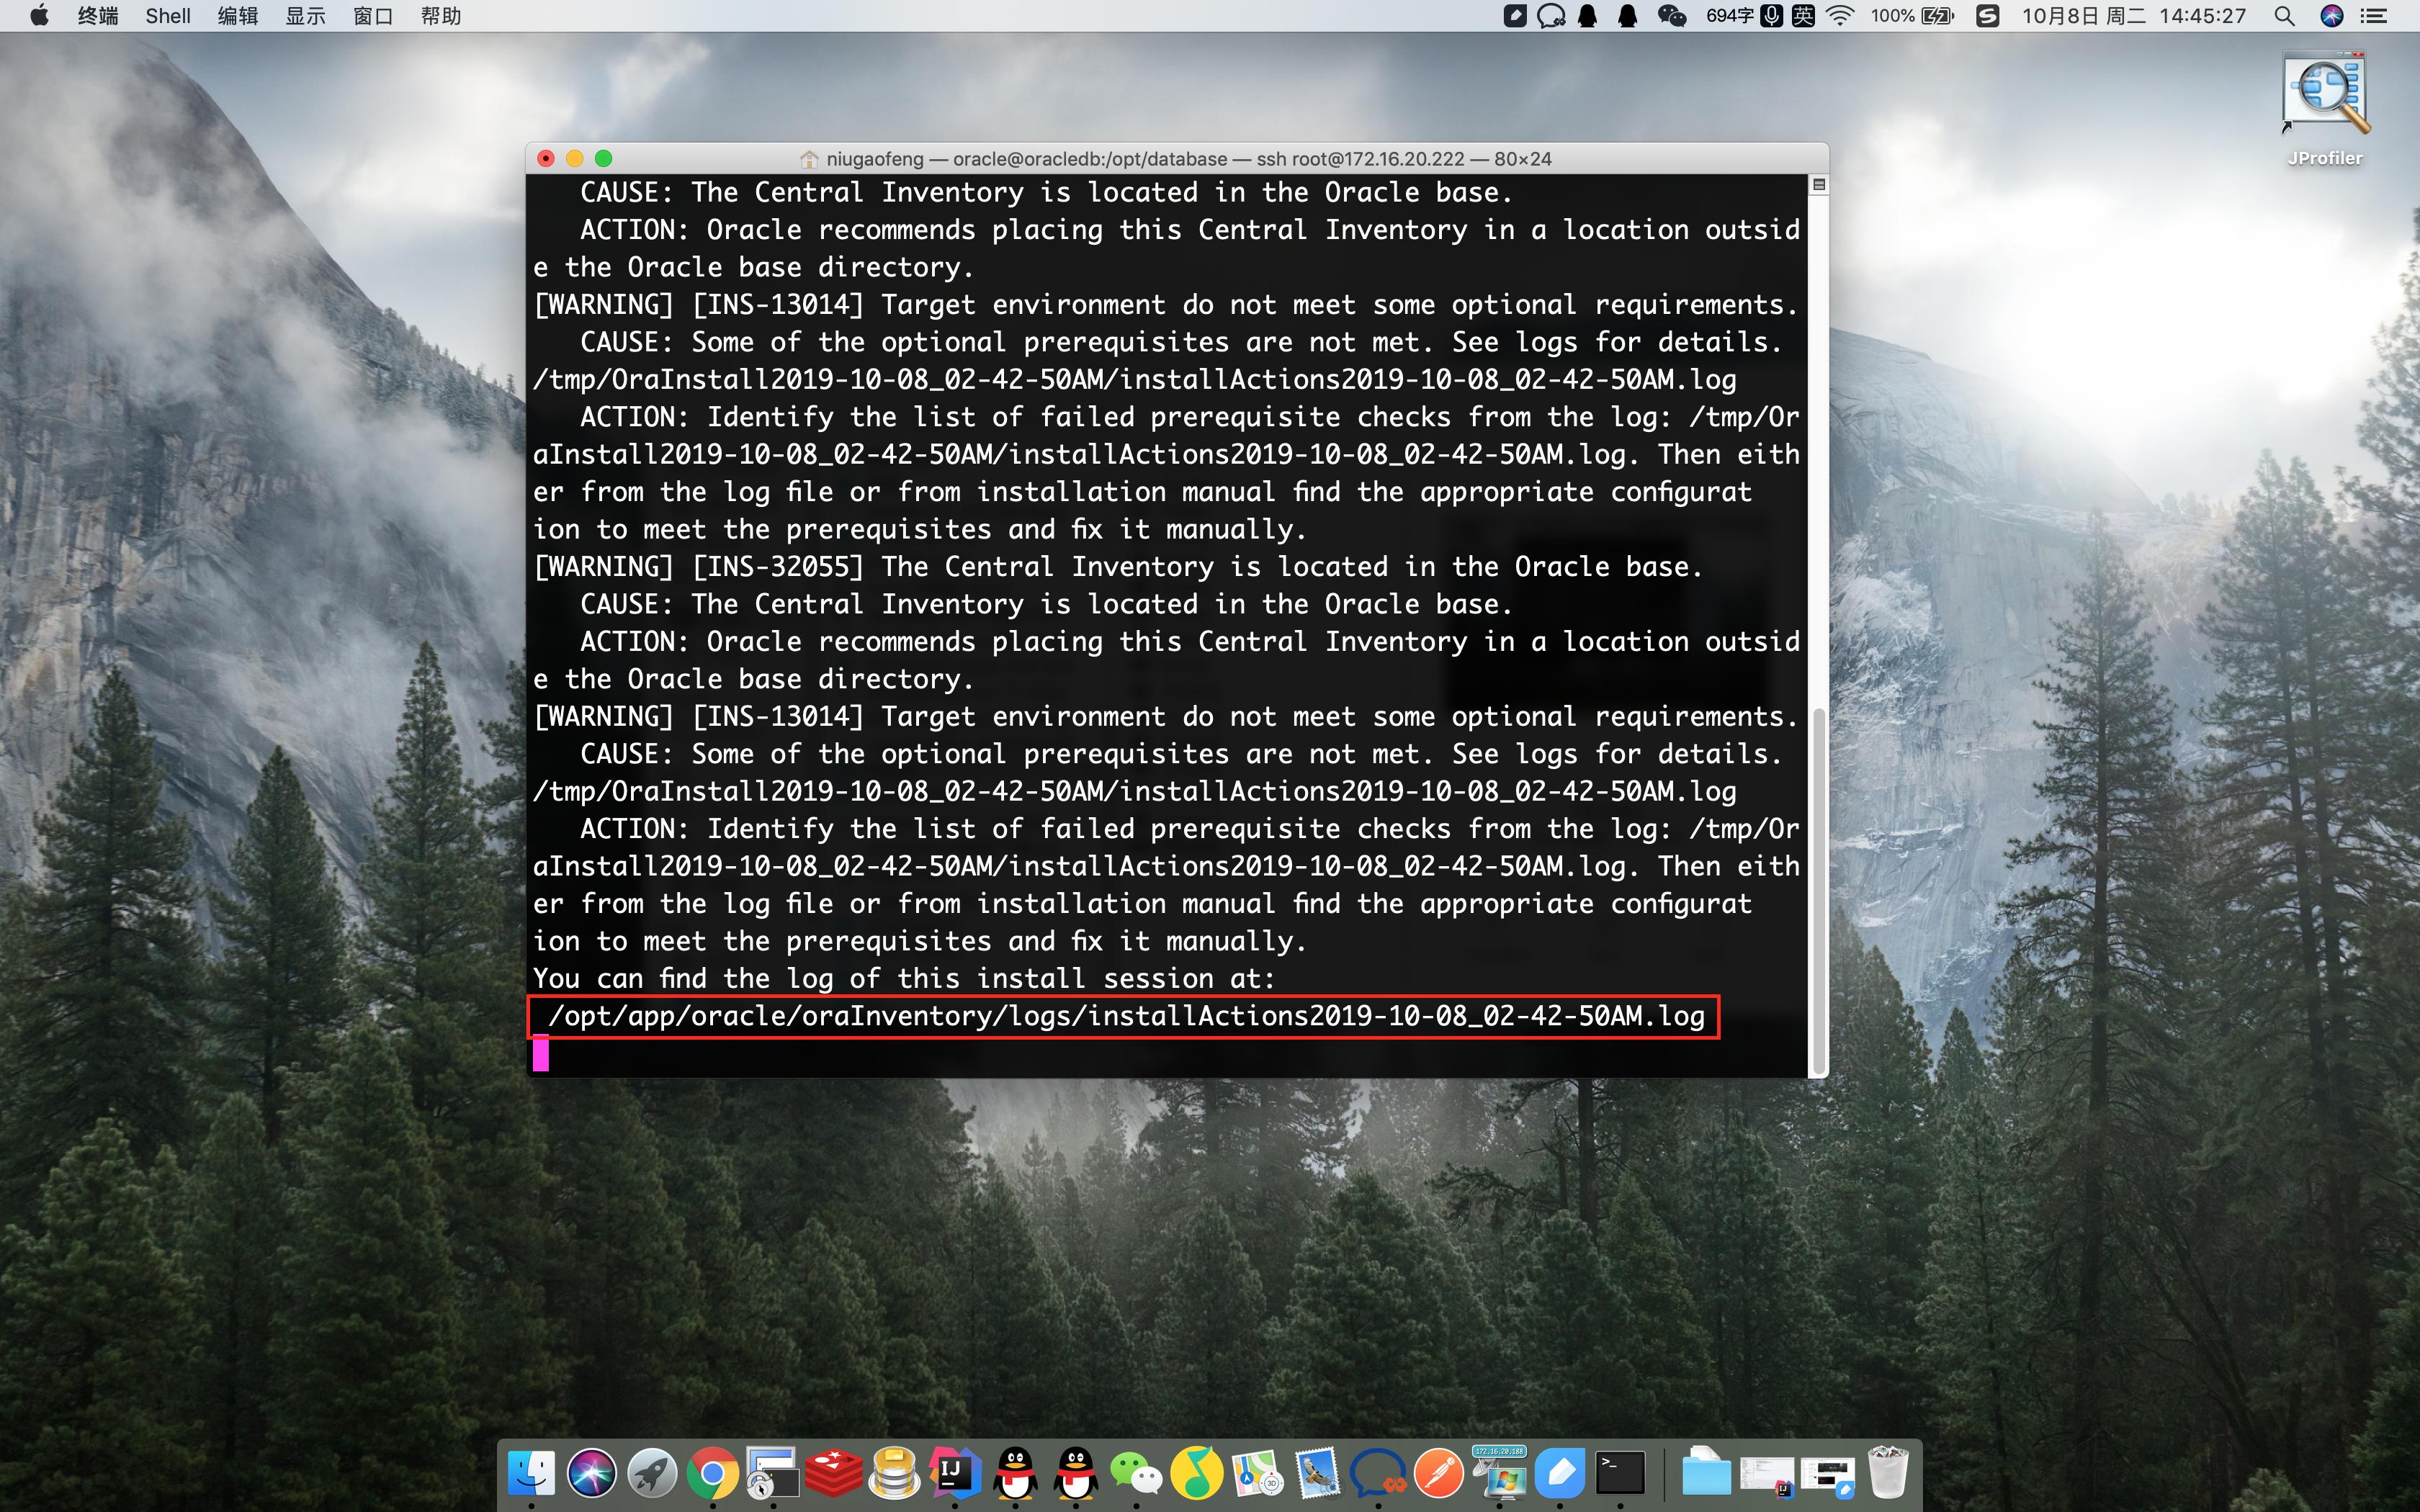
当出现Successfully Setup Software.证明已经安装成功,然后根据提示以root用户执行脚本
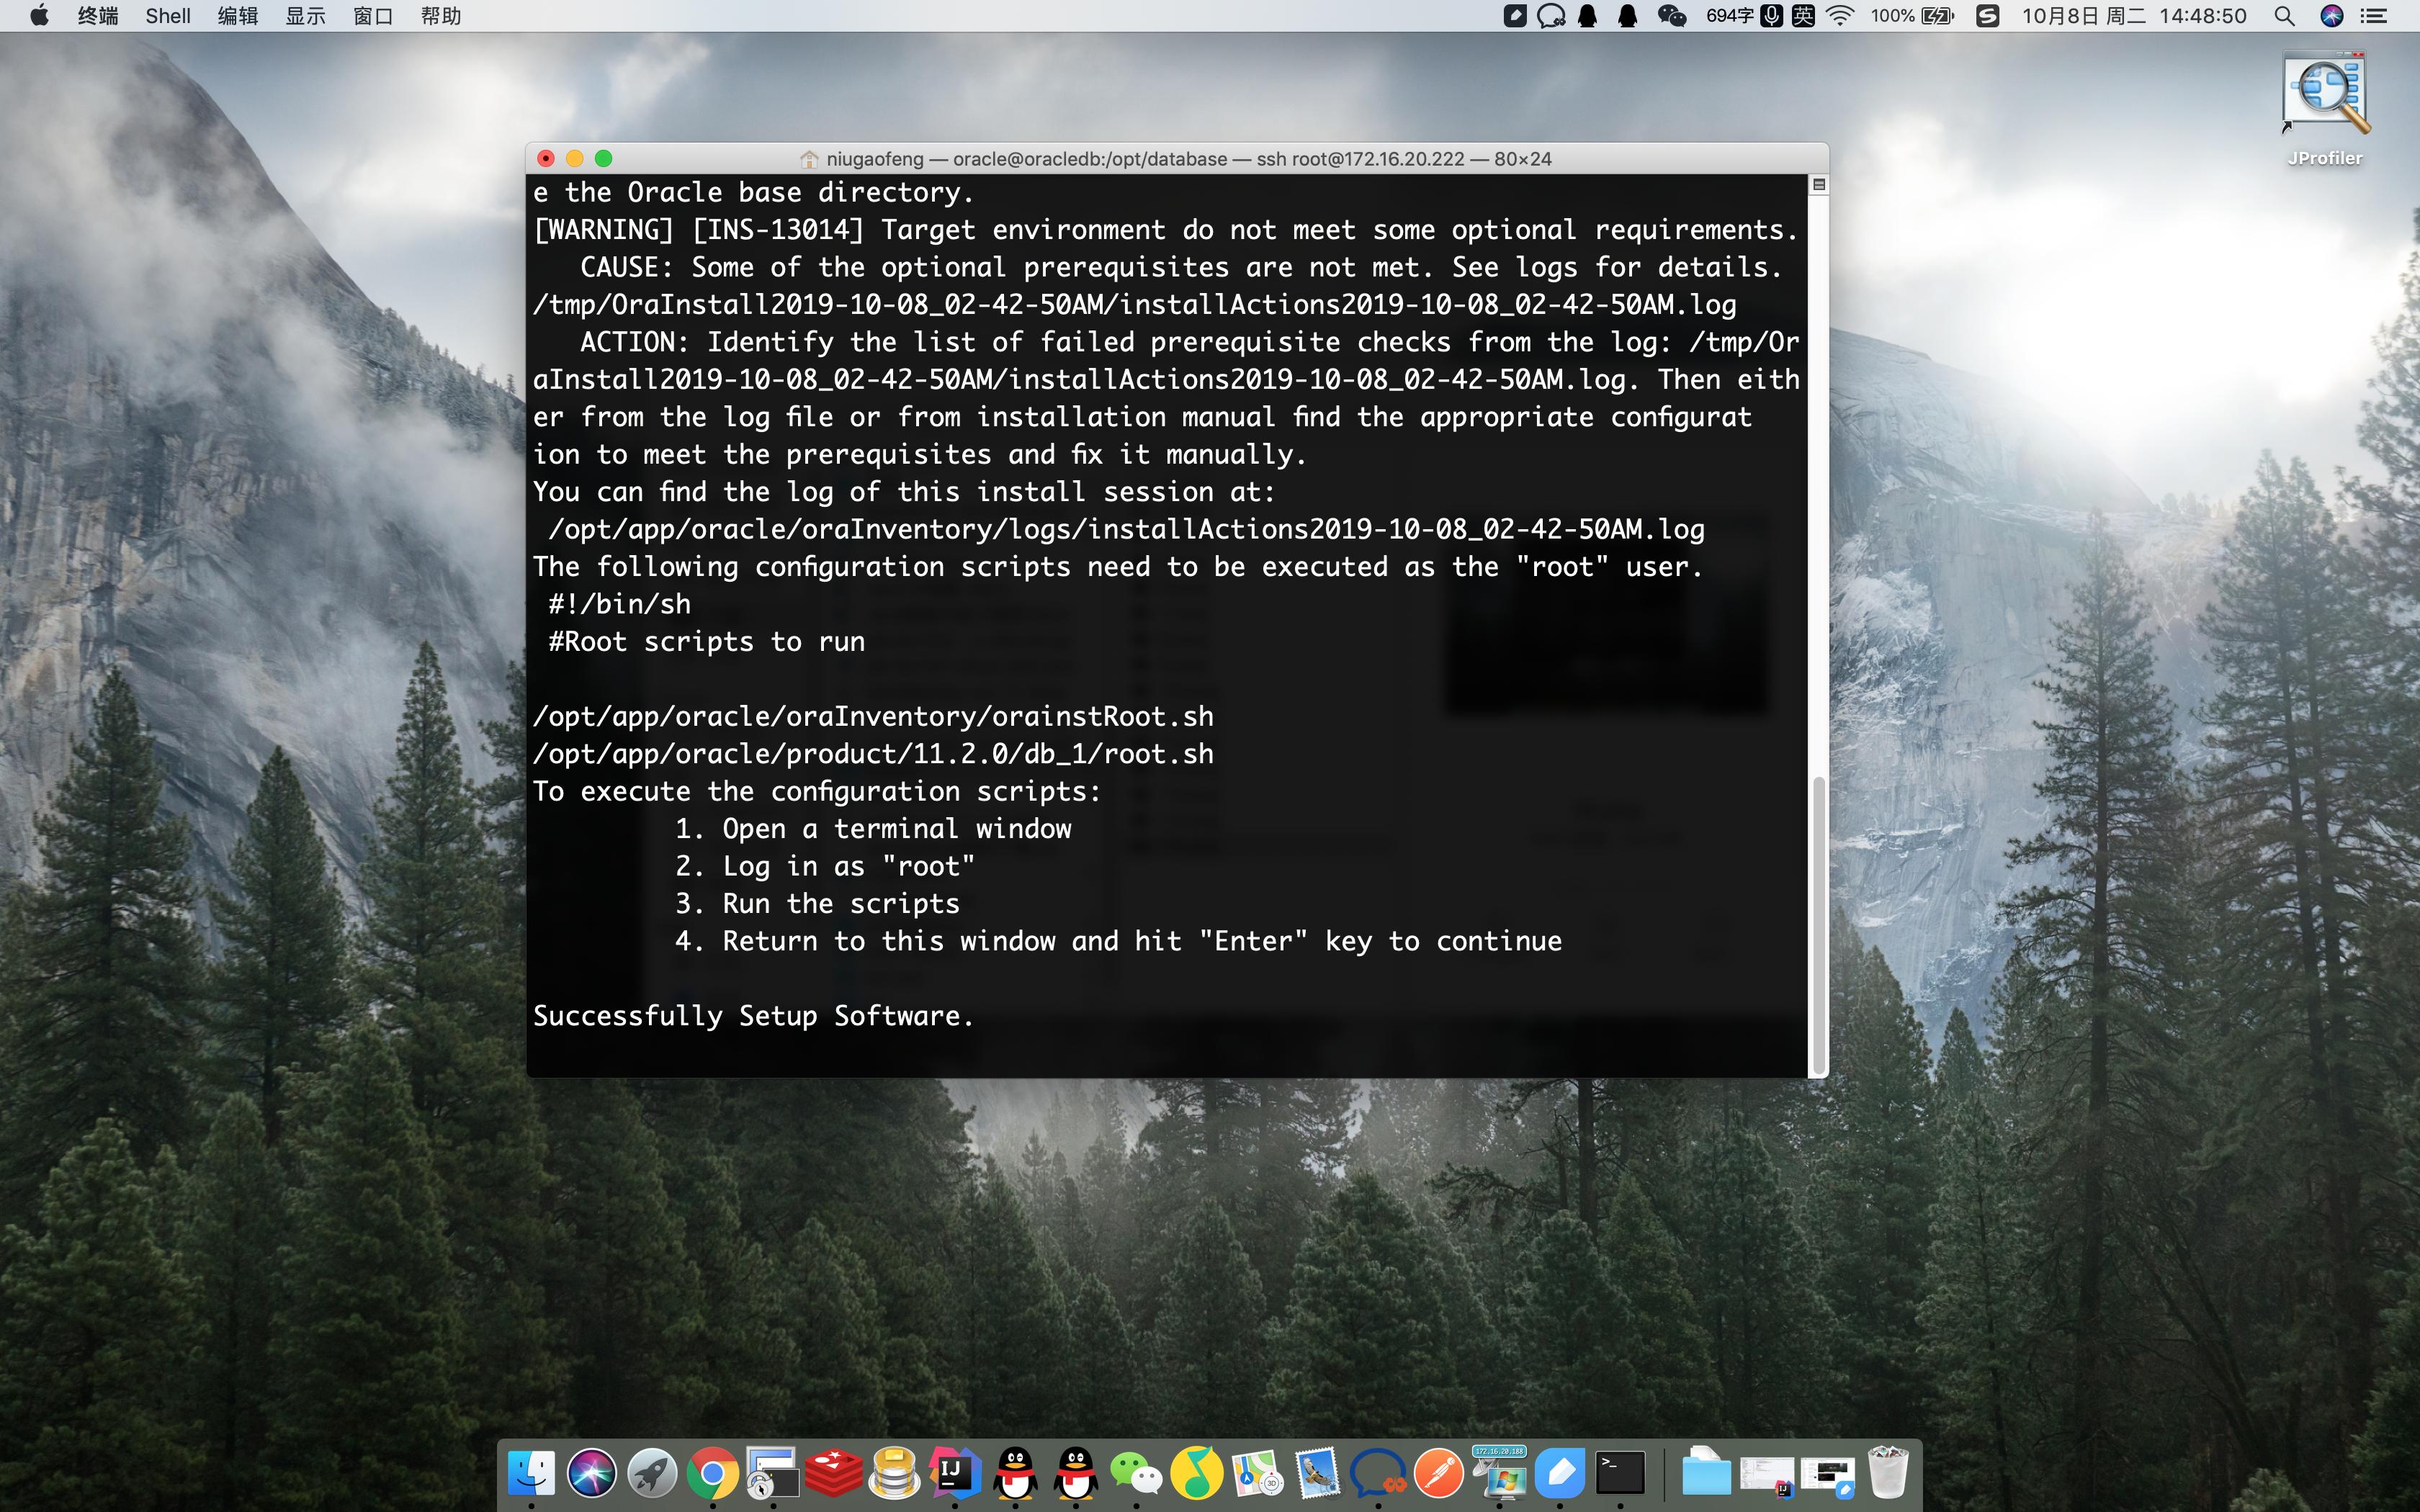
安装成功
[oracle@oracledb database]$ su root
Password:
[root@oracledb database]# sh /opt/app/oracle/oraInventory/orainstRoot.sh
Changing permissions of /opt/app/oracle/oraInventory.
Adding read,write permissions for group.
Removing read,write,execute permissions for world.
Changing groupname of /opt/app/oracle/oraInventory to oinstall.
The execution of the script is complete.
[root@oracledb database]# sh /opt/app/oracle/product/11.2.0/db_1/root.sh
Check /opt/app/oracle/product/11.2.0/db_1/install/root_oracledb_2019-10-08_02-50-55.log for the output of root script
- 配置监听程序
监听命令(注意:一定要切换回oracle用户)
启动监听:
[oracle@oracledb database]# lsnrctl start
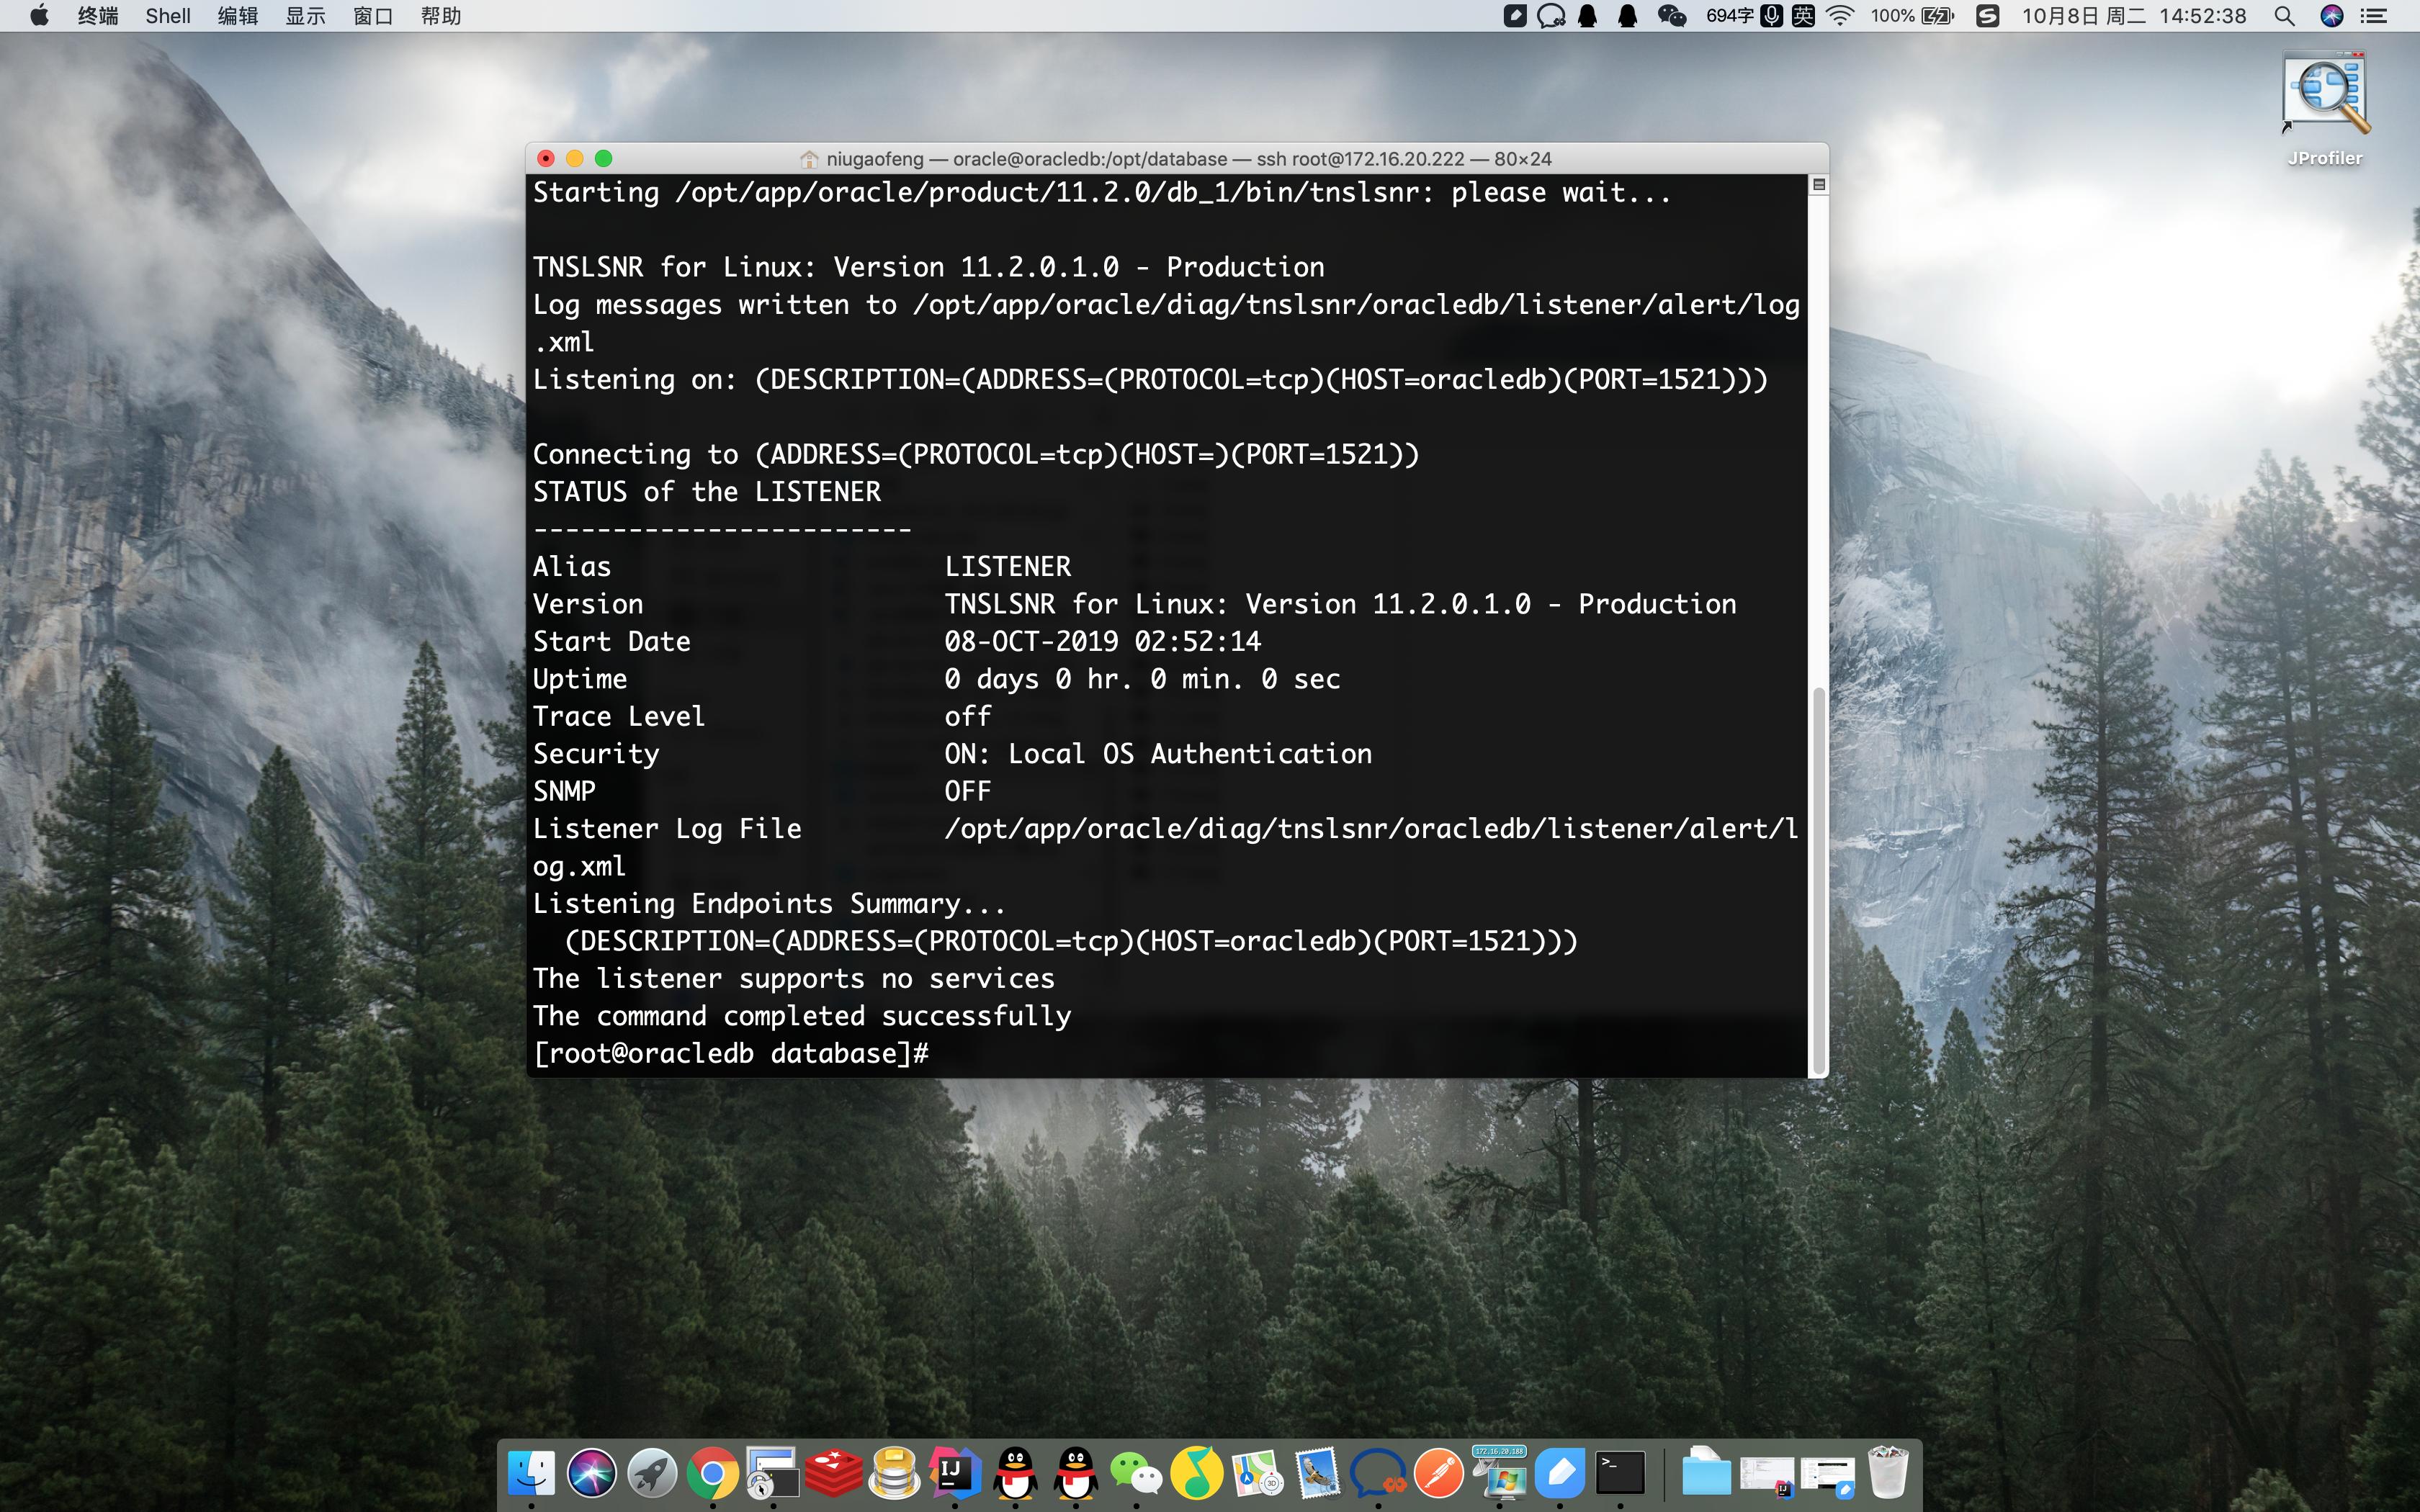
启动监听
重启监听:
[root@oracledb database]# lsnrctl reload

重启监听
停止监听:
[oracle@oracledb database]# lsnrctl stop
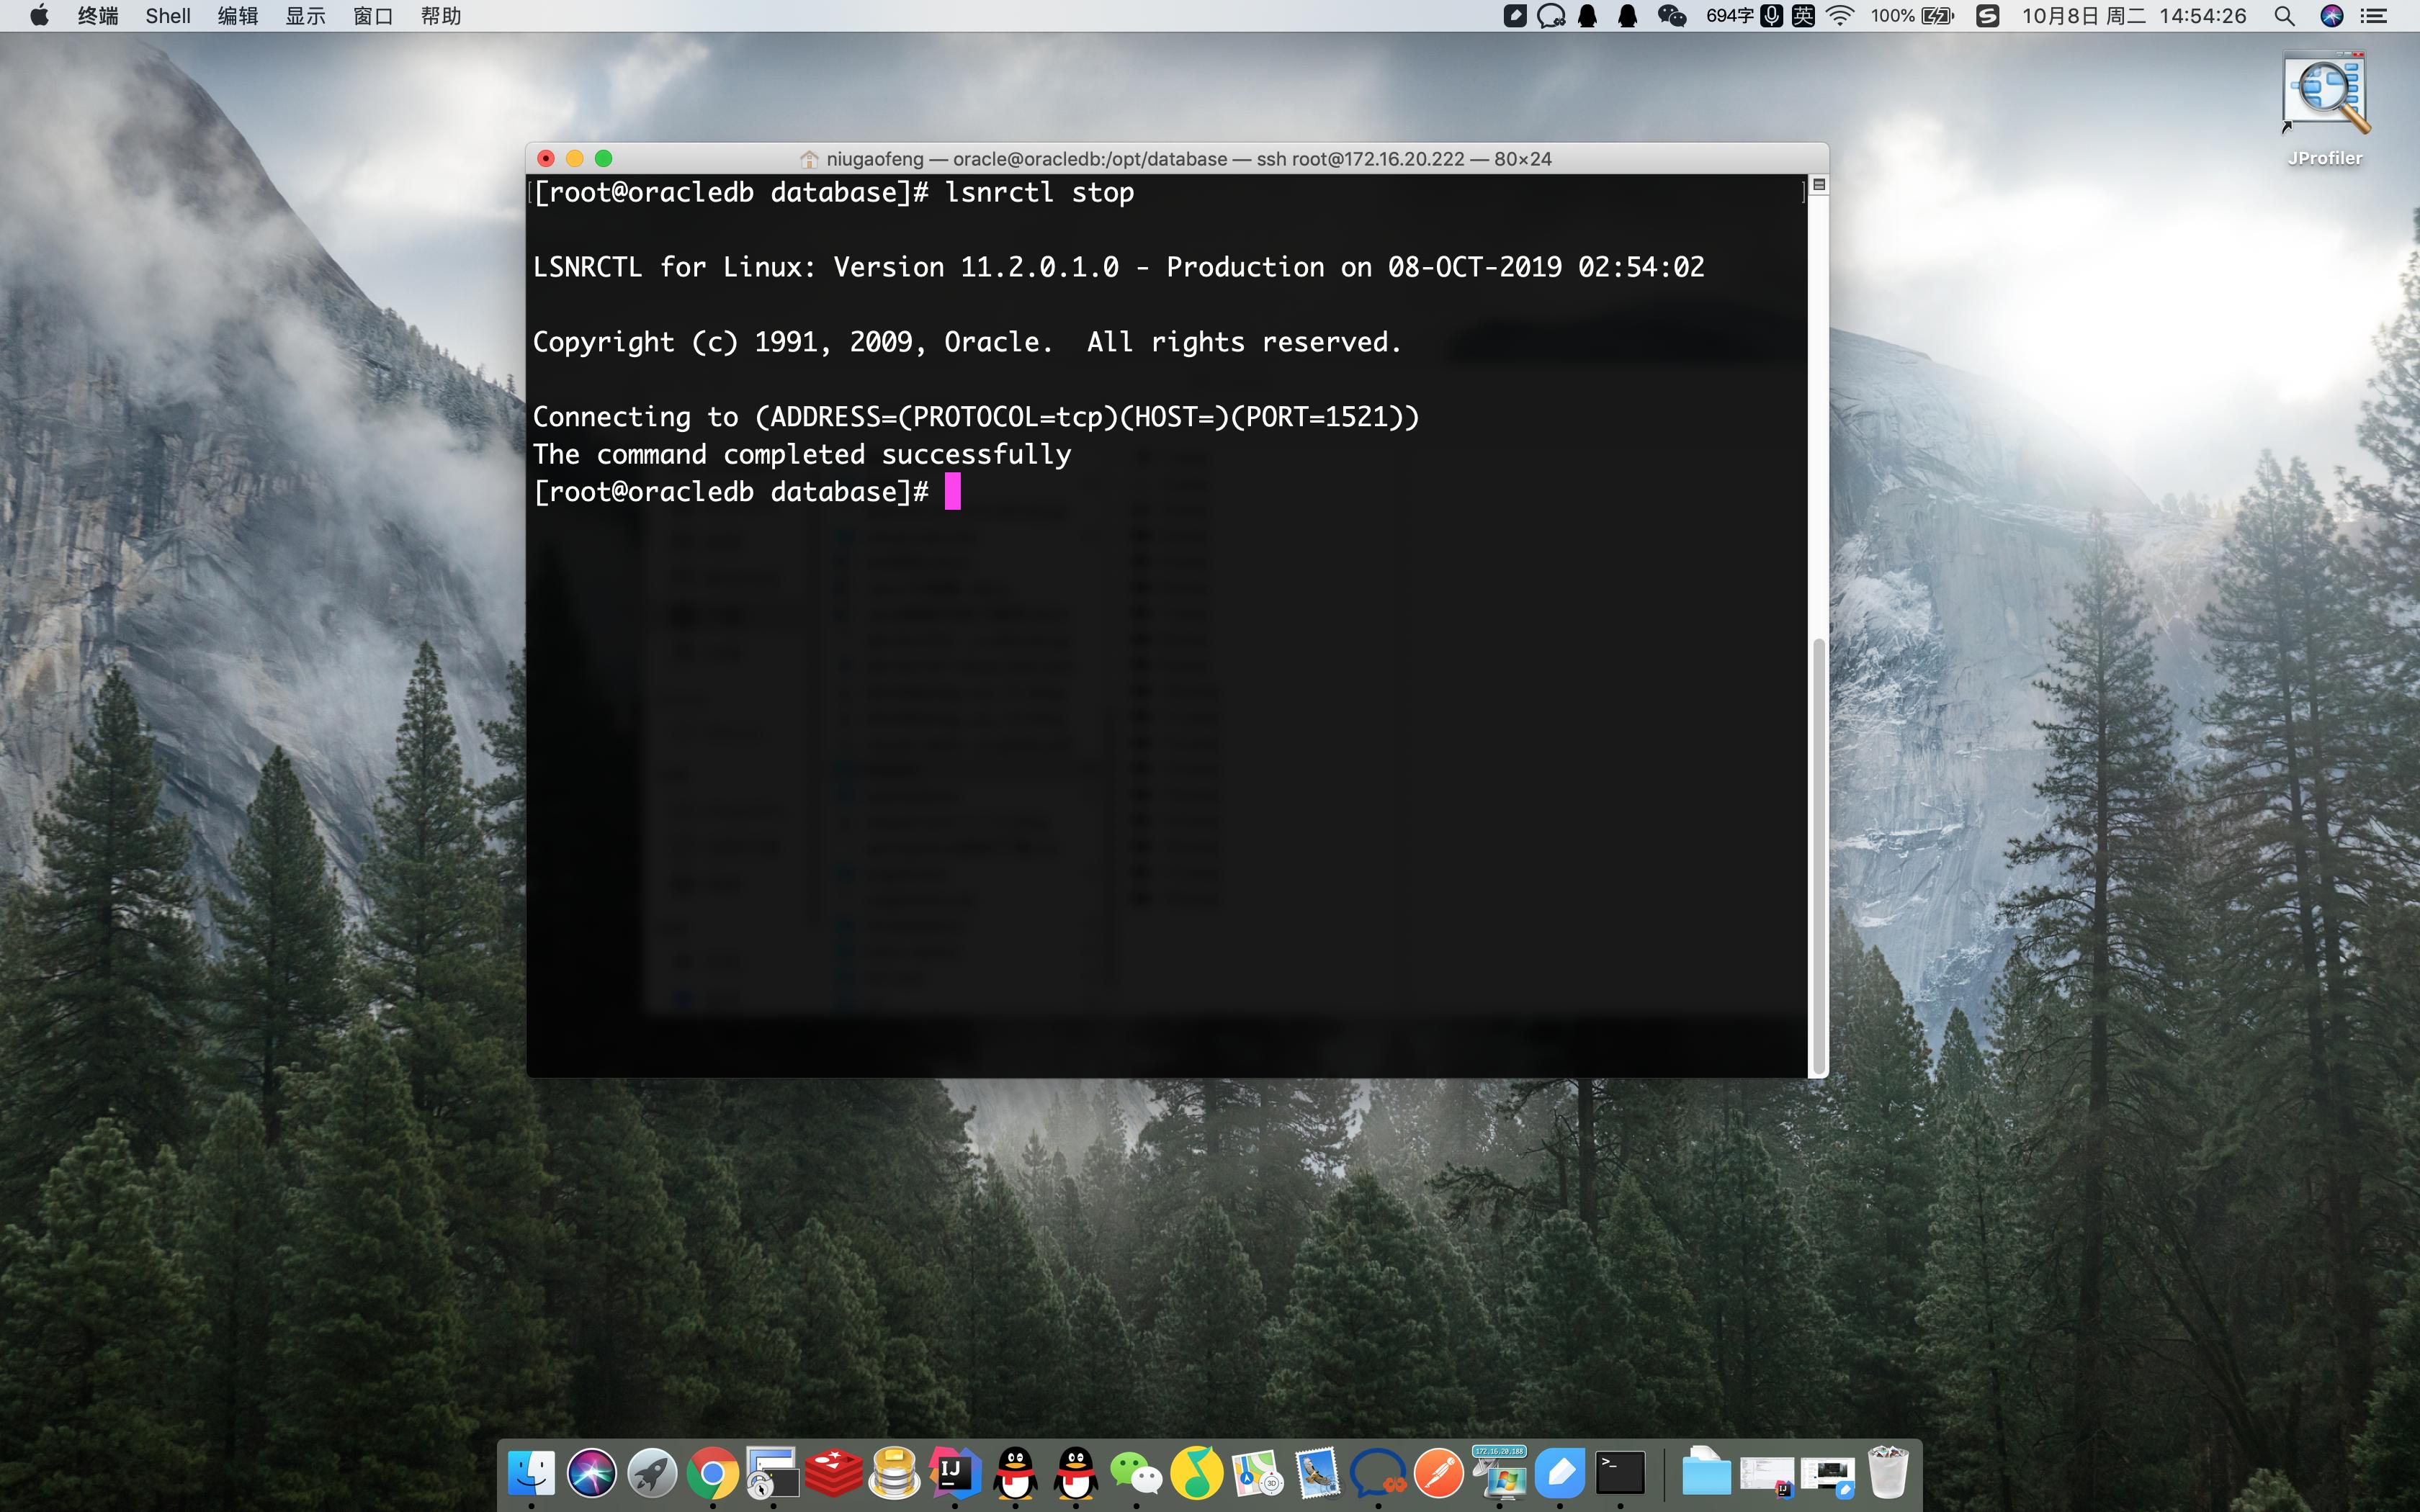
停止监听
查看监听:
[root@oracledb database]# lsnrctl status
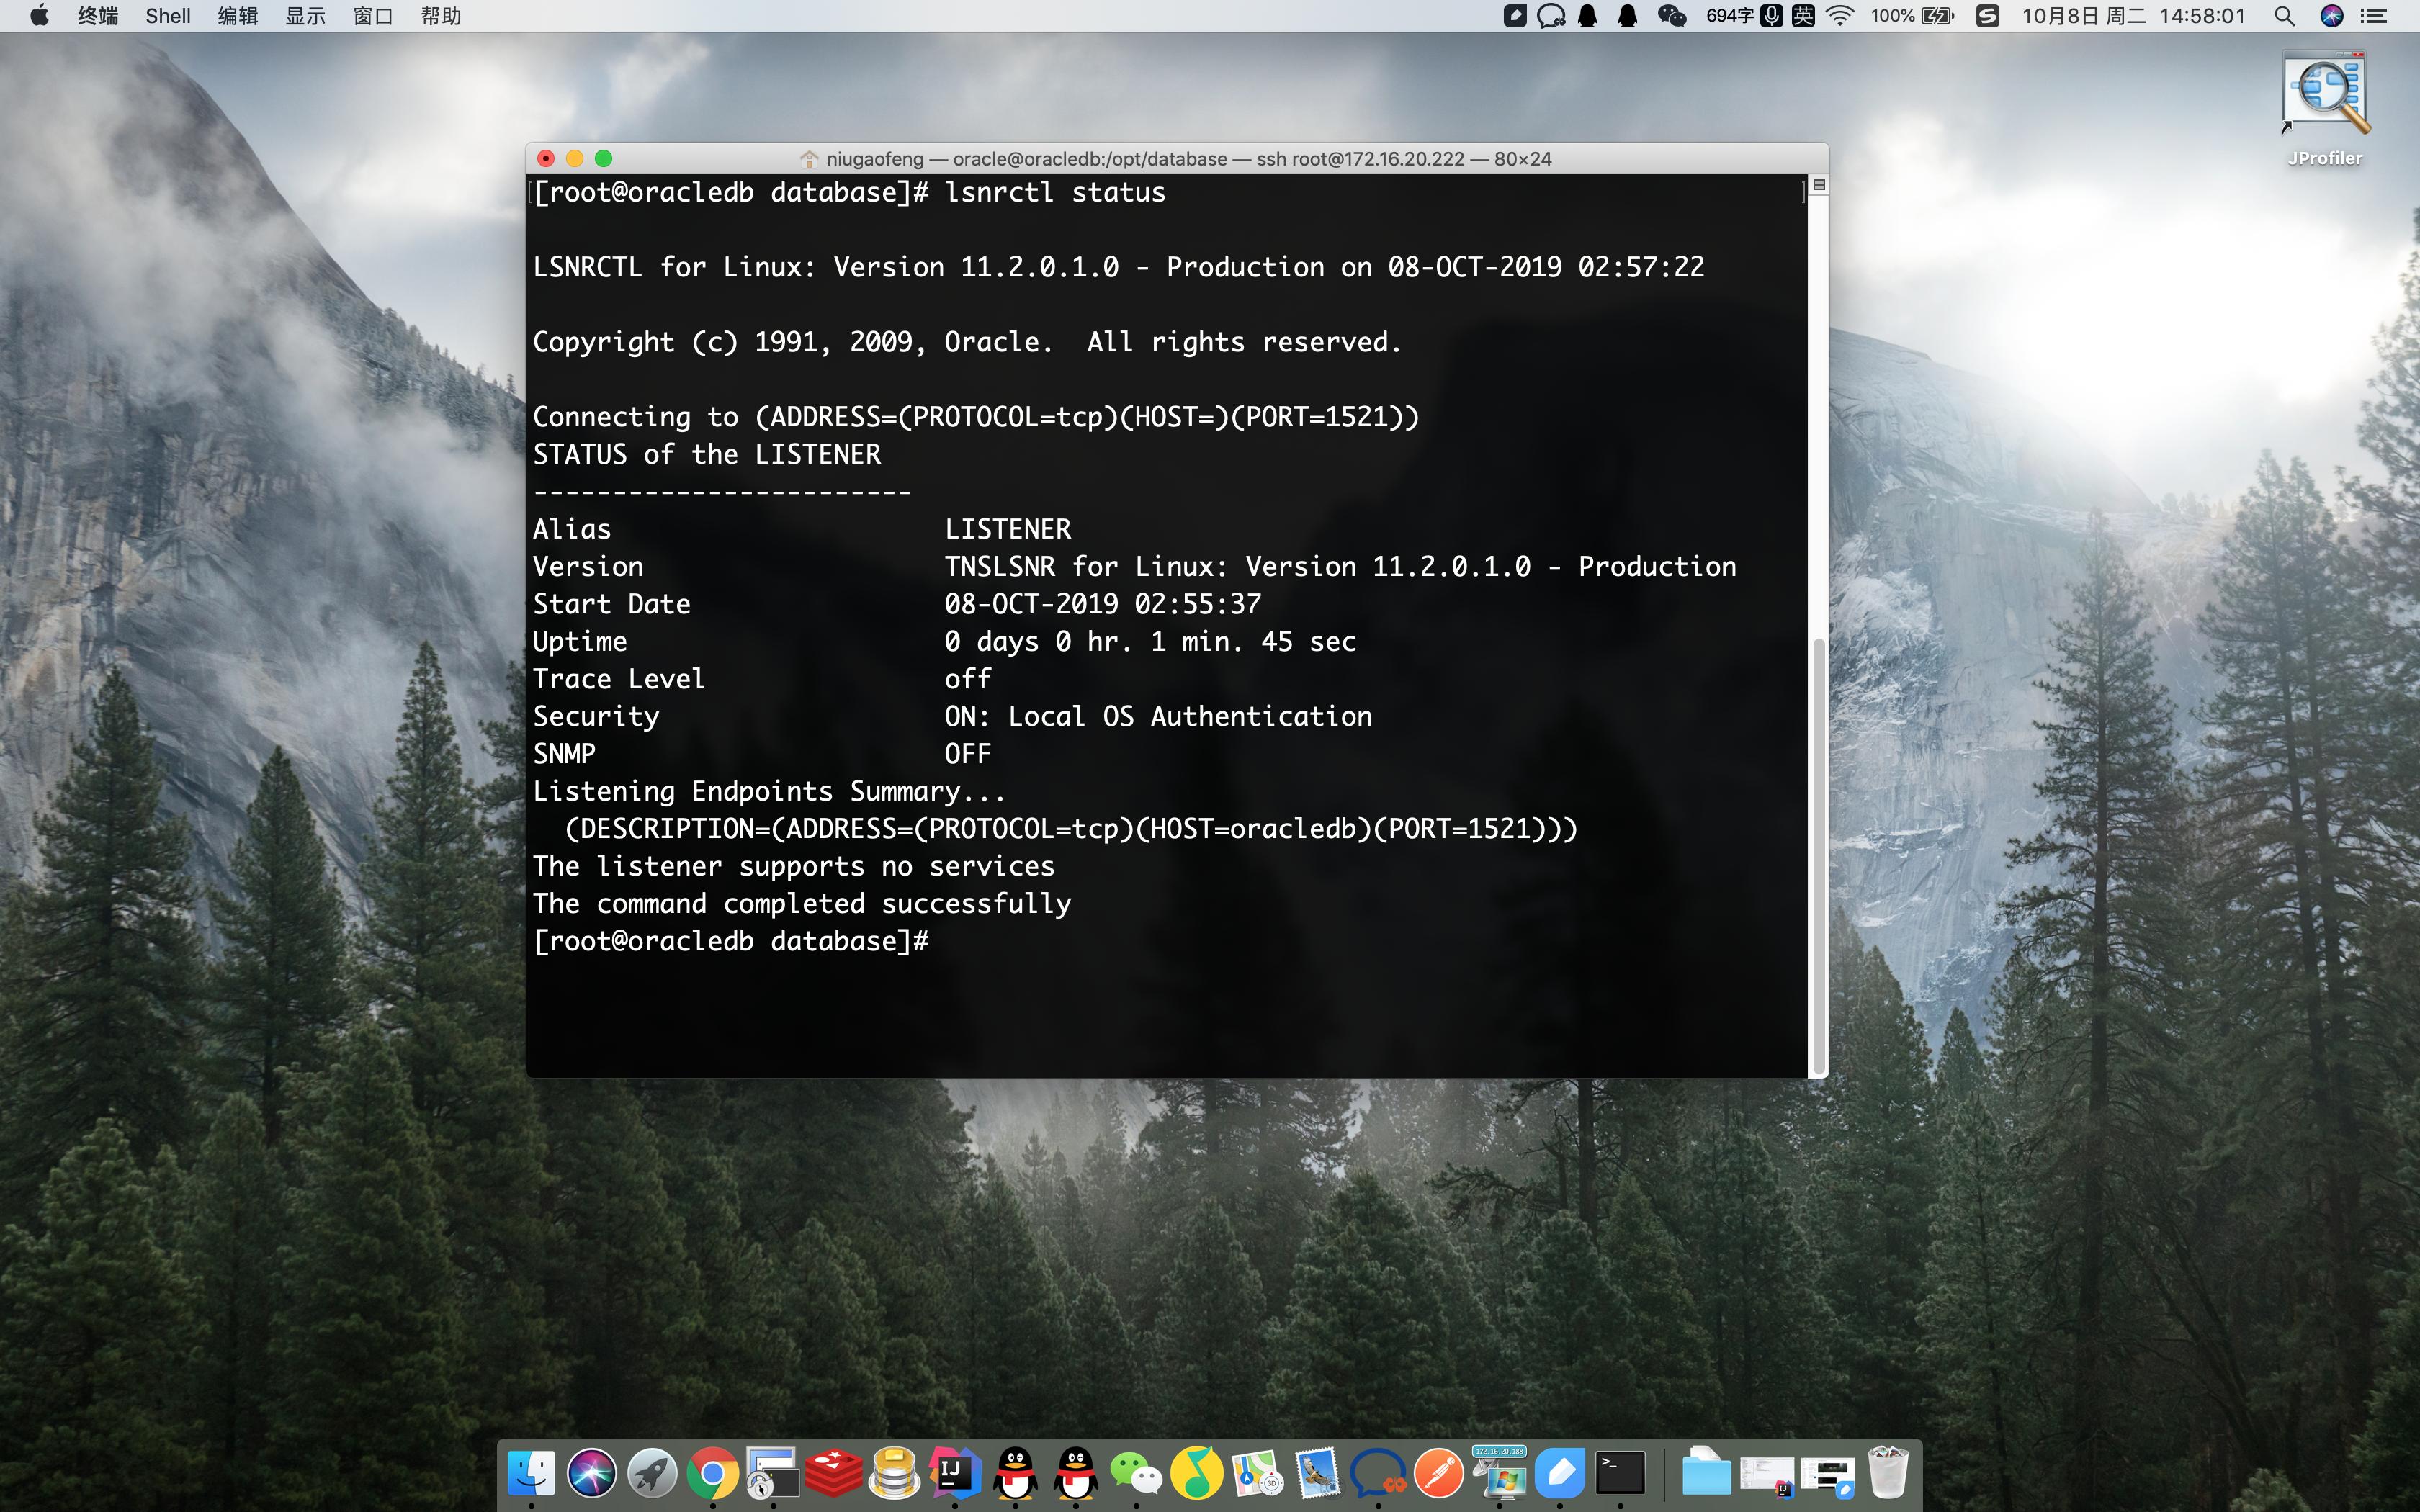
监听状态
- 配置监听(使用oracle用户)
[oracle@oracledb database]# $ORACLE_HOME/bin/netca /silent /responseFile /opt/database/response/netca.rsp
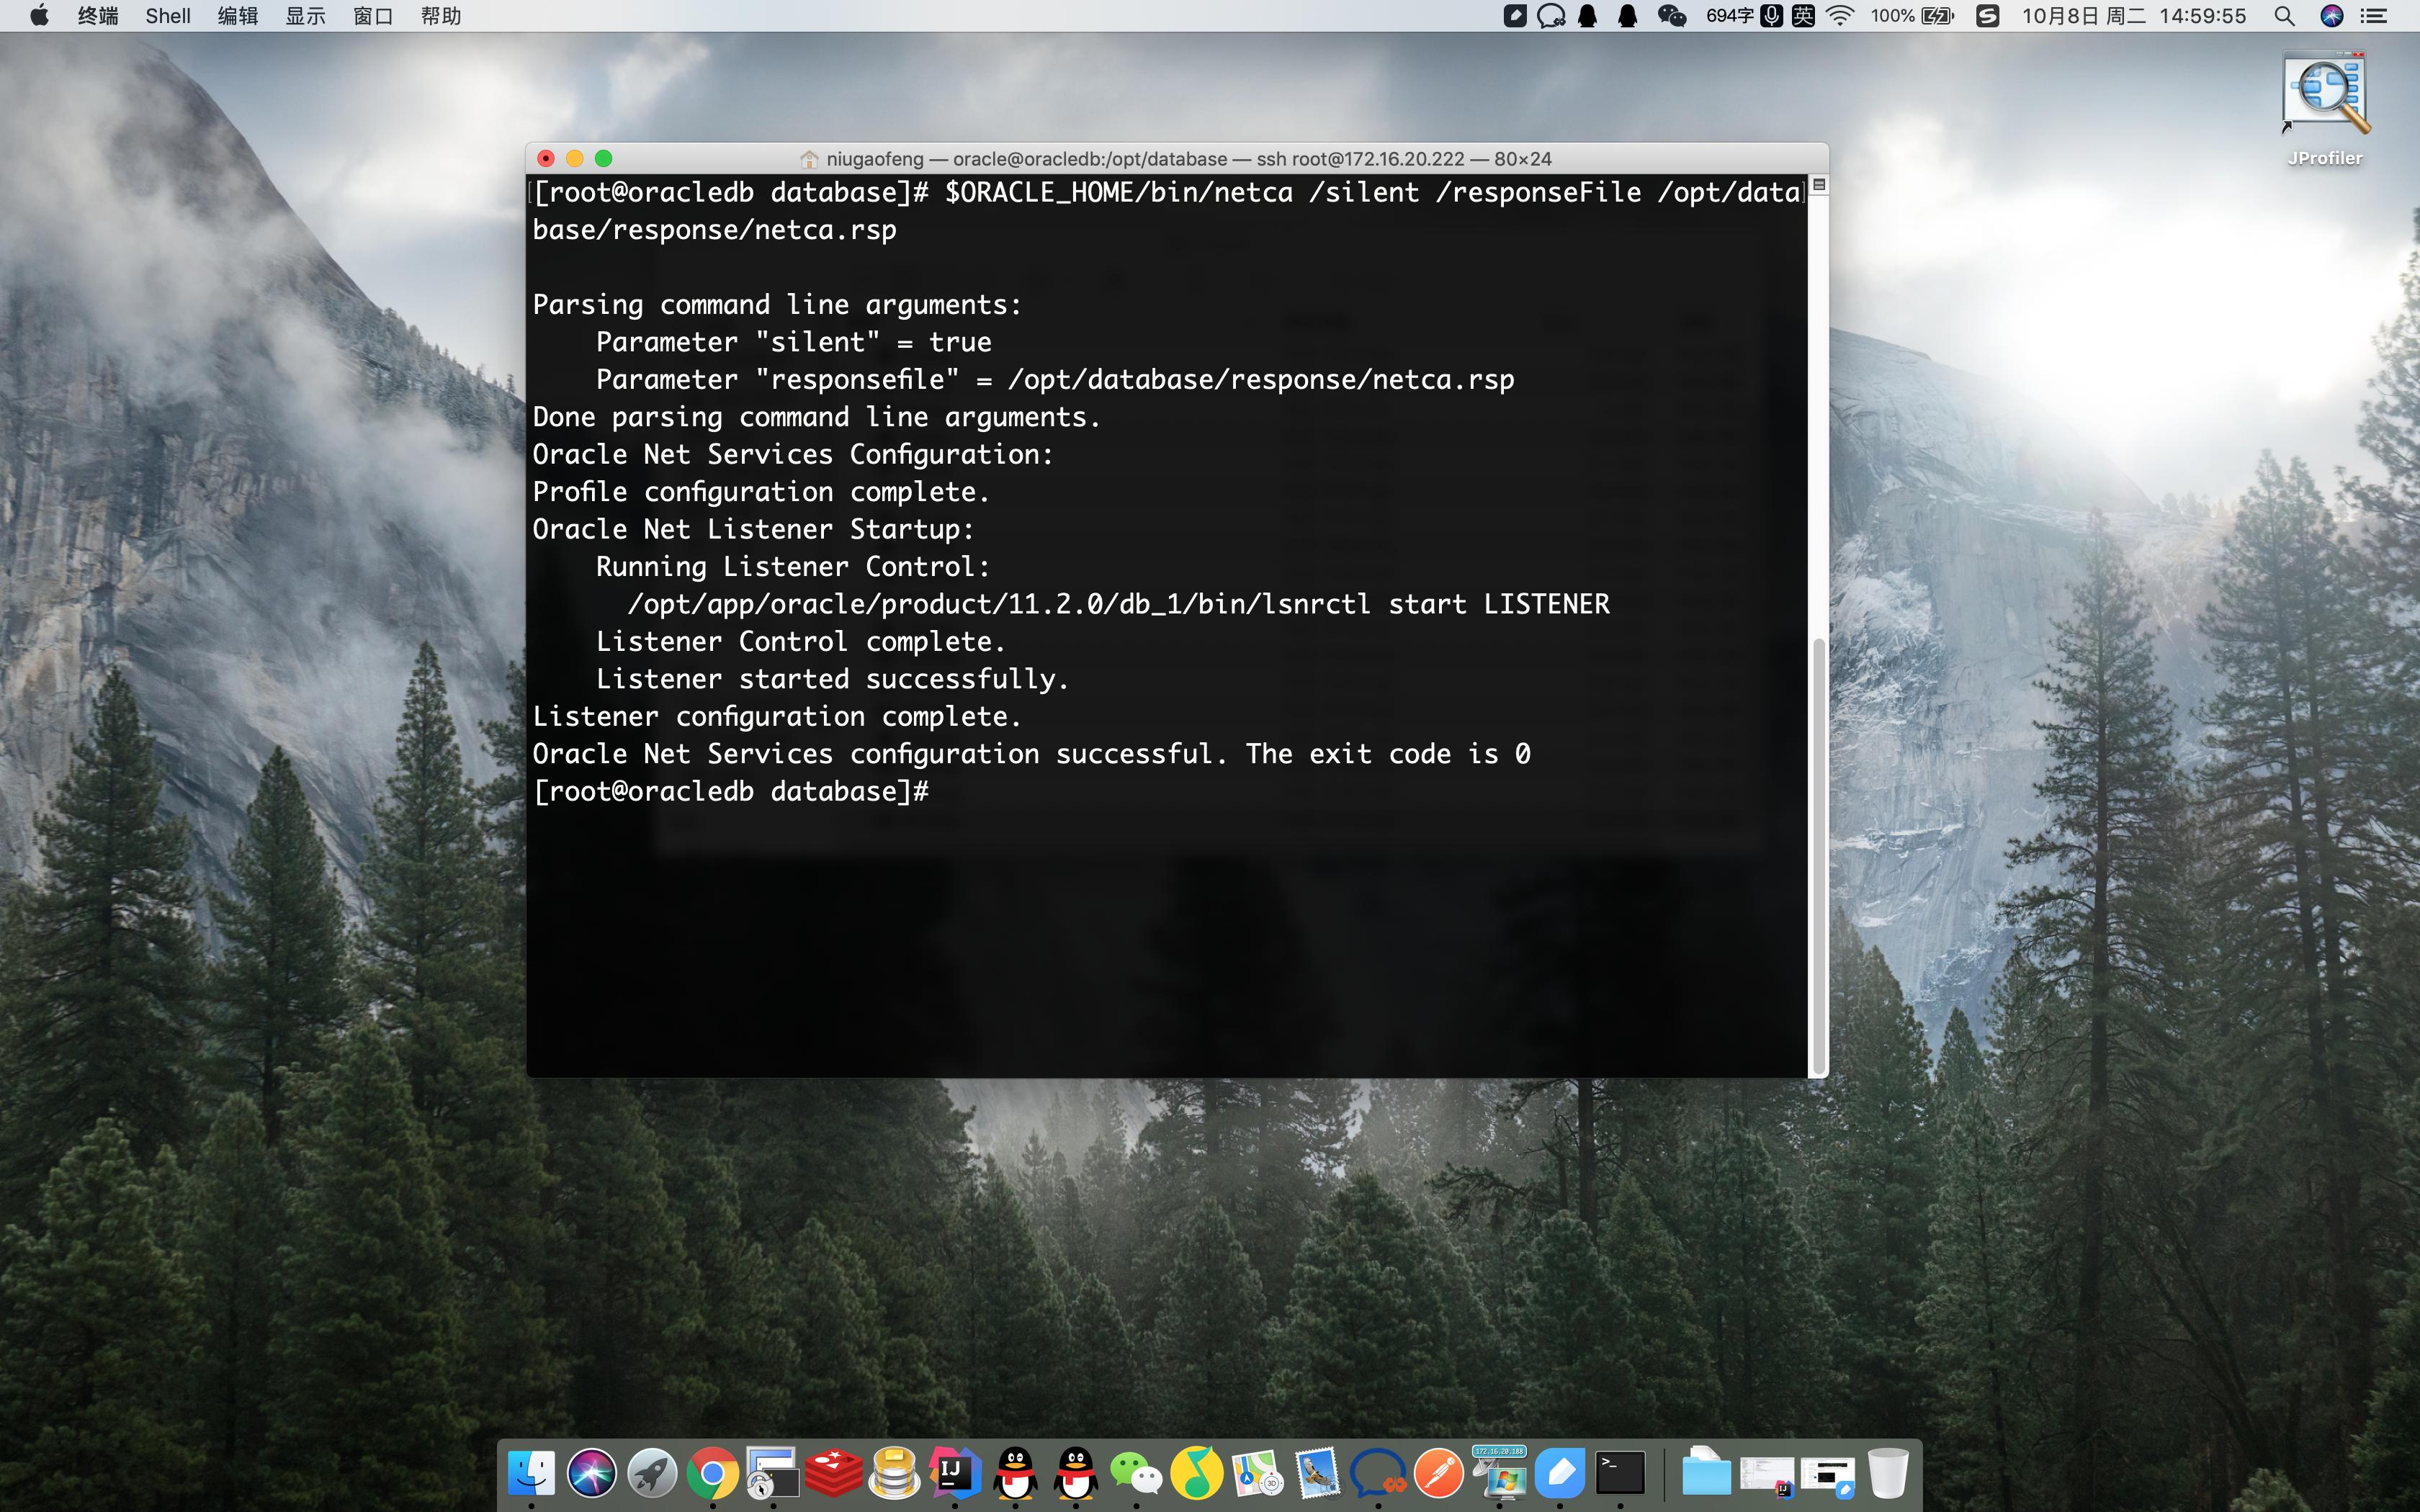
监听配置
- 查看监听(使用oracle用户)
[oracle@oracledb database]# lsnrctl status

监听状态
- 静默dbca建库
[oracle@oracledb database]# vim /opt/database/response/dbca.rsp
修改如下内容:
GDBNAME = "orcl" #第78行
SID="orcl" #第149行
CHARACTERSET="AL32UTF8" #第415行,去掉注释
NATIONALCHARACTERSET="UTF8" #第425行 去掉注释
保存退出
然后执行
[root@oracledb database]# su - oracle
Last login: Tue Oct 8 02:40:43 EDT 2019 on pts/0
[oracle@oracledb ~]# $ORACLE_HOME/bin/dbca -silent -responseFile /opt/database/response/dbca.rsp
然后输入两次密码后开始自动创建:
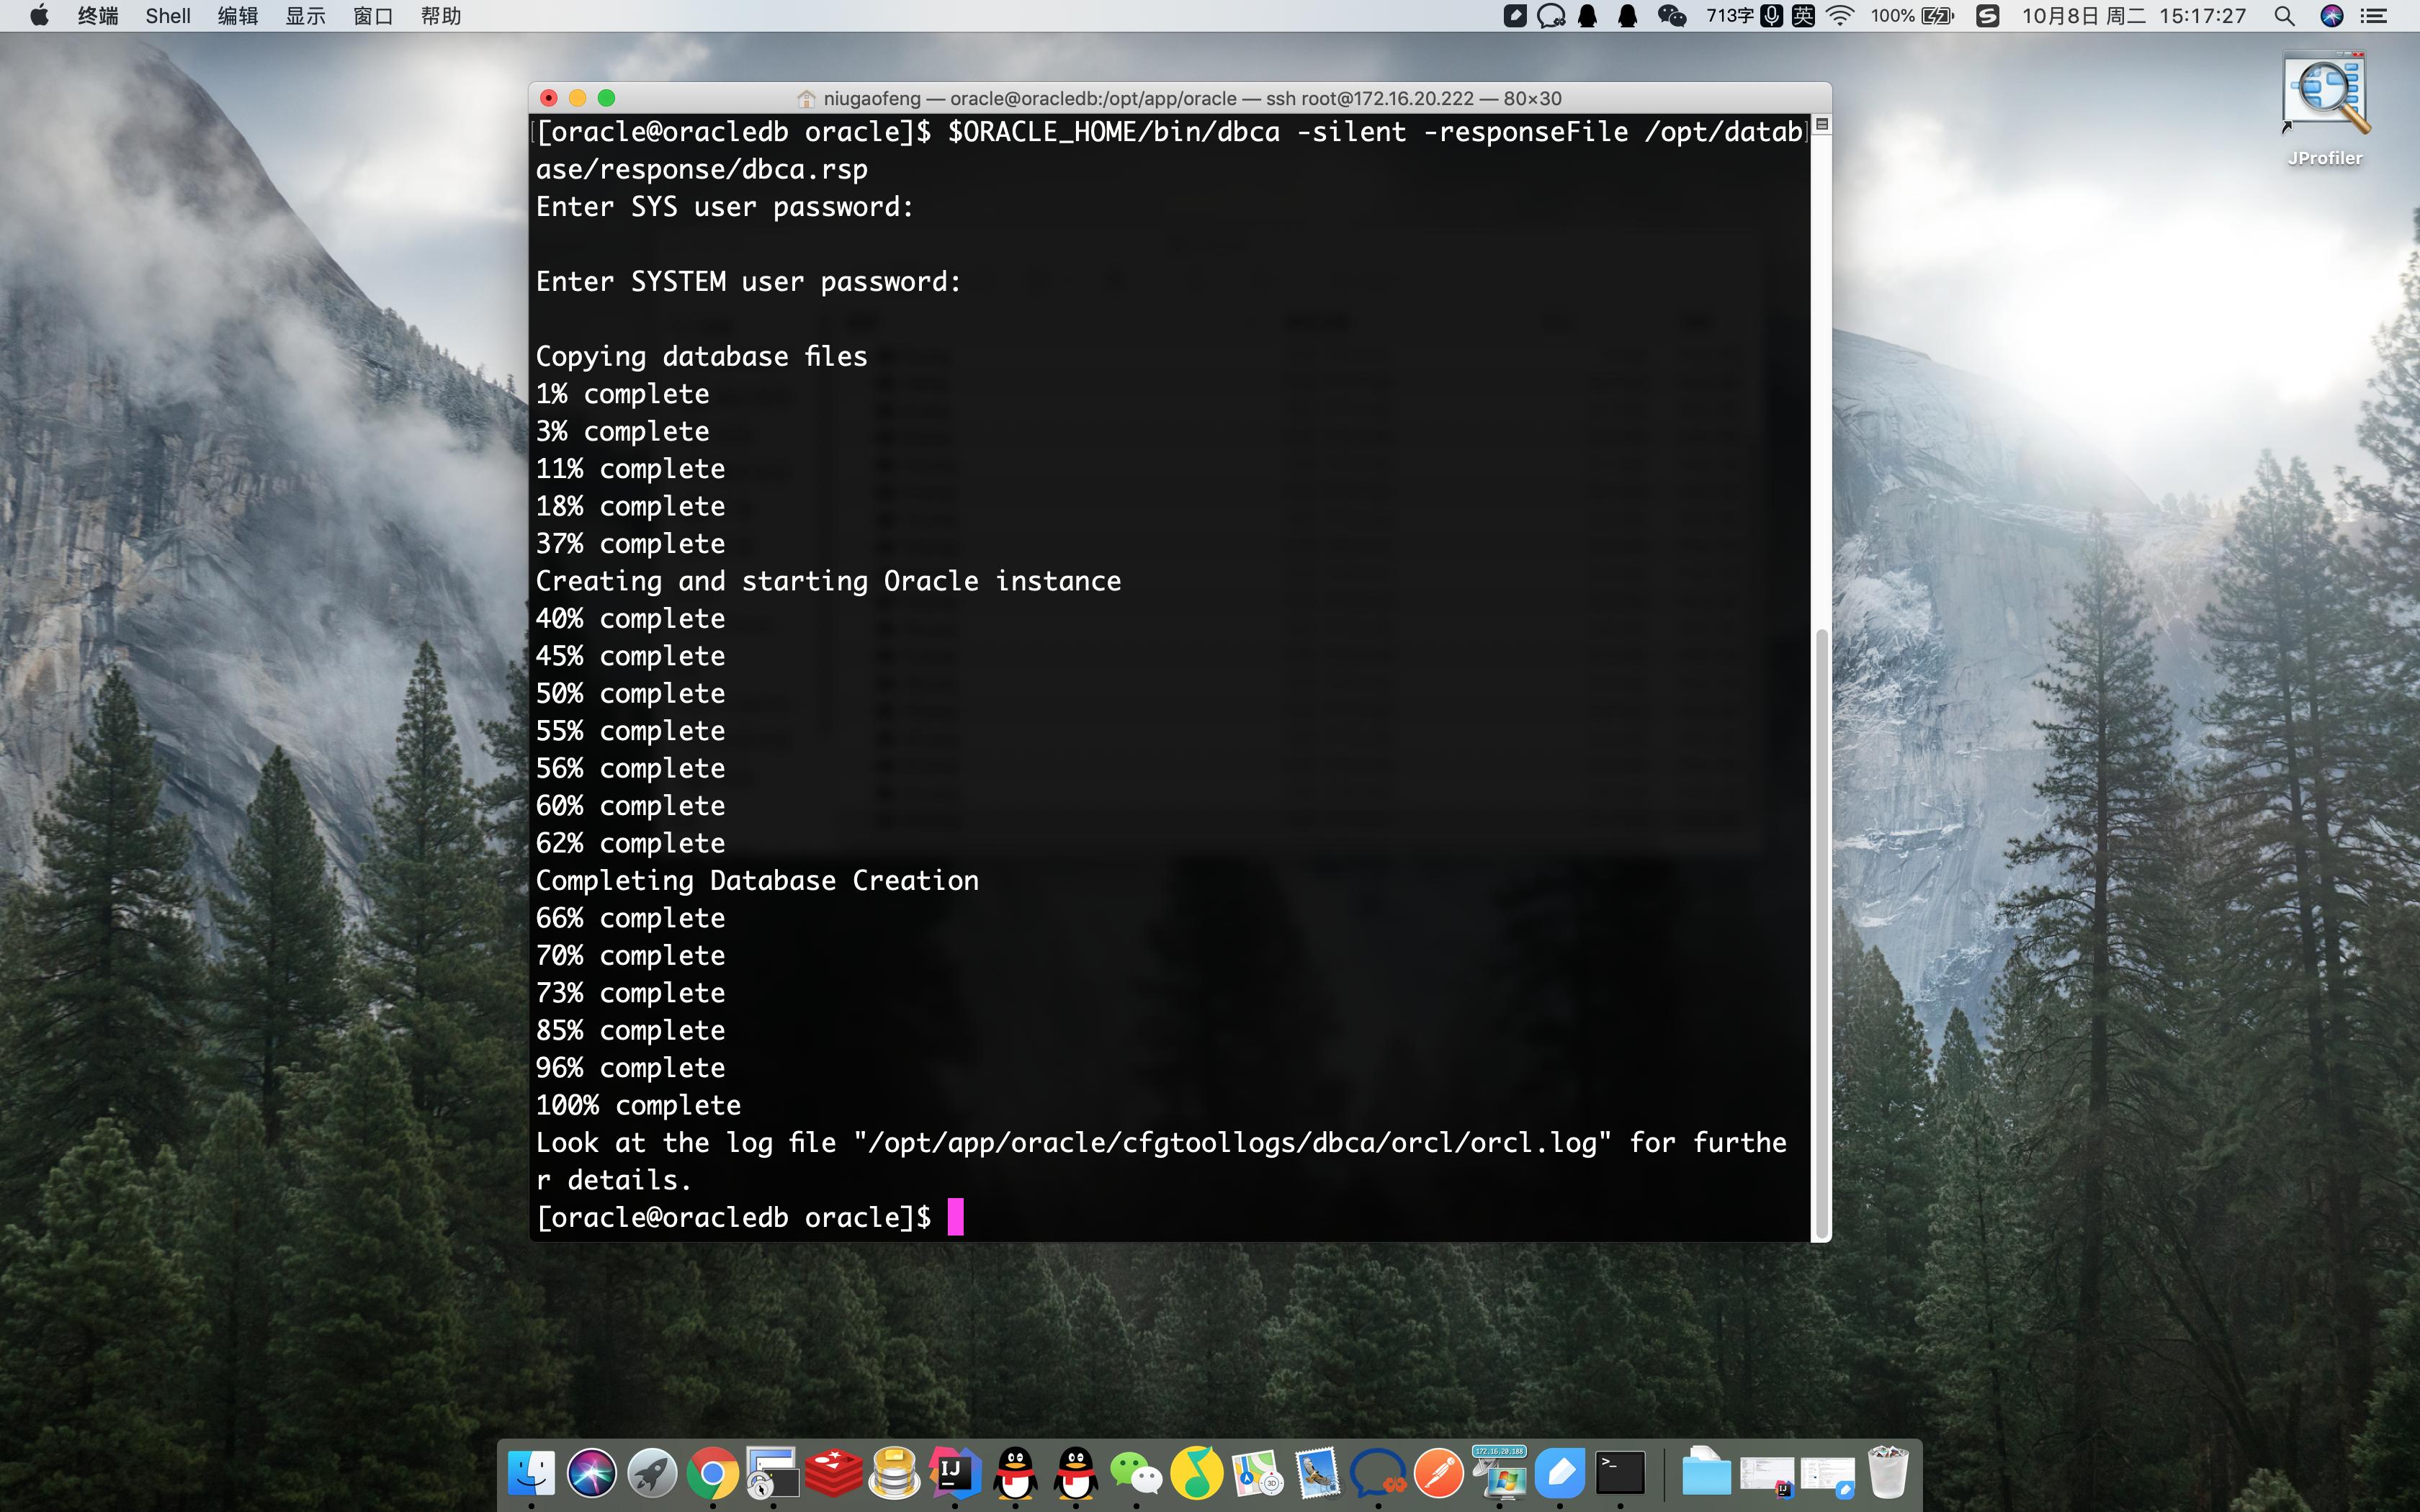
创建数据库
- 启动数据库
[oracle@oracledb ~]$ sqlplus / as sysdba
SQL*Plus: Release 11.2.0.1.0 Production on Mon Feb 16 14:26:57 2015
Copyright (c) 1982, 2009, Oracle. All rights reserved.
Connected to an idle instance.
SQL> start
SP2-1506: START, @ or @@ command has no arguments
SQL> shutdown
Database closed.
Database dismounted.
ORACLE instance shut down.
SQL> startup
ORACLE instance started.
Total System Global Area 759943168 bytes
Fixed Size		 2217224 bytes
Variable Size		 448793336 bytes
Database Buffers	 301989888 bytes
Redo Buffers		 6942720 bytes
Database mounted.
Database opened.
SQL> exit; #退出数据库控制台
- 开机自动启动监听、启动Oracle
[oracle@oracledb oracle]$ vim /etc/oratab
其中:
orcl:/opt/app/oracle/product/11.2.0/db_1:N
把第三段的N改为Y
改后如下:
orcl:/opt/app/oracle/product/11.2.0/db_1:Y 务必是大写的Y
保存后退出
[root@oracledb oracle]# su root #切换至root用户
[root@oracledb oracle]# vim /etc/rc.local
#在文件末尾增加如下内容
su - oracle -c 'dbstart'
su - oracle -c 'lsnrctl start'
然后执行
[root@oracledb oracle]# chmod +x /etc/rc.local
其实开机自动以oracle用户执行上面两个命令啦
- 开放1521端口(远程连接Oracle所需)
查看端口是否开放:
[root@oracledb oracle]# firewall-cmd --query-port=1521/tcp
no
永久开放1521端口号:
[root@oracledb oracle]# firewall-cmd --permanent --zone=public --add-port=1521/tcp
success
重启防火墙:
[root@oracledb oracle]# systemctl restart firewalld.service