相关文章
微服务框架saf-1:saf工程结构拓扑解析
微服务框架saf-2:容器化部署allinone-demo
微服务框架saf-3:saf-dubbo与demo的解析与体验与容器化部署
微服务框架saf-4:saf-dubbo之度量
docker-1:本地开发打通宿主机与docker服务网络
阿里云&kubernetes&微服务生产实践-2:apollo架构-1
kubernetes-1:使用kubeadm搭建K8S单master节点集群
目录
(1).关于saf
(2).saf-http与demo的简单解析
1.saf-http特性
1.1本地0配置特性
1.2.度量特性
1.3.熔断与限流特性
2.saf-http-demo简述
2.1.使用简述
2.2.demo工程结构
(3).本地体验saf-http
1.本地环境准备
1.1.docker-compose启动apollo
1.2.打通本地宿主机与docker服务的网络
2.本地体验saf-http
(4).容器化部署环境准备
1.硬件要求
2.K8S单节点集群搭建
3.容器化相关基础组件
3.1.基础中间件容器化准备
3.2.apollo容器化部署
3.3.ingress容器化
3.4.配置相关的ingress代理
(5).编译saf与saf-sample-http
1.工程*载下**与编译顺序
2.编译saf
3.编译saf-sample-http
(6).进行apollo配置
(7).容器化部署
1.制作saf-sample-http-apache-httpcomponents-web-receive镜像
2.容器化saf-sample-http-apache-httpcomponents-web-receive
(8).容器化部署saf-sample-http-apache-httpcomponents-web-send
1.制作saf-sample-http-apache-httpcomponents-web-send镜像
2.容器化saf-sample-http-apache-httpcomponents-web-send
(9).验证服务
1.验证spring boot actuator组件
2.验证业务接口
3.度量验证
(10).特别注意
(11).相关文章
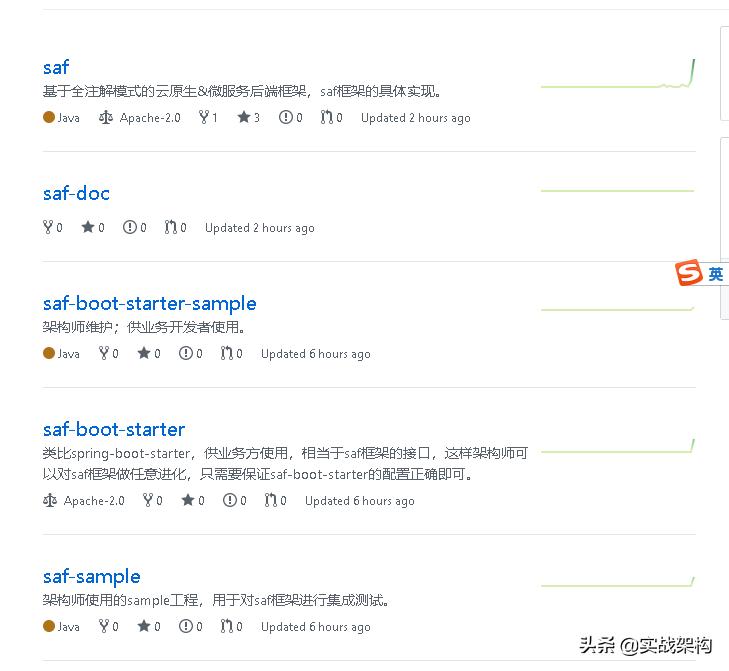
(1).关于saf
项目地址:
https://github.com/saf-group
1.一个微服务框架,完全基于注解的方式开发。
2.适用于云原生(K8S)下的微服务体系搭建,为技术中台提供底层支撑。
3.解放业务,使业务方专注于业务逻辑本身:通过注解以搭积木方式引入各式资源,每个资源都是一行注解,极大提升业务方产出效率。
(2).saf-http与demo的简单解析
1.saf-http特性
1.1本地0配置特性
saf框架的一个最大特点是是本地0配置,所有配置都在分布式配置中心。
我们希望的是在远端分布式配置中心配置好,http服务在启动时将远端配置拉下来注入对应的bean,完全做到本地0配置,将配置与代码完全隔离,有利于后期的各种热更新,为容器化/serverless做好基础准备。
saf-http完成的就是这样一件事,工程地址:
https://github.com/saf-group/saf/tree/master/saf-http
主要代码位于:
https://github.com/saf-group/saf/blob/master/saf-http/saf-http-apache-httpcomponents/src/main/java/com/future/saf/http/apache/httpcomponents/syncimpl/HttpBioClientFactoryBean.java
注入代码主要为:
@Override
public HttpBioClient getObject() {
String instance = HttpBioClientRegistrar.instanceMap.get(beanName);
String project = HttpBioClientRegistrar.projectMap.get(beanName);
HttpBioClientProps props = new HttpBioClientProps();
Bindable<?> target = Bindable.of(HttpBioClientProps.class).withExistingValue(props);
binder.bind(project + "." + getPreFix() + "." + instance + ".props", target);
HttpBioClient cHttpBioClient = new HttpBioClient(instance.replace("-", "_"), props);
return cHttpBioClient;
}
注意这里:
binder.bind(project + "." + getPreFix() + "." + instance + ".props", target);
project代表当前工程的jvm,instance代表这个jvm里的某个http线程池,这样才可以在资源隔离后做到灵活配置。
1.2.度量特性
目前支持APM,QPS,Lantency。
APM度量使用spring-boot-starter-actuator。
QPS与Lantency使用httpFilter(对应http-in的度量与统计)和httpBioClient(对应http-out的度量与统计)。
例:
关于度量后续会单独开一篇文章陈述,要度量的内容还有很多,比如blockingQueue的空闲数,sentinel的频次控制的度量等。
1.3.熔断与限流特性
主要是两个机制保证:
一个是通过blockingQueue中的任务数阈值控制,如当blockingQueue中的任务数超过指定阈值,则reject掉所有信的http请求发起,防止冲塌当前JVM以及要访问的远端服务(或者http网关如果有的话);
还有一个是通过sentinel进行控制,也是为了防止冲塌当前JVM以及要访问的远端服务(或者http网关如果有的话);
关于熔断与限流特性,后续单开文章陈述。
2.saf-http-demo简述
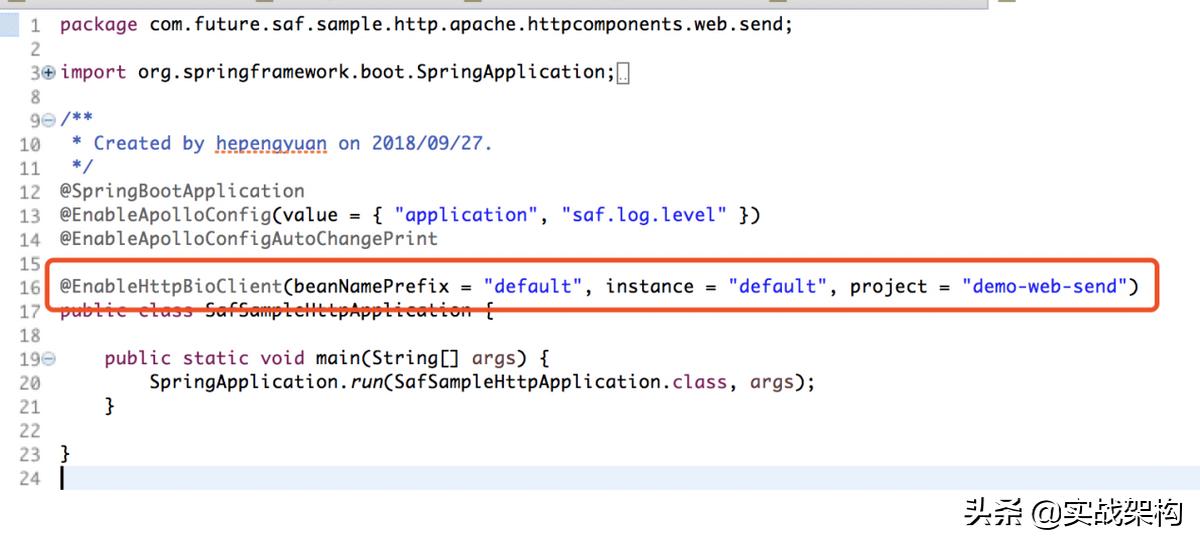
2.1.使用简述
saf-http-demo-service,@EnableHttpBioClient
主要是定义httpService的apollo配置的前缀部分,达到注入。
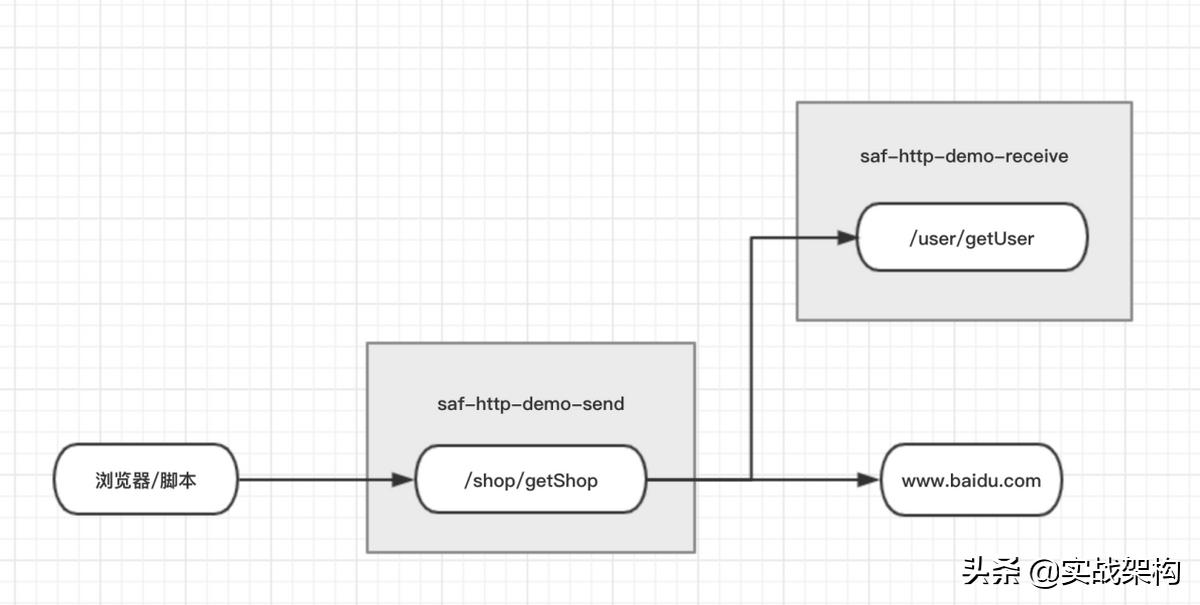
2.2.demo工程结构
saf-http-demo包含两个工程,saf-http-web-receive和saf-http-web-send,其拓扑关系如下:
(3).本地体验saf-http
1.本地环境准备
为了方便,笔者在本地mac上也装了docker,通过docker后台运行相关的apollo配置中心和zookeeper。
1.1.docker-compose启动apollo
git clone https://github.com/ctripcorp/apollo.git
cd apollo/scripts/docker-quick-start
执行命令:docker-compose up -d
注意第一次启动由于要*载下**相关镜像会很慢。-d表示谁后台运行。
docker exec -it apollo-quick-start /bin/bash
访问url并输入用户名密码:apollo/admin
http://localhost:8070/signin
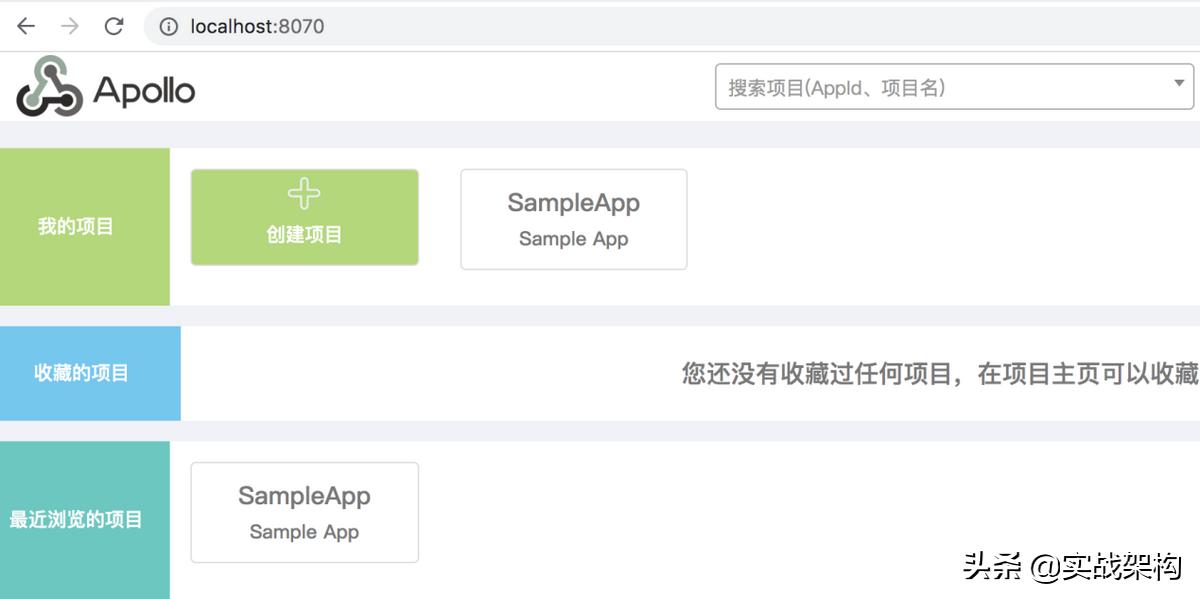
验证config,访问url:http://localhost:8080/

1.2.打通本地宿主机与docker服务的网络
默认情况下,docker服务与本地宿主机不在一个网段,直接使用是有问题的,需要将两者网络打通,笔者使用的是vpn的方式,具体步骤参加文章:
docker-1:本地开发打通宿主机与docker服务网络
2.本地体验saf-http
笔者提供了一个简单demo:saf-sample-http-apache-httpcomponents。
首先我们要编译saf框架代码:
git clone https://github.com/saf-group/saf.git
cd saf
mvn clean package install -Dmaven.test.skip=true
*载下**saf-sample-http-apache-httpcomponents:
git clone https://github.com/saf-group/saf-sample.git
cd saf-sample/saf-sample-http/saf-sample-http-apache-httpcomponents
saf-sample-http-apache-httpcomponents是一个简单的http与apollo集成的demo,方便我们观察本地0配置的特性。
修改saf-sample-http-apache-httpcomponents-web-receive
,saf-sample-http-apache-httpcomponents-web-send下的apollo-env.properties文件,将dev.meta的值改为http://apollo-docker-ip:8080。
在本地apollo完成配置,配置内容位于github:
https://github.com/saf-group/saf-sample/blob/master/saf-sample-http/saf-sample-http-apache-httpcomponents/apollo-config/apollo-config.local.txt
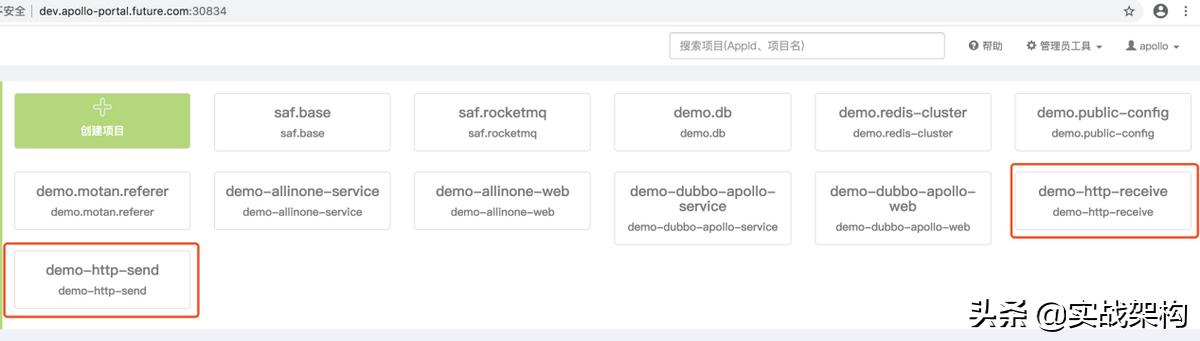
将工程saf-sample-http-apache-httpcomponents导入eclipse,service和web各自增加启动参数后启动:
-Denv=dev -Dapp.id=demo-http-receive
-Denv=dev -Dapp.id=demo-http-send
浏览器访问与验证:
http://localhost:8081/shop/getShop?shopId=1333
(4).容器化部署环境准备
1.硬件要求
理想配置是8core,32GB。
2.K8S单节点集群搭建
kubernetes-1:使用kubeadm搭建K8S单master节点集群
3.容器化相关基础组件
3.1.基础中间件容器化准备
由于PV适用的是local PV,所以先初始化本地pv目录,执行local pv目录初始化脚本:
https://github.com/hepyu/k8s-app-config/blob/master/yaml/init.sh
3.2.apollo容器化部署
https://github.com/hepyu/k8s-app-config/tree/master/yaml/min-cluster-allinone/apollo-min
注意:使用容器化方式部署基础组件主要是为了快速构建allinone-demo的运行环境,实际生产中是需要权衡的,比如mysql不要放K8S里,而且上述基础组件的容器化都是最小资源防止超过硬件容量,比如rocketmq只有一组master/slave。
3.3.ingress容器化
https://github.com/hepyu/k8s-app-config/tree/master/yaml/min-cluster-allinone/ingress-nginx-min
3.4.配置相关的ingress代理
https://github.com/hepyu/k8s-app-config/tree/master/yaml/min-cluster-allinone/ingress-nginx-min/proxy
kubectl apply -f分别执行:
ingress-nginx-apollo-config.yaml
ingress-nginx-apollo-portal.yaml
(5).编译saf与saf-sample-http
1.工程*载下**与编译顺序
git clone https://github.com/saf-group/saf.git
git clone https://github.com/saf-group/saf-sample.git
他们的依赖关系是:
saf-sample依赖saf。
所以编译顺序是:saf -> saf-sample。
2.编译saf
本例使用的是master:
mvn clean package install -Dmaven.test.skip=true
- 编译saf-sample-http
cd saf-sample
mvn clean package install -Dmaven.test.skip=true
(6).进行apollo配置
进入目录:
saf-sample/saf-sample-http/saf-sample-http-apache-httpcomponents/apollo-config
将apollo-config目录中的apollo-config.k8s.txt配置文件配置到apollo配置中心。
关于apollo配置如何规划,可以先参照文章:
阿里云&kubernetes&微服务生产实践-2:apollo架构-1
里边有一张图描述了自定义规约。
(7).容器化部署saf-sample-http-apache-httpcomponents-web-receive
1.制作saf-sample-http-apache-httpcomponents-web-receive镜像
在工程目录下执行脚本docker.build.sh 制作docker镜像:
sh docker.build.sh
如果失败检查下docker.build.sh和Dockerfile中的demo版本。
2.容器化saf-sample-http-apache-httpcomponents-web-receive
进入工程目录下的kubernetes目录直接执行脚本deploy.sh,会顺次执行上述yaml文件,执行kubectl get pod -n inc查看Pod,
(8).容器化部署saf-sample-http-apache-httpcomponents-web-send
过程类似,这里简单描述。
进入工程目录:
1.制作saf-sample-http-apache-httpcomponents-web-send镜像
在目录下执行脚本docker.build.sh 制作docker镜像:
sh docker.build.sh
2.容器化saf-sample-http-apache-httpcomponents-web-send
进入目录下的kubernetes直接执行脚本deploy.sh。
这里有一个文件会把这个web服务挂到ingress上,从而将服务暴露到容器外部,供公网访问:
saf-sample-http-apache-httpcomponents-web-send-prod-ingress.yaml
(9).验证服务
我们先查看saf-sample-http-apache-httpcomponents-web-send的ingress域名:
[root@future ~]# kubectl get ingress -n inc | grep -i saf-sample-http
saf-sample-http-apache-httpcomponents-web-send-prod saf-sample-http-apache-httpcomponents-web-send.future.com 39.98.43.48 80 19h
配置host:
ip1 saf-sample-http-apache-httpcomponents-web-send.future.com
1.验证spring boot actuator组件
浏览器访问:
http://saf-sample-http-apache-httpcomponents-web-send.future.com:30834/actuator/health
返回:
{"status":"UP","details":{"diskSpace":{"status":"UP","details":{"total":105552769024,"free":54718111744,"threshold":10485760}}}}
2.验证业务接口
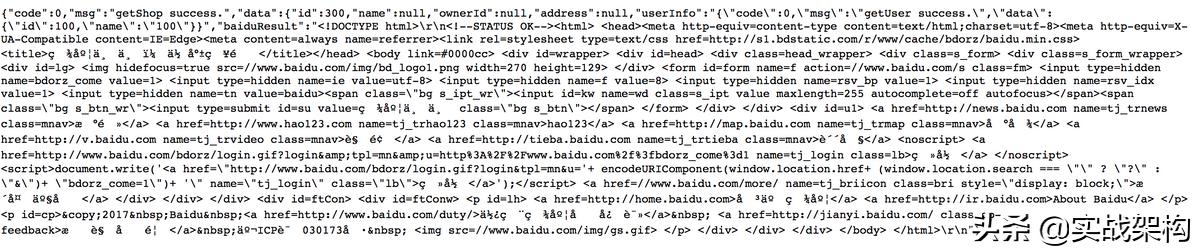
http://saf-sample-http-apache-httpcomponents-web-send.future.com:30834/shop/getShop?shopId=335566
可以看到返回一个很长的字符串。
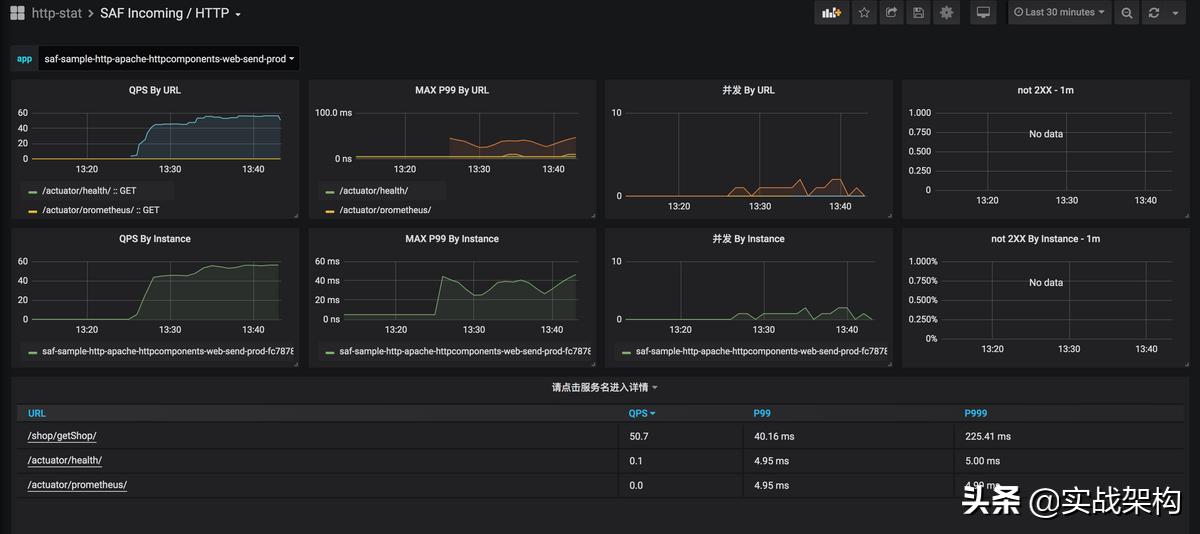
3.度量验证
查看web-receive和web-send的9145端口的metrics:

(10).特别注意
如果足够细心,会发现又一个/favicon.ico的url,这个是因为通过浏览器访问时,会自动*载下**favicon.ico:
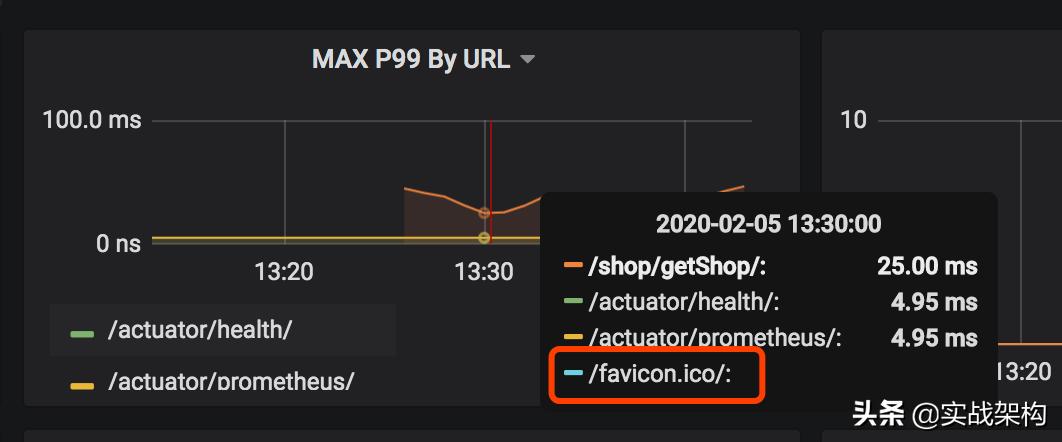
移动段应用应该把浏览器的这个功能禁用,否则在http的同步调用场景下会损失50%的TPS,应为这个请求同样会穿透到springboot,下debug断点后你可以看到Filter会拦截到这个favicon.ico请求:
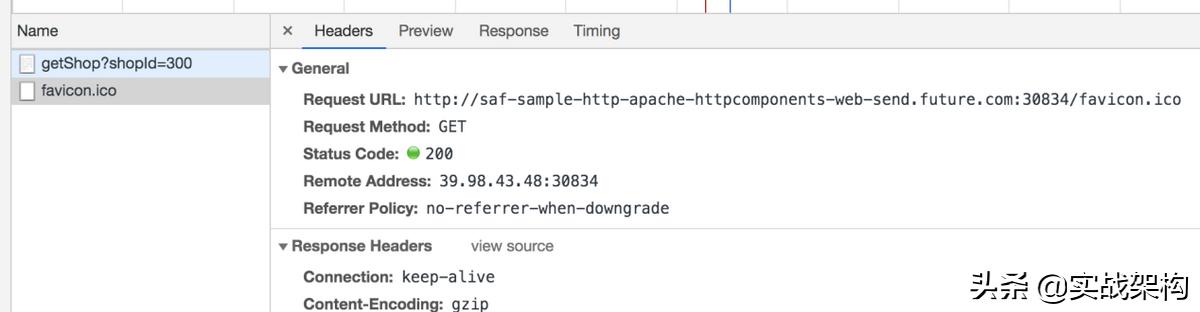
不要小瞧这个地方,很多时候你发现不了这个问题,因为有可能被CDN拦截了,如果前边有CDN,你可以查一下云厂商的CDN的url统计,我们之前光这个图片一天的CDN流量就数T。