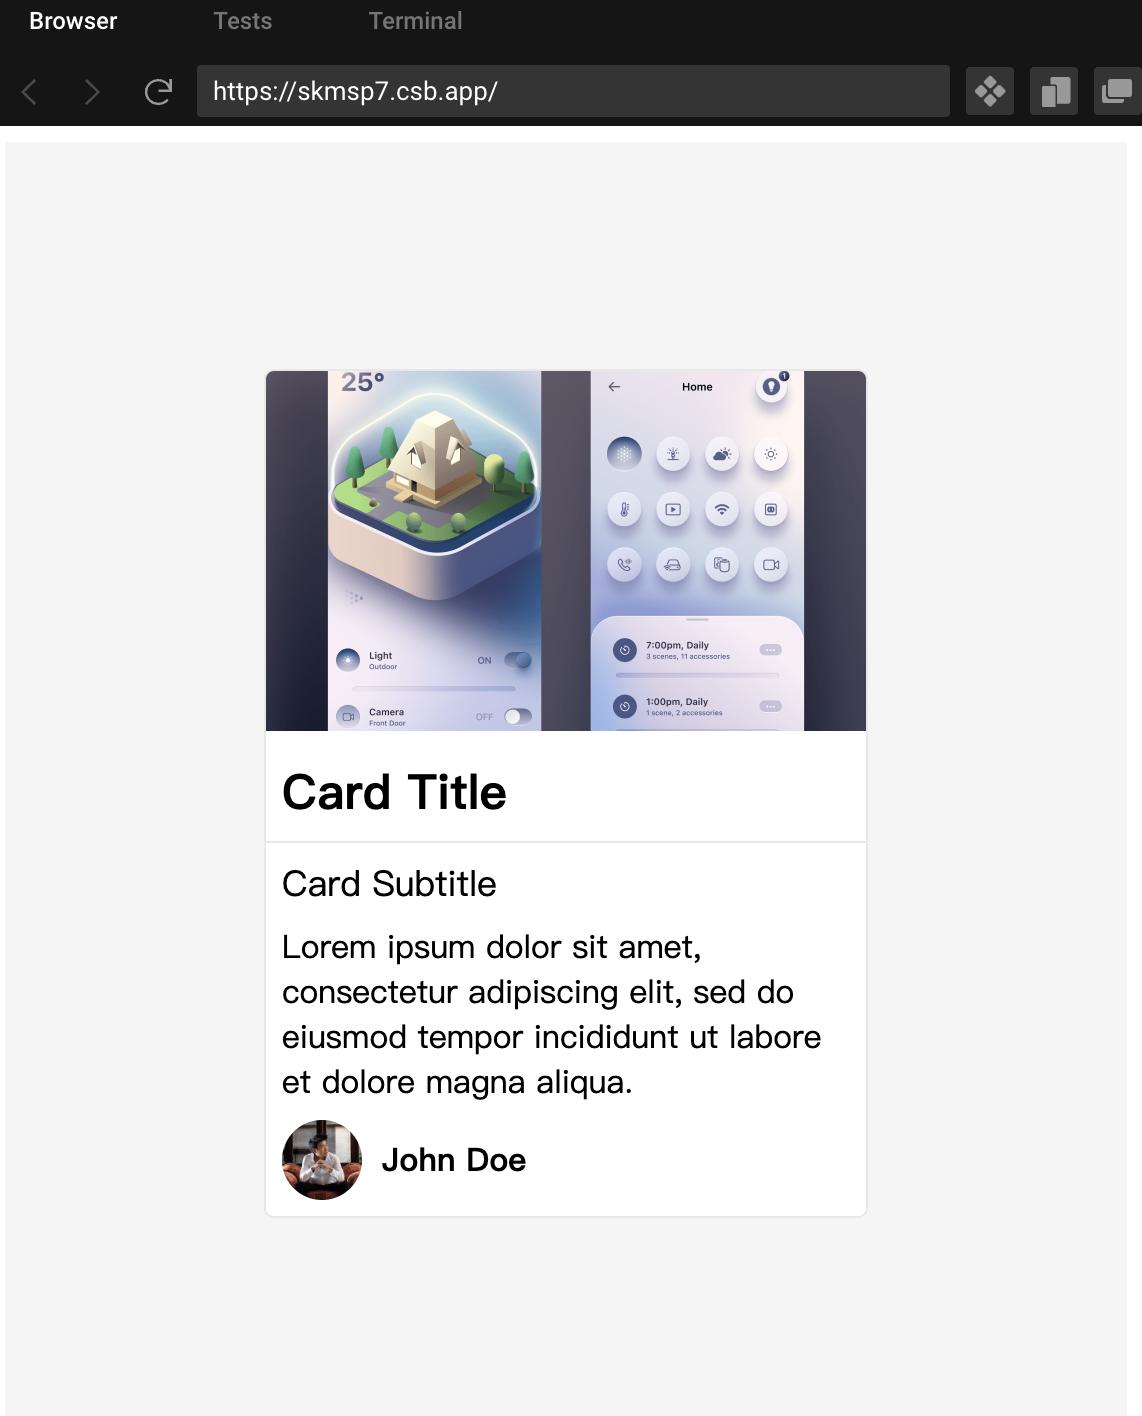
在上一篇文章中,我们一起使用 ChatGPT 和 React 构建了一个基本的卡片布局,效果如下图所示。如果您还没有看过上一篇文章,可以通过这个链接快速查看《使用 ChatGPT 和 React 创建一个惊艳的3D卡片(一)》。
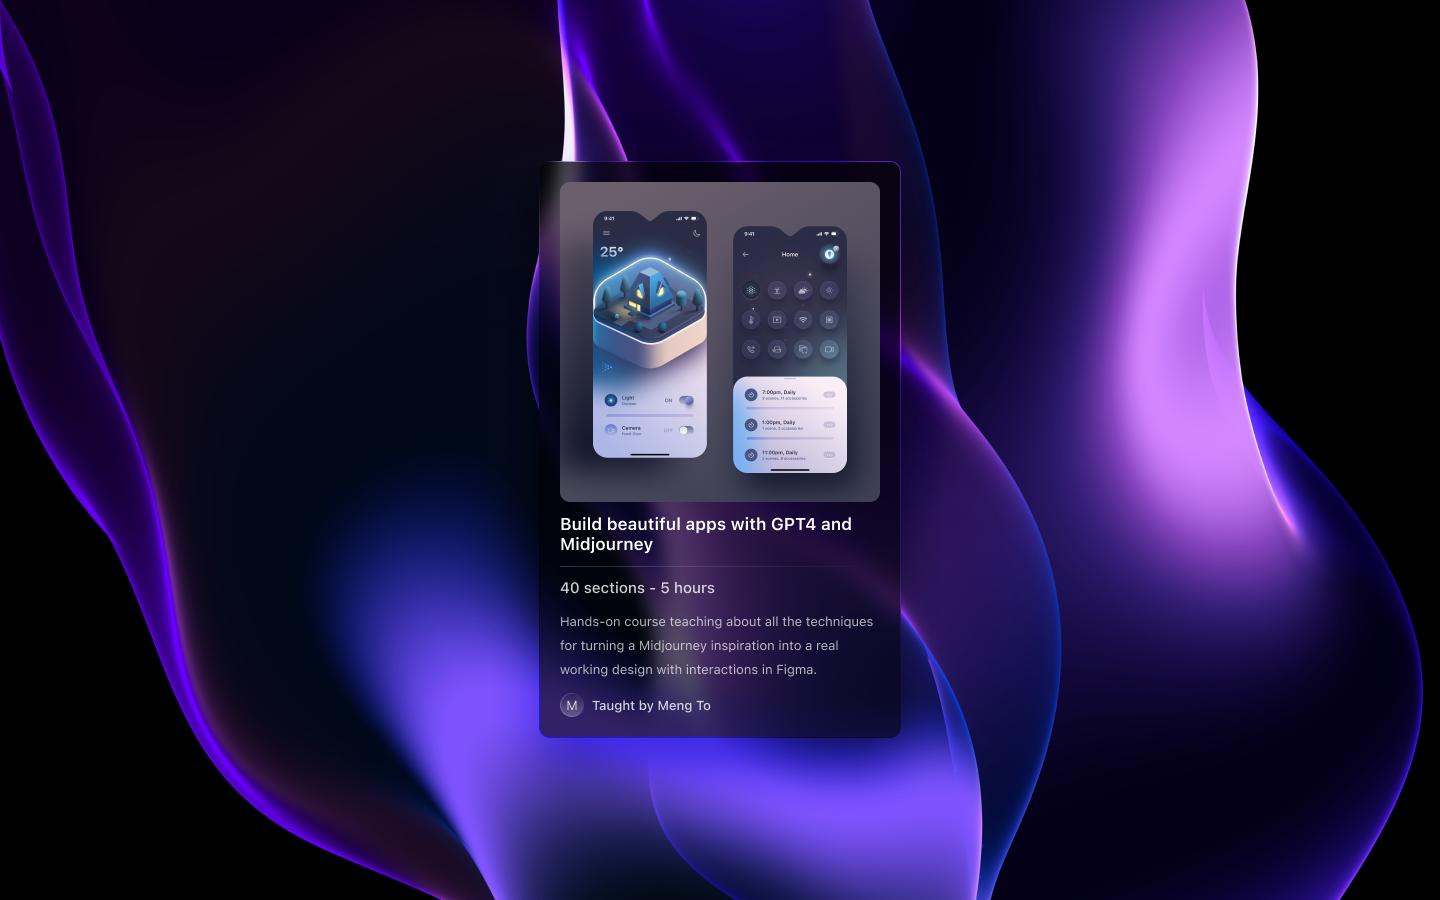
在此基础上,我利用 Figma 软件对卡片进行了优化和设计。下图展示了我们设计的效果图。在本篇文章中,我们将基于这个设计完善上述案例,让这个卡片更加炫酷。废话不多说,让我们借助 GPT4 开始编码吧!
如需要figma素材,请关注「前端达人」头条号,私信我"卡片素材"获取
暗黑模式
接下来,我们将使用 ChatGPT 将网站设置为暗黑模式,并添加一个背景图像。AI 建议更新样式组件中的容器和所有相关元素以实现这一点。
提示词
Make the site in dark mode and set a background image
输入提示词的效果,效果如下图所示:

import React from "react";
import styled from "styled-components";

const Container = styled.div`
  display: flex;
  align-items: center;
  justify-content: center;
  min-height: 100vh;
  background-color: #212121;
  background-image: url("https://via.placeholder.com/1920x1080");
  background-size: cover;
  background-position: center;
  background-repeat: no-repeat;
`;

const Card = styled.div`
  width: 300px;
  border: 1px solid #424242;
  border-radius: 5px;
  overflow: hidden;
  background-color: #424242;
  color: #ffffff;
`;

// ... (other styled-components, update colors for dark mode)

function App() {
  return (
    <Container>
      <Card>
        <CoverImage src="https://via.placeholder.com/300x180" alt="Cover" />
        <Title>Card Title</Title>
        <Divider />
        <Subtitle>Card Subtitle</Subtitle>
        <Text>
          Lorem ipsum dolor sit amet, consectetur adipiscing elit, sed do eiusmod tempor incididunt ut labore et dolore magna aliqua.
        </Text>
        <Author>
          <Avatar src="https://via.placeholder.com/40" alt="Author" />
          <AuthorName>John Doe</AuthorName>
        </Author>
      </Card>
    </Container>
  );
}

export default App;
然后,我指示它使用背景作为导入而不是将其设置为 URL。
提示词
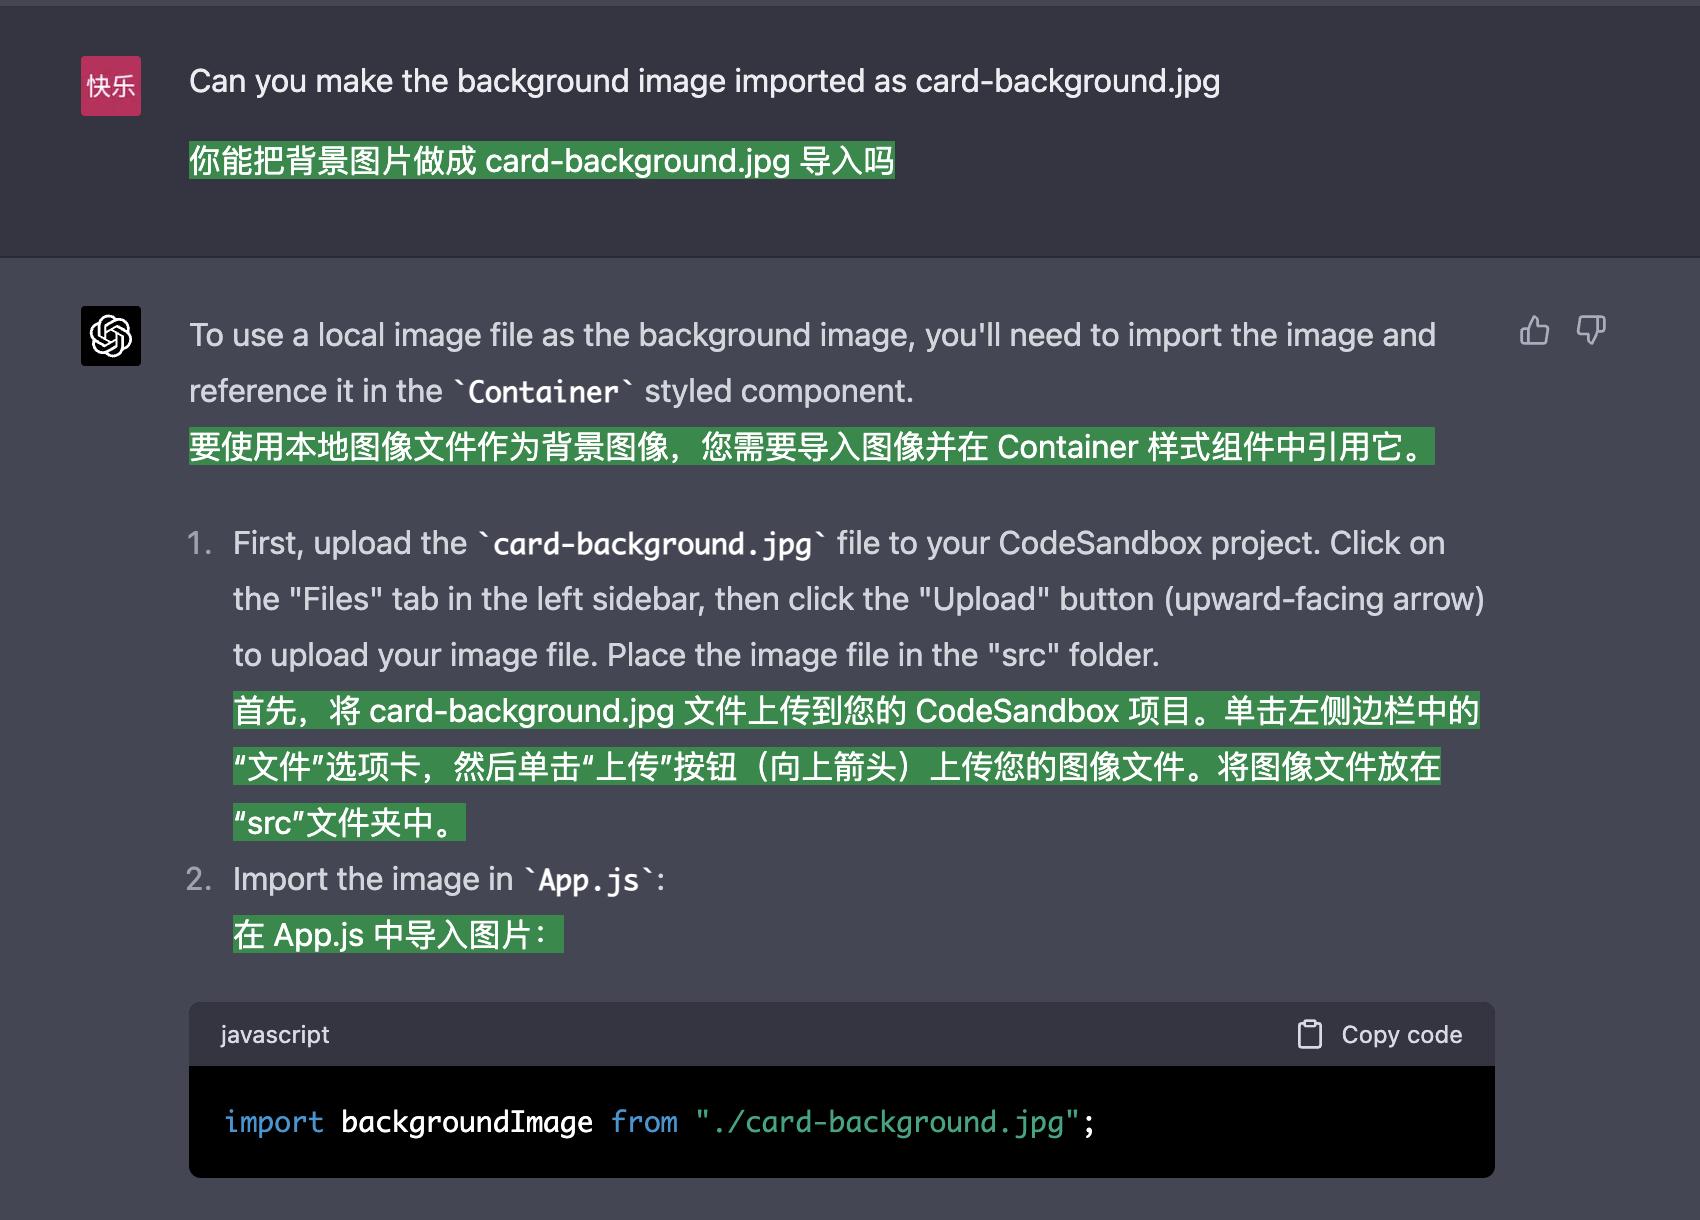
Can you make the background image imported as card-background.jpg
输入提示词的效果,效果如下图所示:
import React from "react";
import styled from "styled-components";
import backgroundImage from "./card-background.jpg";

const Container = styled.div`
  display: flex;
  align-items: center;
  justify-content: center;
  min-height: 100vh;
  background-color: #212121;
  background-image: url(${backgroundImage});
  background-size: cover;
  background-position: center;
  background-repeat: no-repeat;
`;

const Card = styled.div`
  width: 300px;
  border: 1px solid #424242;
  border-radius: 5px;
  overflow: hidden;
  background-color: #424242;
  color: #ffffff;
`;

// ... (other styled-components, update colors for dark mode)

function App() {
  return (
    <Container>
      <Card>
        <CoverImage src="https://via.placeholder.com/300x180" alt="Cover" />
        <Title>Card Title</Title>
        <Divider />
        <Subtitle>Card Subtitle</Subtitle>
        <Text>
          Lorem ipsum dolor sit amet, consectetur adipiscing elit, sed do eiusmod tempor incididunt ut labore et dolore magna aliqua.
        </Text>
        <Author>
          <Avatar src="https://via.placeholder.com/40" alt="Author" />
          <AuthorName>John Doe</AuthorName>
        </Author>
      </Card>
    </Container>
  );
}

export default App;
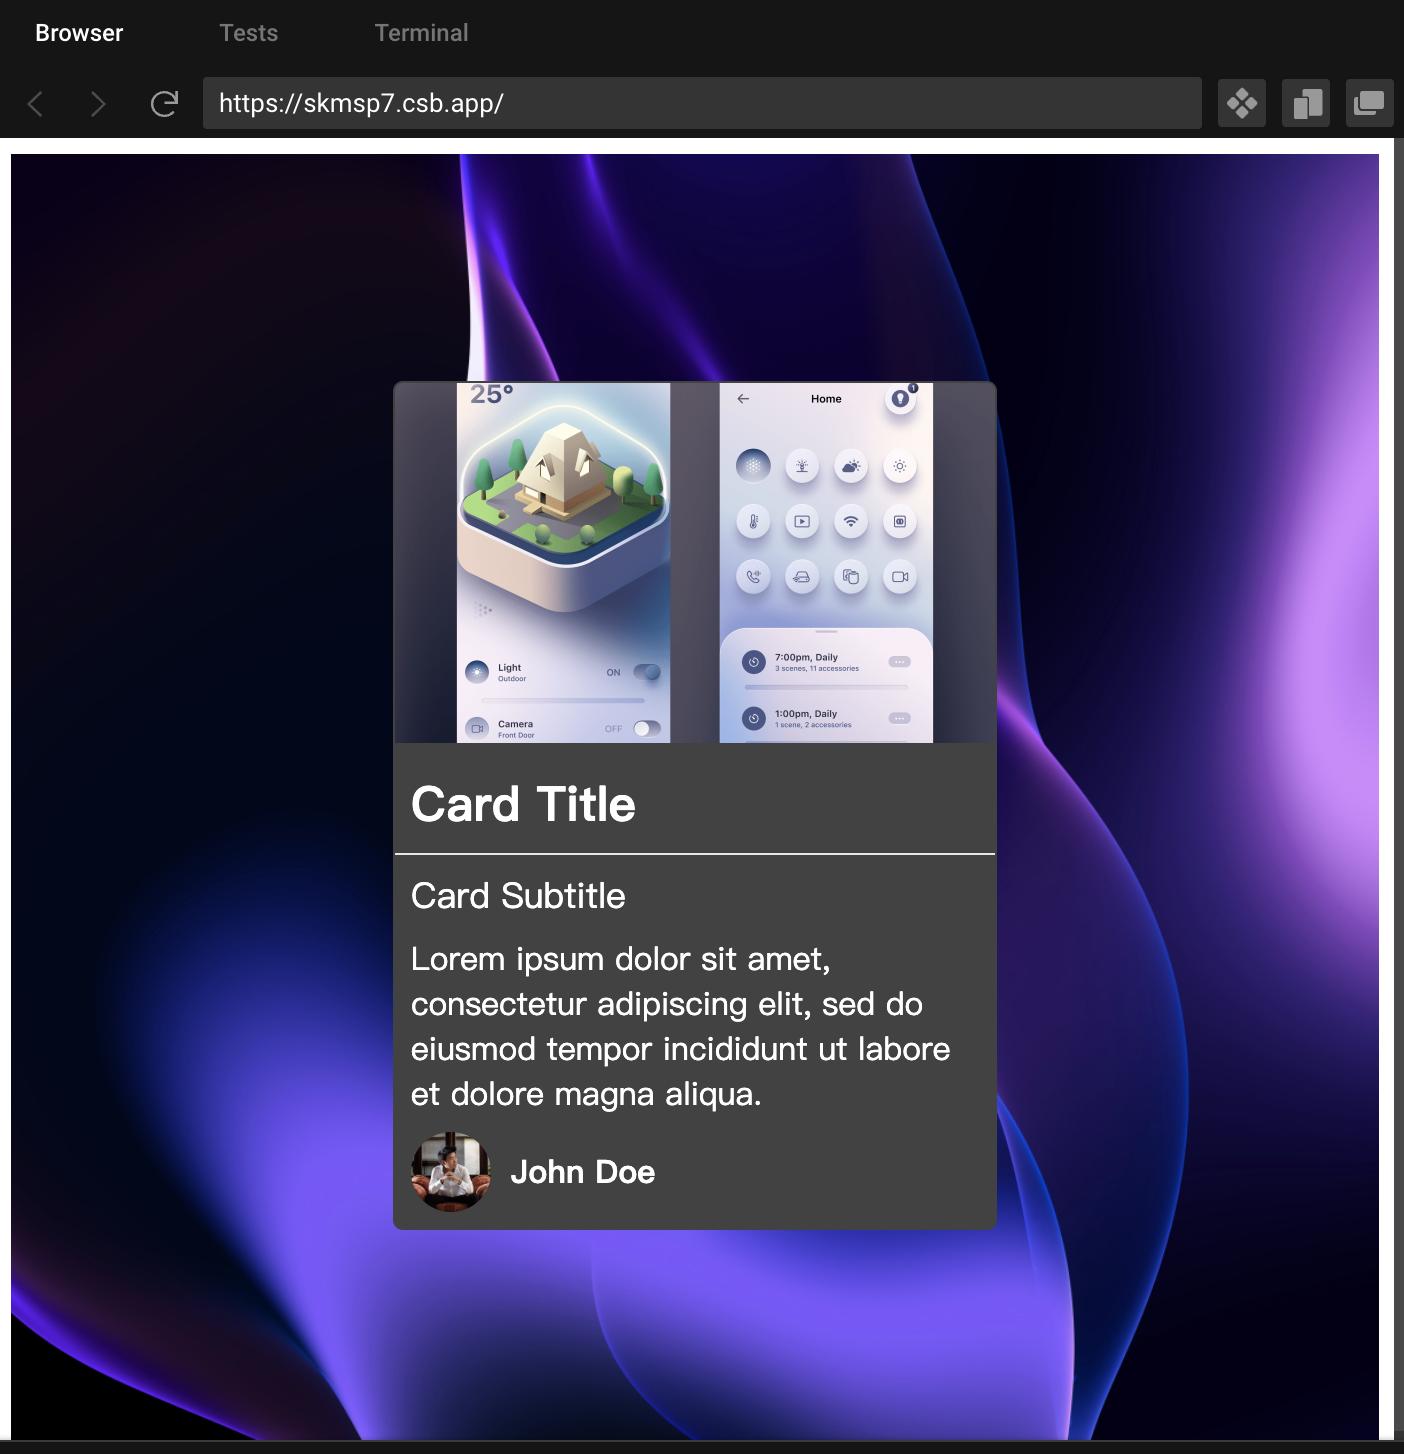
复制上述代码到 codesandbox,效果如下图所示:
避免 ChatGPT 遗忘
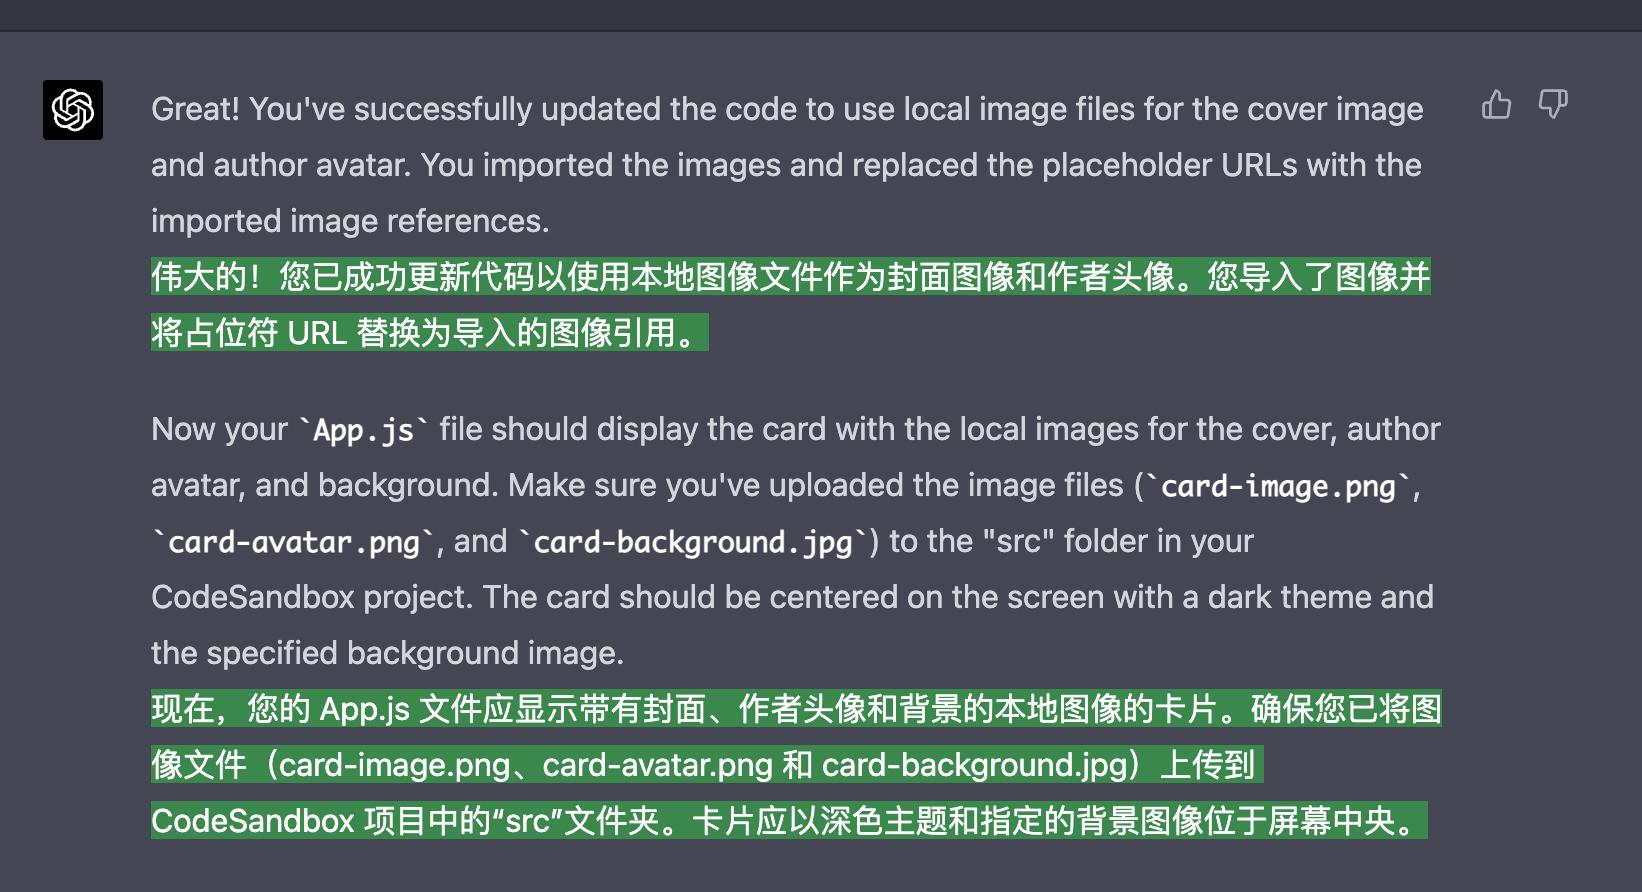
在使用 ChatGPT 的过程中,有可能会忘记某些存在的元素,比如在这种情况下的封面图片。如果发生这种情况,只需回到之前问问题的步骤,复制您的代码,然后让 ChatGPT 进行更新。接下来,您可以粘贴代码并再次问问题。如下图所示,我复制了代码,得到了如下的回复:
只关注代码更改
为了加快响应时间,我只关注请求代码更改。在这种情况下,我要求在头像图像之后导入背景图像,并使用美元符号而不是 URL 设置背景图像。使用样式组件允许我们将这些值用作 props,这使得更改更容易。我使用更新后的代码替换了背景图像。我们可以使用如下提示词:
Focus on code changes only
运行提示词后,效果如下图所示

手动修改样式部分
现在,使用 Chat GPT 进行 UI 设计和样式处理可能有点棘手。它涉及许多细节,例如大小、样式、颜色和渐变,很难指示 Chat GPT 如何实现它们。实际上,手动处理这些方面可能会更快,这就是为什么建议具备一些 CSS、HTML、JavaScript 和 SwiftUI 的基本知识,以便能够有效处理样式。
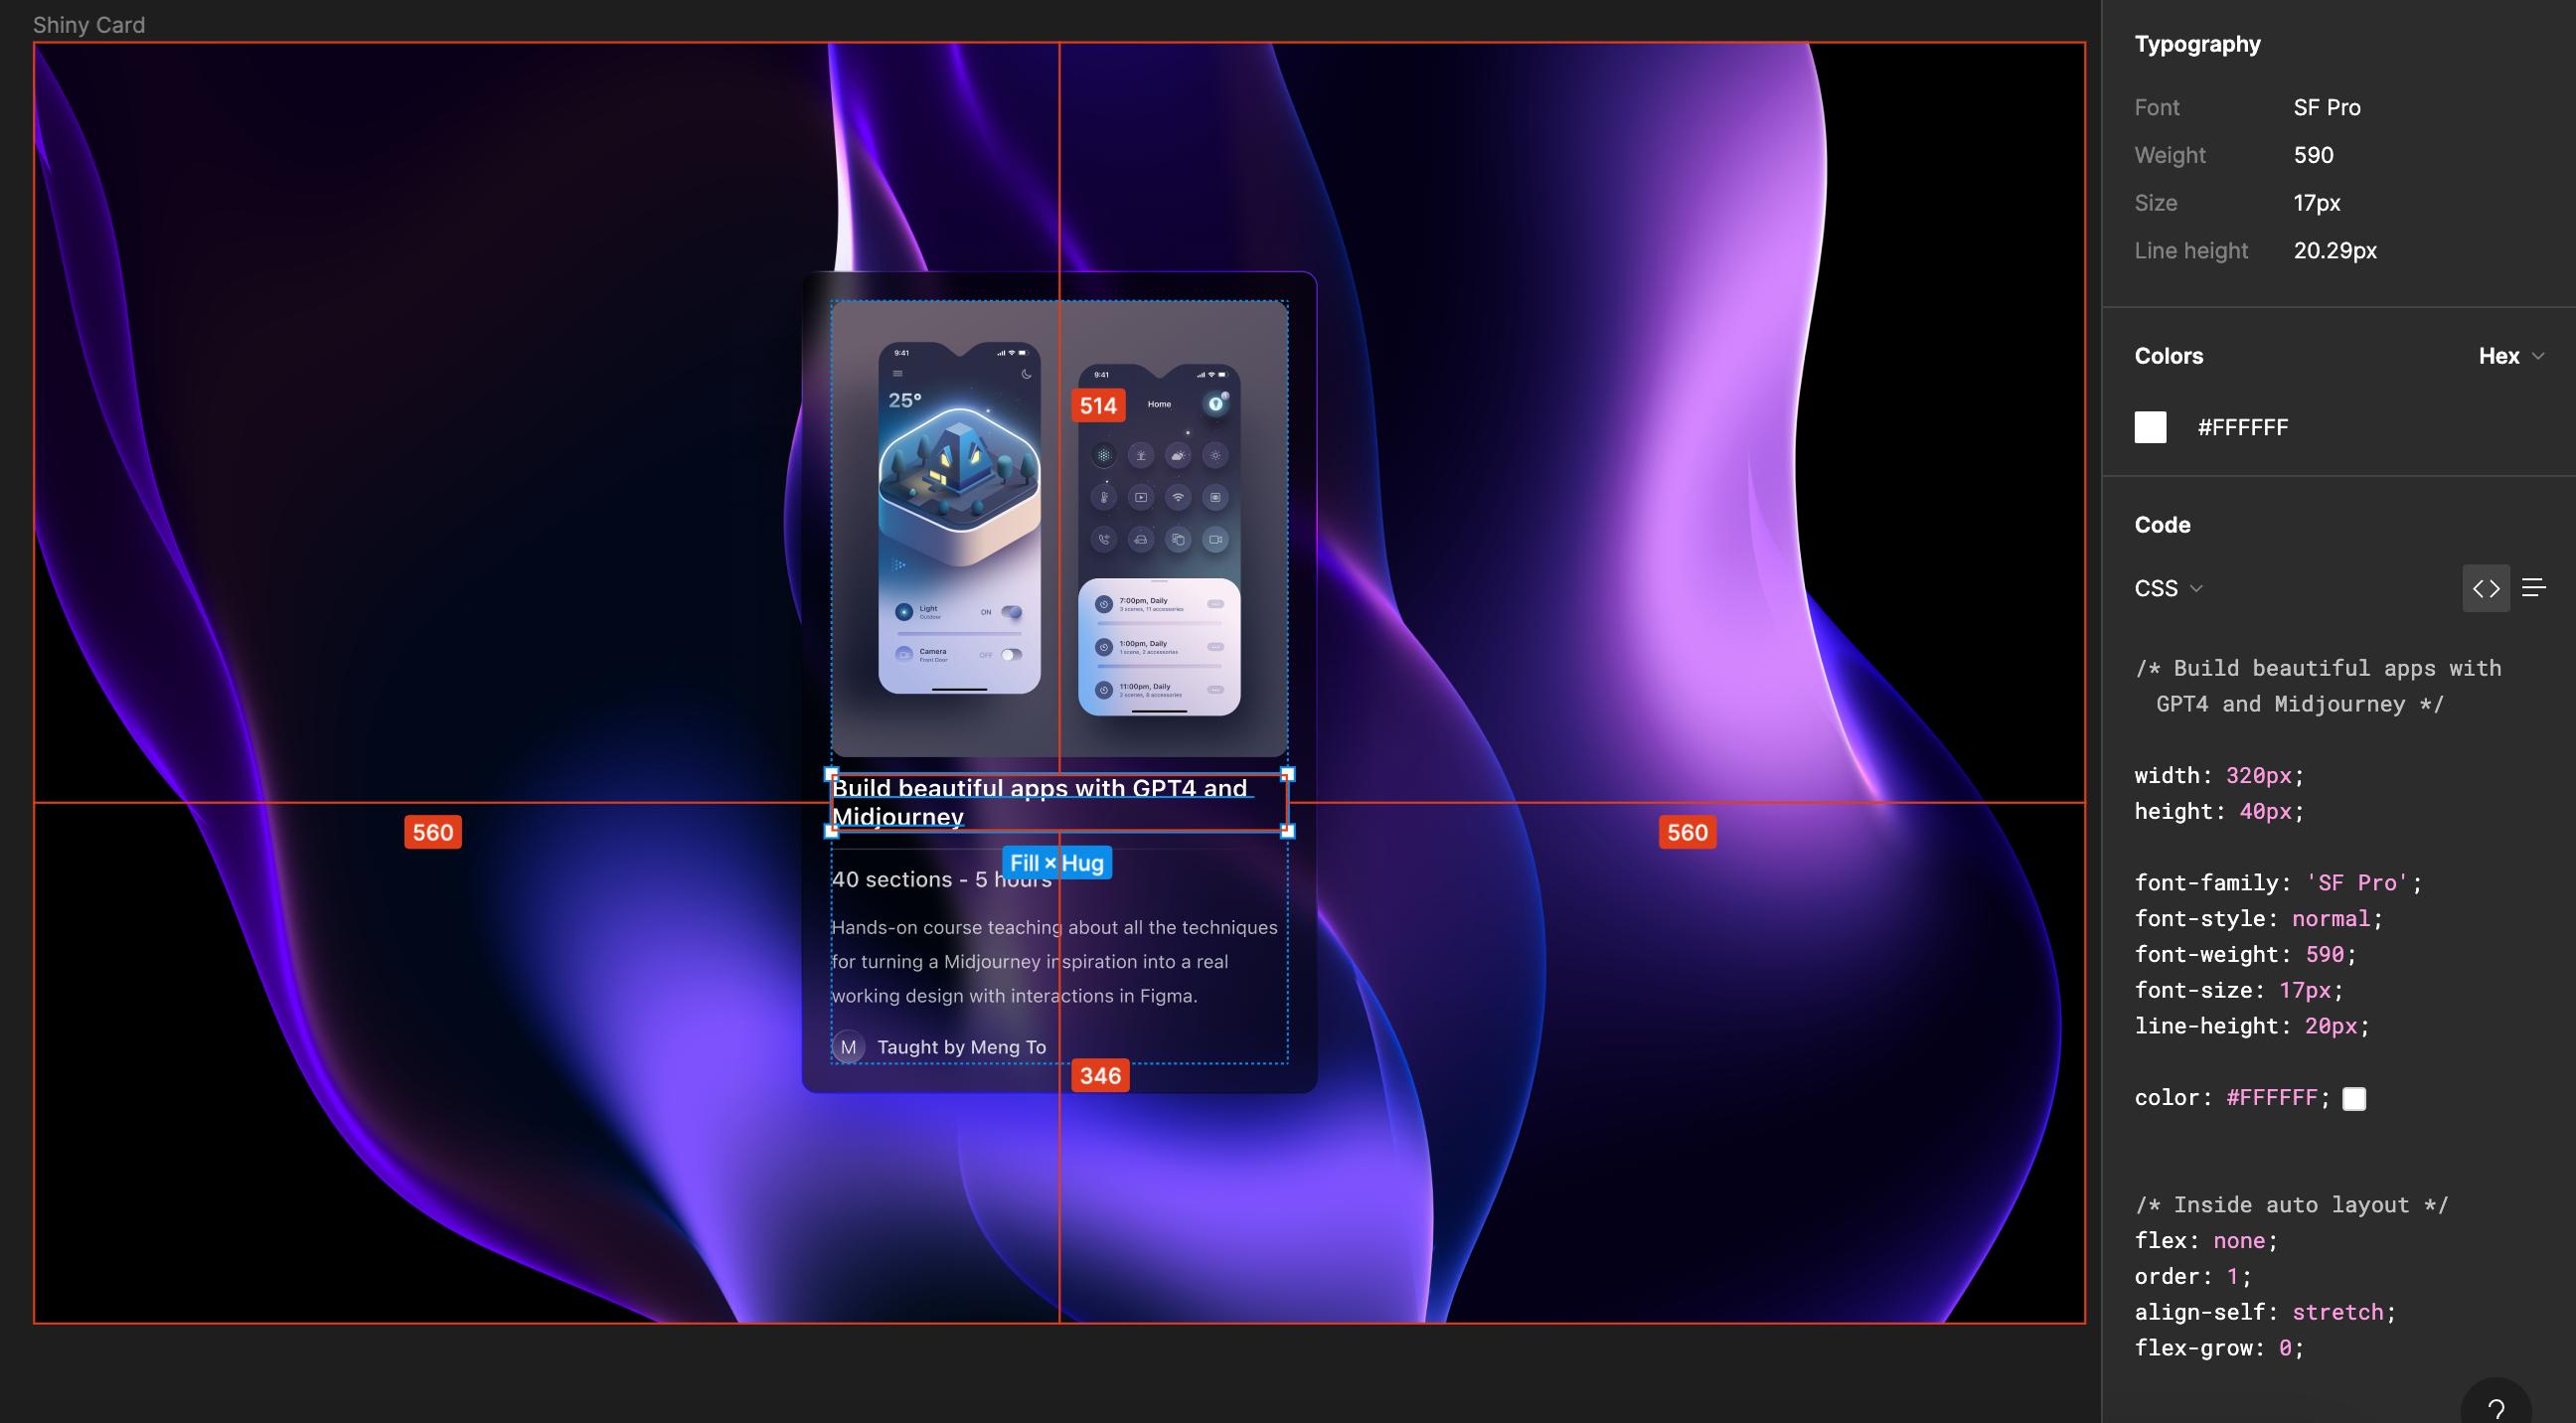
在 Figma 中检查卡片。

在 UI 设计方面,向 Chat GPT 指示可能会很困难,因为它涉及大小、样式、颜色和渐变等各种细节。手动进行样式设计通常更快,这就是为什么建议具备一些 CSS、HTML 和 JavaScript 知识的原因。
幸运的是,我们生活在一个存在 Figma 这样的工具的时代。通过检查设计中的每个元素,设计师可以为我们提供 CSS 代码。例如,我们可以从 Figma 中复制盒阴影、背景颜色和模糊设置,并将它们粘贴到网站的卡片元素中。这使我们能够实现设计所需的精确阴影和不透明度。
文本
接下来,我将从 Figma 文件中获取标题的字体样式、行高和颜色。如果需要,此过程可以针对其他元素重复进行。拥有正确的颜色非常重要,因此这是一个很好的备选方案,如果它们不容易获得。
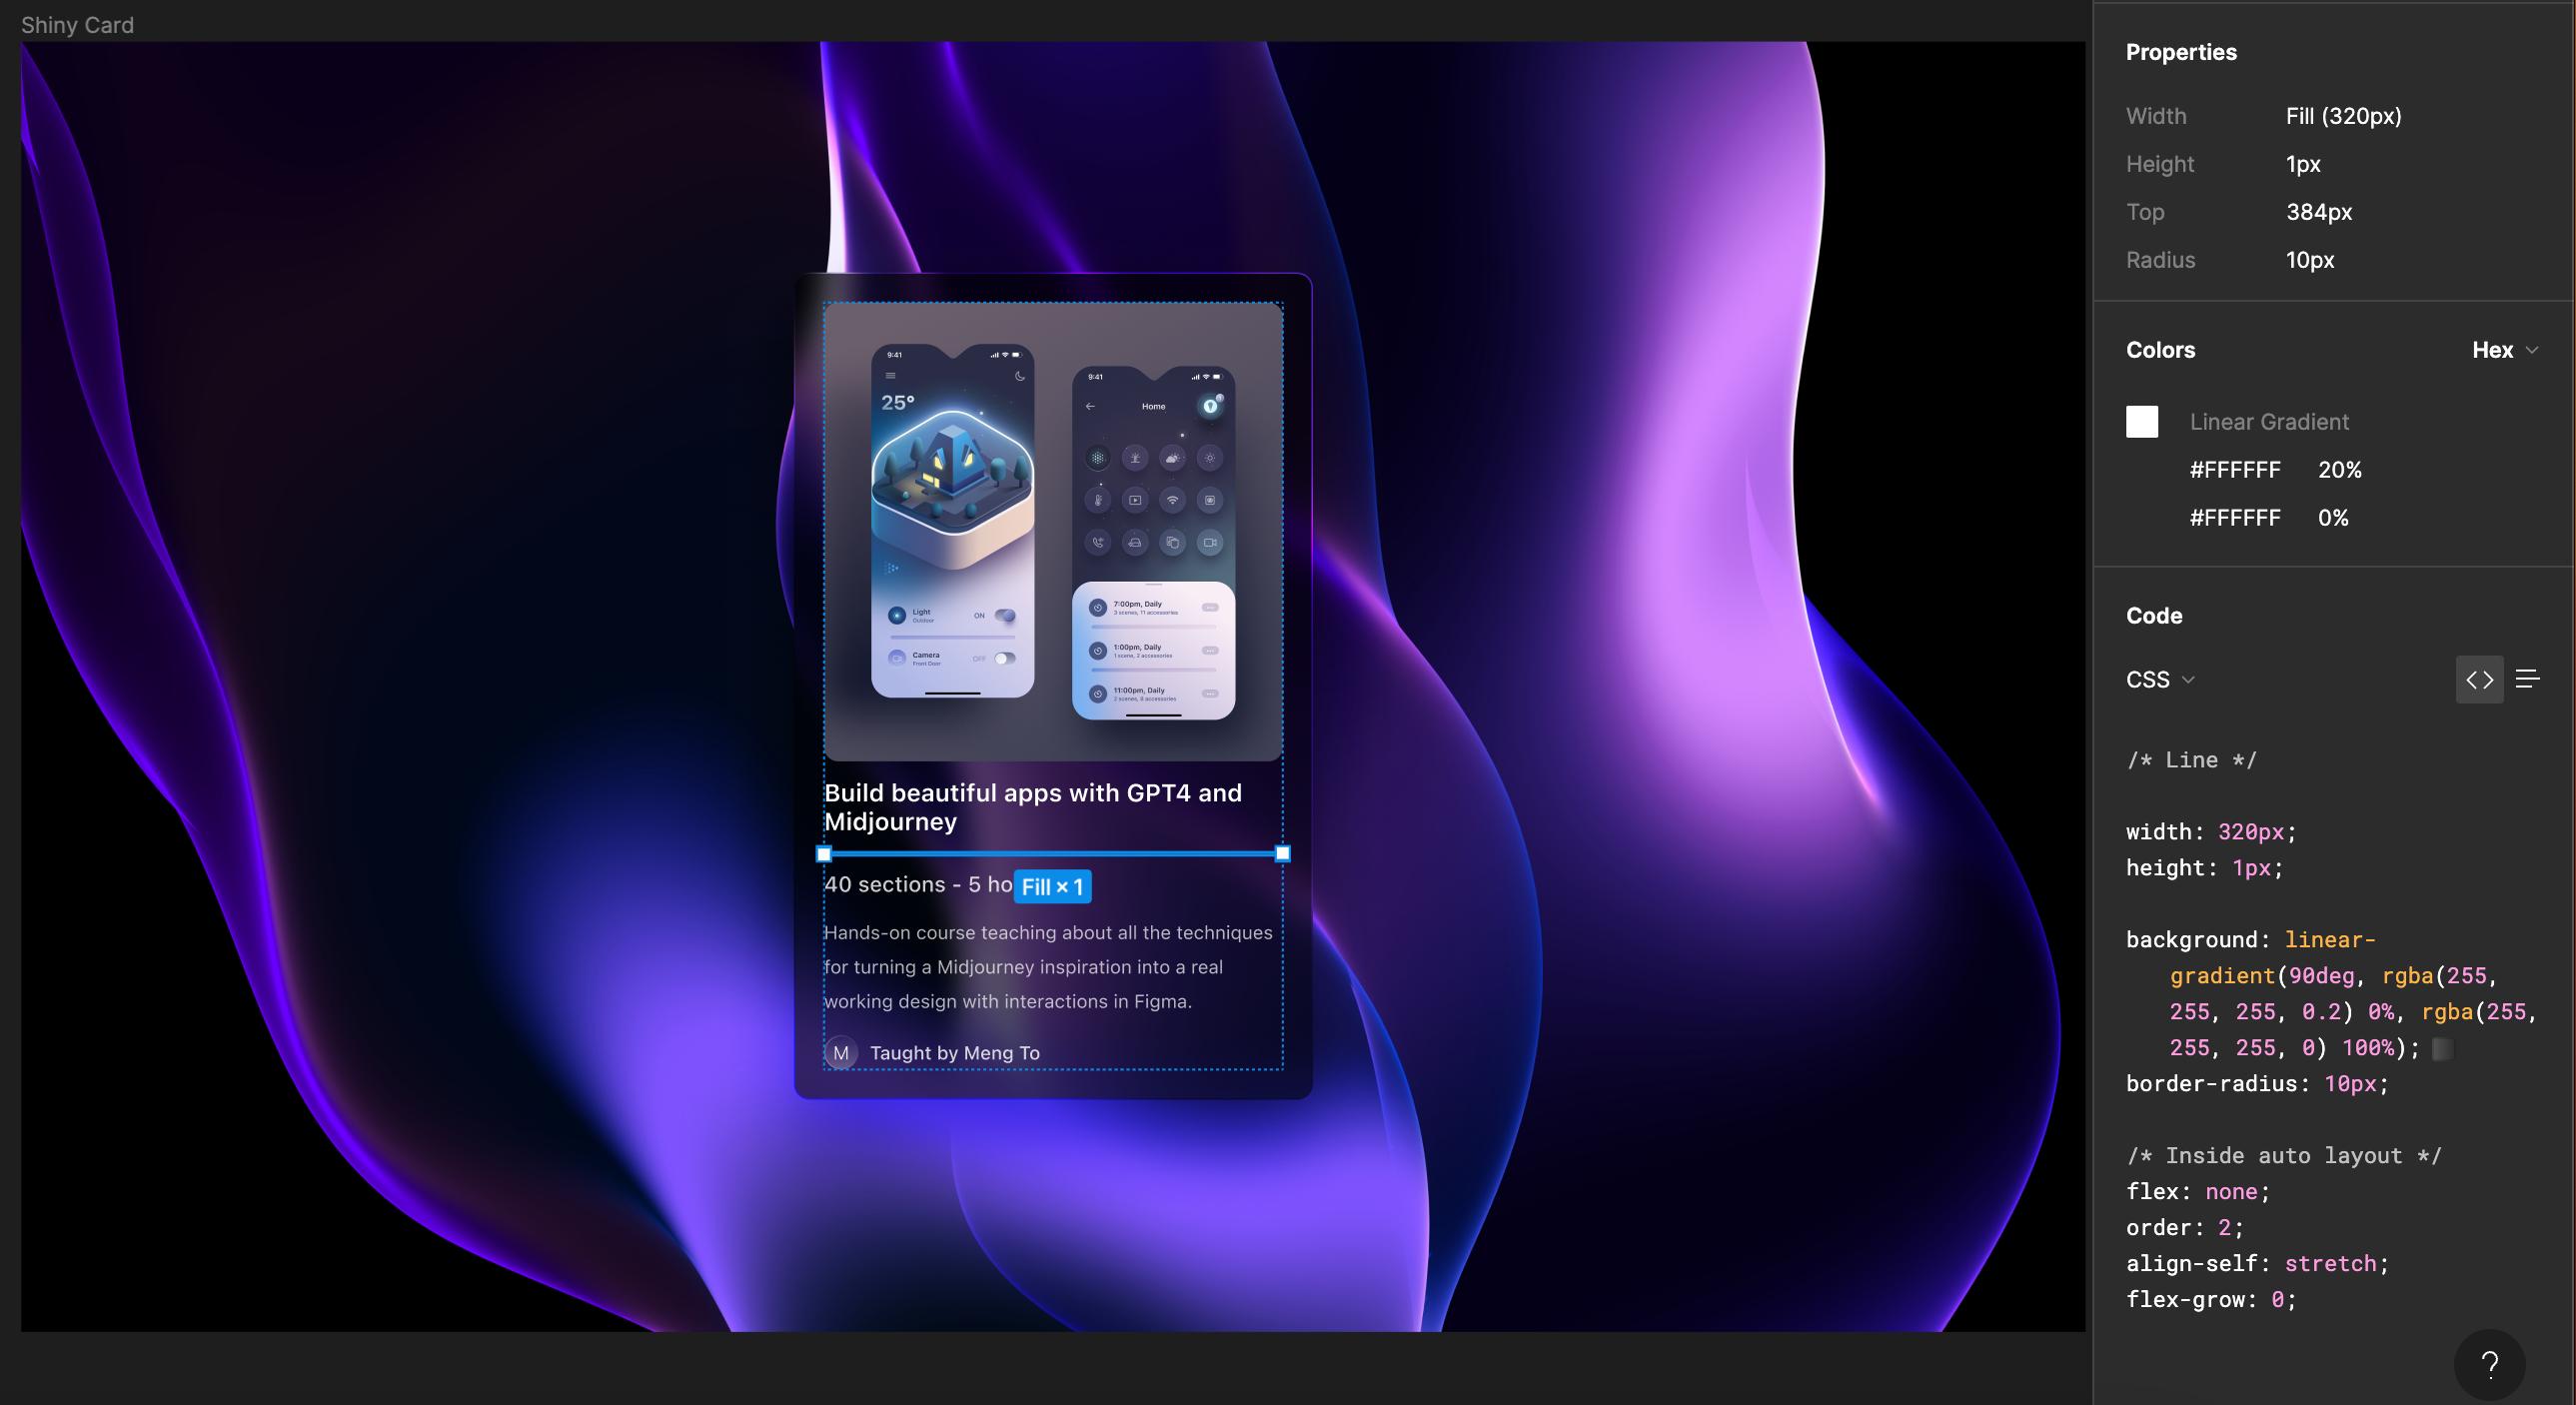
分隔线
对于分隔线,我将简单地使用 Figma 中的线性渐变。这是从头开始编写或要求 Chat GPT 为我们完成的比较困难的事情之一。从 Figma 中提取 CSS 要更高效。因此,我将保存 Figma 中的 CSS 代码,其中包括美丽的线性渐变。
卡片尺寸
我们的宽度为 320,卡片宽度为 360,因此需要将卡片宽度调整为 360。另外,封面图片的宽度为 320 像素。

填充
我将把内容的填充从 16 改为 0,并为卡片添加一个 20 的填充,根据设计规定。从卡片内容中,我将设置 margin-top 为 20 像素,以创建一些空间。我还将为图像角添加 10 像素的边框半径。
HTML 内容
接下来,我将从设计中复制每个文本元素的内容。您可以通过从 Figma 设计或自己的设计中简单地复制文本来完成此操作。在本例中,我们将使用标题元素的文本。一旦我们复制了所有必要的文本,我们就可以将它们粘贴到 HTML 文件中,我们的卡片基本上就完成了。
最终代码
做得好!看起来您已经成功完成了该项目,并利用 Chat GPT 帮助您进行了部分编码。当您进行更改时,将代码复制并粘贴回聊天中,这是一个好习惯,这样 Chat GPT 就能知道更新情况。此外,在使用诸如背景滤镜之类的功能时要注意浏览器兼容性,因为并非所有浏览器都支持它。做得很好!
// Styles.css
.App {
  font-family: sans-serif;
  text-align: center;
}

html,
body {
  font-family: -apple-system, BlinkMacSystemFont, "Segoe UI", Roboto, Oxygen,
    Ubuntu, Cantarell, "Open Sans", "Helvetica Neue", sans-serif;
  margin: 0;
  padding: 0;
}

*,
*::before,
*::after {
  box-sizing: border-box;
  margin: 0;
  padding: 0;
}
APP.JS
// App.js
import React from "react";
import styled from "styled-components";
import "./styles.css";

import coverImage from "./card-image.png";
import avatarImage from "./card-avatar.png";
import backgroundImage from "./card-background.jpg";

function App() {
  return (
    <Container>
      <Card>
        <CoverImage src={coverImage} alt="Cover" />
        <CardContent>
          <Title>Build beautiful apps with GPT4 and Midjourney</Title>
          <Divider />
          <Subtitle>40 sections - 5 hours</Subtitle>
          <Text>
            Hands-on course teaching about all the techniques for turning a
            Midjourney inspiration into a real working design with interactions
            in Figma.
          </Text>
          <Author>
            <Avatar src={avatarImage} alt="Author Avatar" />
            <AuthorName>Taught by Meng To</AuthorName>
          </Author>
        </CardContent>
      </Card>
    </Container>
  );
}

export default App;

const Card = styled.div`
  width: 360px;
  border-radius: 5px;
  overflow: hidden;
  box-shadow: 0 1px 3px rgba(0, 0, 0, 0.12), 0 1px 2px rgba(0, 0, 0, 0.24);
  background: rgba(0, 0, 0, 0.6);
  box-shadow: 0px 30px 60px rgba(0, 0, 0, 0.1), 0px 30px 60px rgba(0, 0, 0, 0.5);
  backdrop-filter: blur(10px);
  /* Note: backdrop-filter has minimal browser support */

  border-radius: 10px;
  padding: 20px;
`;

const CoverImage = styled.img`
  width: 100%;
  height: 320px;
  object-fit: cover;
  border-radius: 10px;
`;

const CardContent = styled.div`
  padding-top: 20px;
`;

const Title = styled.h2`
  margin: 0;
  font-size: 24px;
  font-style: normal;
  font-weight: 590;
  font-size: 17px;
  line-height: 20px;

  color: #ffffff;
`;

const Divider = styled.hr`
  border: none;
  height: 1px;
  background: linear-gradient(
    90deg,
    rgba(255, 255, 255, 0.2) 0%,
    rgba(255, 255, 255, 0) 100%
  );
  margin: 12px 0;
`;

const Subtitle = styled.h3`
  font-style: normal;
  font-weight: 510;
  font-size: 15px;
  line-height: 18px;
  /* identical to box height */

  color: rgba(255, 255, 255, 0.8);
  margin: 0 0 8px;
`;

const Text = styled.p`
  margin: 0 0 12px;
  font-style: normal;
  font-weight: 400;
  font-size: 13px;
  line-height: 24px;
  /* or 185% */

  color: rgba(255, 255, 255, 0.7);
`;

const Author = styled.div`
  display: flex;
  align-items: center;
`;

const Avatar = styled.img`
  width: 40px;
  height: 40px;
  border-radius: 50%;
  object-fit: cover;
  margin-right: 8px;
`;

const AuthorName = styled.span`
  font-style: normal;
  font-weight: 510;
  font-size: 13px;
  line-height: 16px;
  /* identical to box height */

  color: rgba(255, 255, 255, 0.8);
`;

const Container = styled.div`
  display: flex;
  justify-content: center;
  align-items: center;
  min-height: 100vh;
  background-color: #333;
  background-image: url(${backgroundImage});
  background-size: cover;
  background-position: center;
  background-repeat: no-repeat;
`;
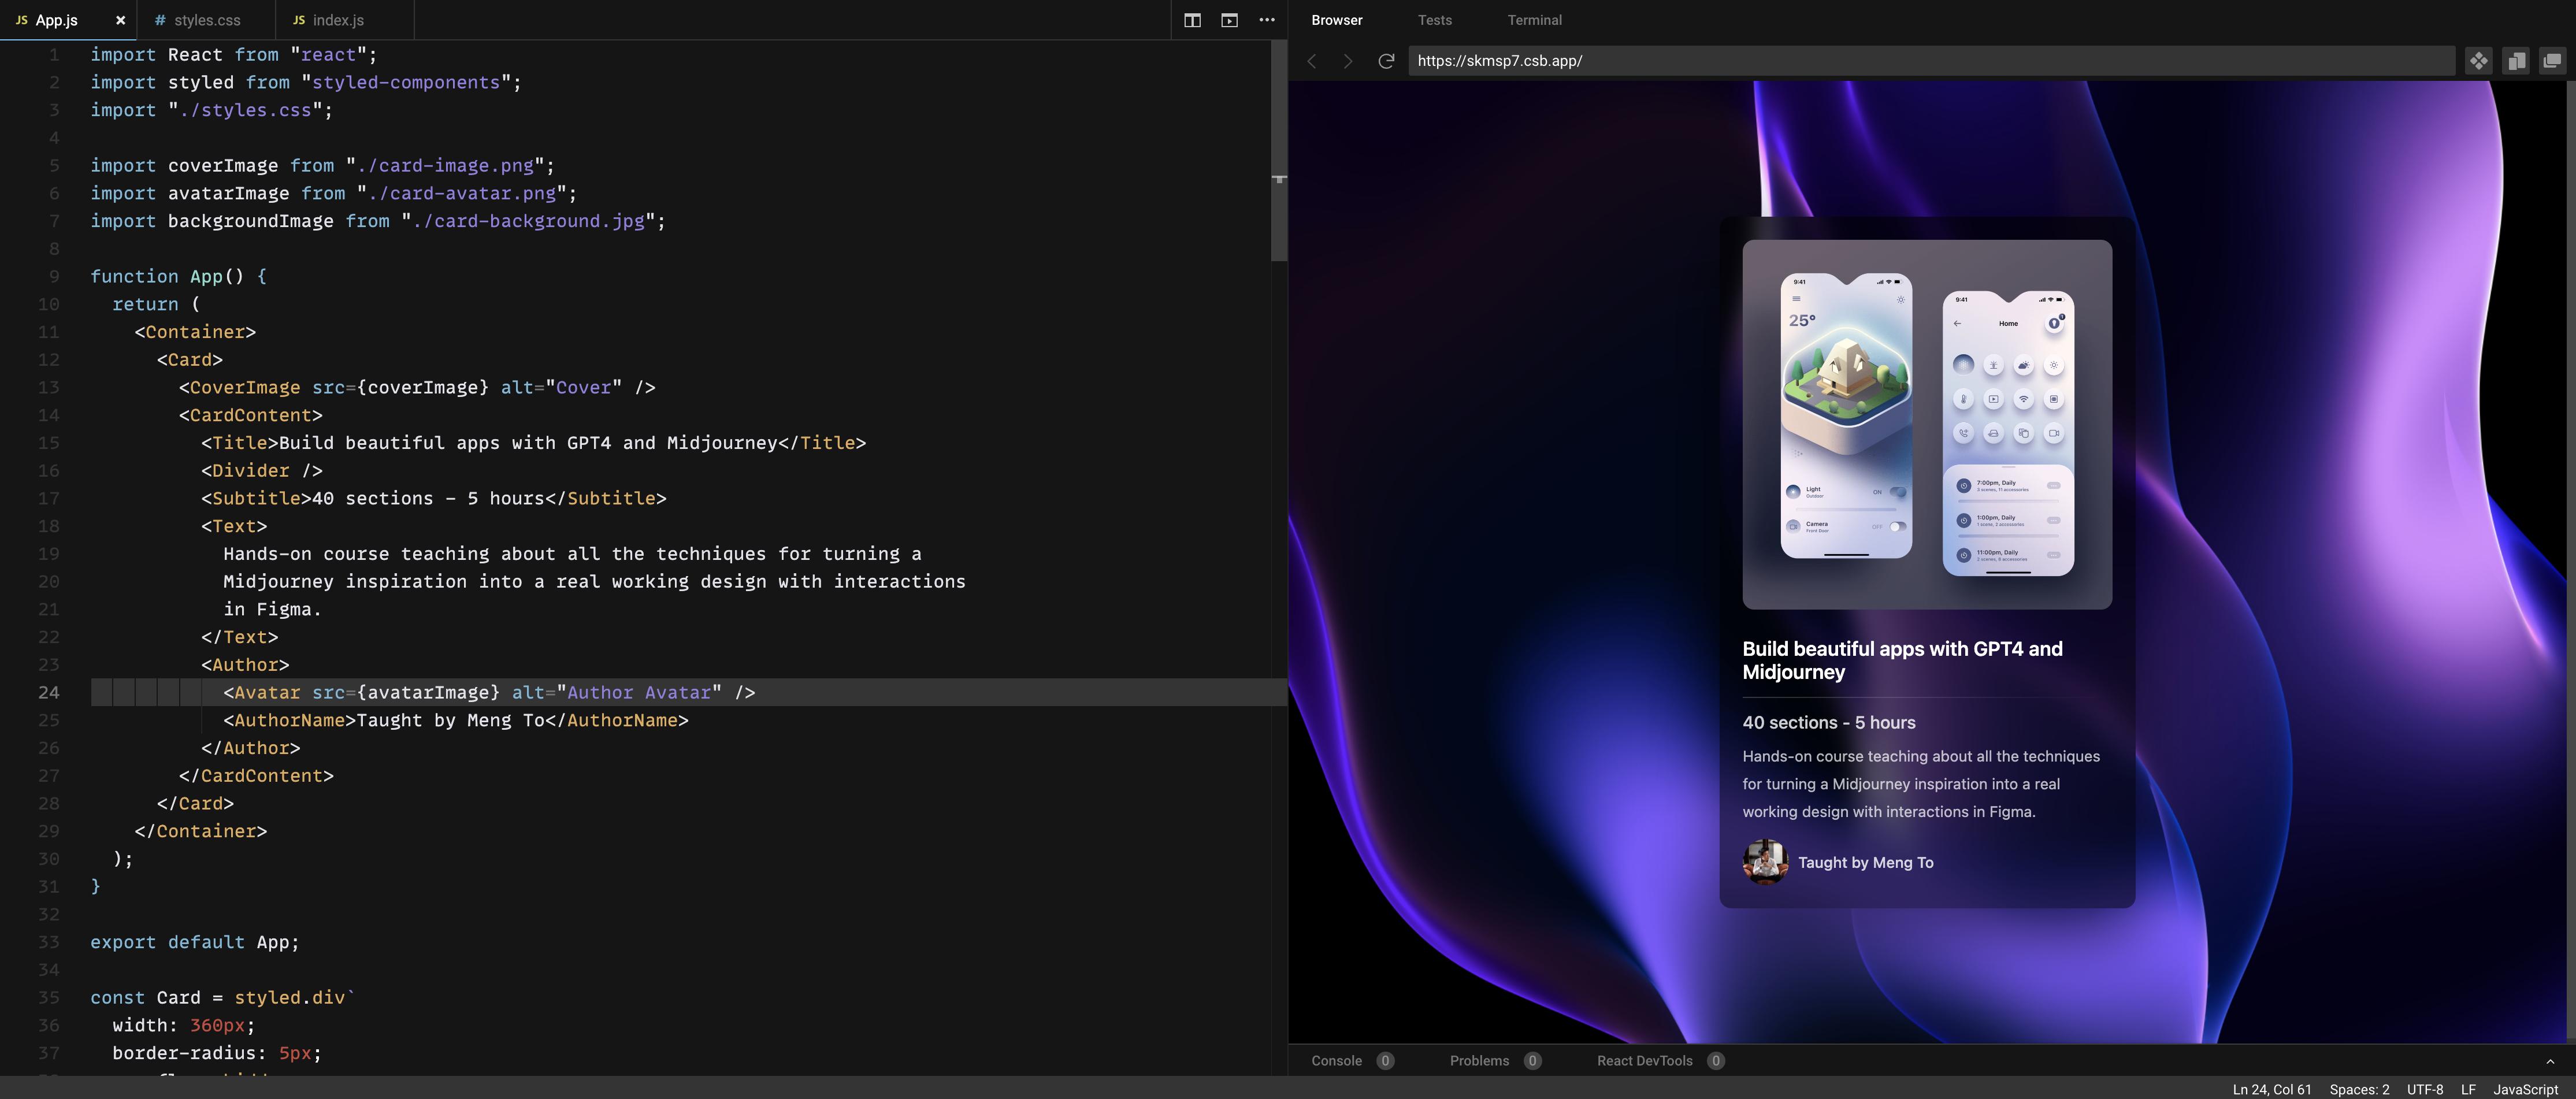
最终完成的效果如下图所示,是不是很漂亮
结束
非常棒!您成功地通过使用 ChatGpt4 和 Figma 软件完成了一个酷炫的、具有毛玻璃透明效果的 3D 卡片。在下一篇文章中,我们将继续介绍和完善本案例,在 ChatGpt4 的帮助下实现鼠标触碰卡片的交互效果,让卡片具有更立体的效果。
在文章结尾,我想提醒您, 文章的创作不易,如果您喜欢我的分享,请别忘了点赞和转发,让更多有需要的人看到。同时,如果您想获取更多前端技术的知识,欢迎关注「前端达人」,您的支持将是我分享最大的动力。我会持续输出更多内容,敬请期待。