搭建环境:
CentOS7+Apache+MySQL+PHP
zabbix安装SeLinux需要要关闭,否则zabbix起不来
(1)vi /etc/selinux/config
将SELINUX=enforcing改为SELINUX=disabled
:wq 保存退出
(2)重启生效
reboot
搭建步骤:
1.导入mysql的yum依赖包
rpm -Uvh https://dev.mysql.com/get/mysql57-community-release-el7-11.noarch.rpm
2.yum安装MySQL
yum -y install mysql-community-server
3.启动MySQL,并设置为开机自启
systemctl start mysqld.service
systemctl enable mysqld.service
4.修改mysql的管理员密码
(1)默认是临时密码,通过下面命令查看
grep 'temporary password' /var/log/mysqld.log
(2)以管理员用户登陆数据库,输入上述查询到的密码
mysql -uroot -p
(3)更改管理员密码,密码有复杂度要求,大小写数字和符号
ALTER USER 'root'@'localhost' IDENTIFIED BY ' MyNewPass4! ';
(4)退出数据库
quit;
5.yum安装Apache
yum -y install httpd
6.启动Apache,并设置为开机自启
systemctl start httpd.service
systemctl enable httpd.service
7.防火墙放行HTTP业务
firewall-cmd --permanent --zone=public --add-service=http
8.重启防火墙
firewall-cmd --reload
9.安装PHP
(1)添加EPEL、webtatic yum依赖
yum -y install epel-release
rpm -Uvh https://mirror.webtatic.com/yum/el7/webtatic-release.rpm
(2)yum安装PHP7.2
yum -y install mod_php72w php72w-opcache php72w-fpm php72w-mysql php72w-gd php72w-ldap php72w-odbc php72w-pear php72w-xml php72w-xmlrpc php72w-mbstring php72w-snmp php72w-soap curl curl-devel
(3)更改PHP时区
vi /etc/php.ini
找到
;date.timezone =
更改为
date.timezone = Asia/Shanghai
10.重启Apache,使PHP生效
systemctl restart httpd.service
11.添加zabbix yum依赖
rpm -ivh http://repo.zabbix.com/zabbix/3.4/rhel/7/x86_64/zabbix-release-3.4-1.el7.centos.noarch.rpm
12.yum安装zabbix服务端和网页端
yum -y install zabbix-server-mysql zabbix-web-mysql
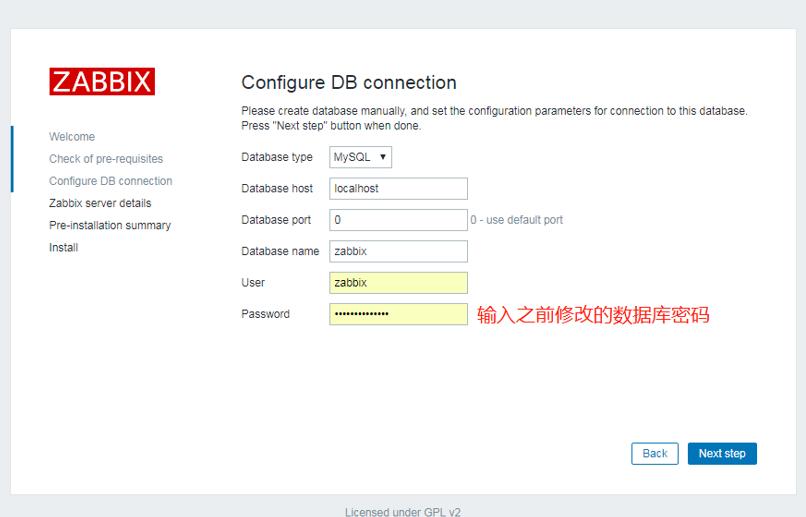
13.数据库创建zabbix用户和数据库
(1)root登陆数据库
mysql -uroot -p
(2)创建zabbix数据库,并作相关权限设置
create database zabbix character set utf8 collate utf8_bin;
grant all privileges on zabbix.* to zabbix@localhost identified by 'ZabbixServer@1';
quit;
14.导入zabbix数据库实例
zcat /usr/share/doc/zabbix-server-mysql-3.4.15//create.sql.gz | mysql -uzabbix -p zabbix
(涉及文件名字,按TAB补全。)
15.修改zabbix配置文件
vi /etc/zabbix/zabbix_server.conf
找到下面四行的位置,如果有#,在下方新加一行,设置对应的值
DBHost=localhost
DBName=zabbix
DBUser=zabbix
DBPassword=ZabbixServer@1
16.修改zabbix的Apache的配置
vi /etc/httpd/conf.d/zabbix.conf
将<IfModule mod_php5.c>改为<IfModule mod_php7.c>
将# php_value date.timezone Europe/Riga 改为php_value date.timezone Asia/Shanghai
17.重启Apache
systemctl restart httpd
18.启动zabbix,并设置开机自启
systemctl start zabbix-server
systemctl enable zabbix-server
19.安装zabbix客户端
yum -y install zabbix-agent
20.修改agent配置
vi /etc/zabbix/zabbix_agentd.conf
修改配置文件中的Server,ServerActive的IP
将Server=127.0.0.1 改成Server=zabbix server ip
将ServerActive=127.0.0.1 改成ServerActive=zabbix server ip
21.启动客户端,并设置开机自启
systemctl start zabbix-agent.service
systemctl enable zabbix-agent.service
22.防火墙放行zabbix相关端口
firewall-cmd --permanent --zone=public --add-port=10050/tcp
firewall-cmd --permanent --zone=public --add-port=10051/tcp
23.重启防火墙
firewall-cmd --reload
24.中文显示方框的处理
将windows自带的字体,如黑体simhei.ttf传到zabbixserver的/usr/share/zabbix/fonts目录下
执行 sed -i 's/graphfont/simkai/g' /usr/share/zabbix/include/defines.inc.php
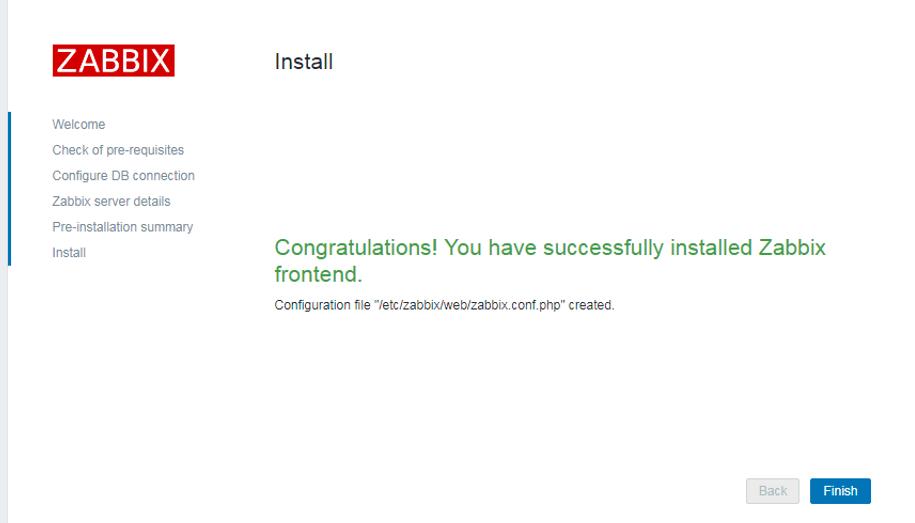
25.输入http://zabbix_server_ip/zabbix使用,默认用户名 Admin ,密码 zabbix
25:输入http://10.148.60.60/zabbix/使用,默认用户名Admin,密码zabbix

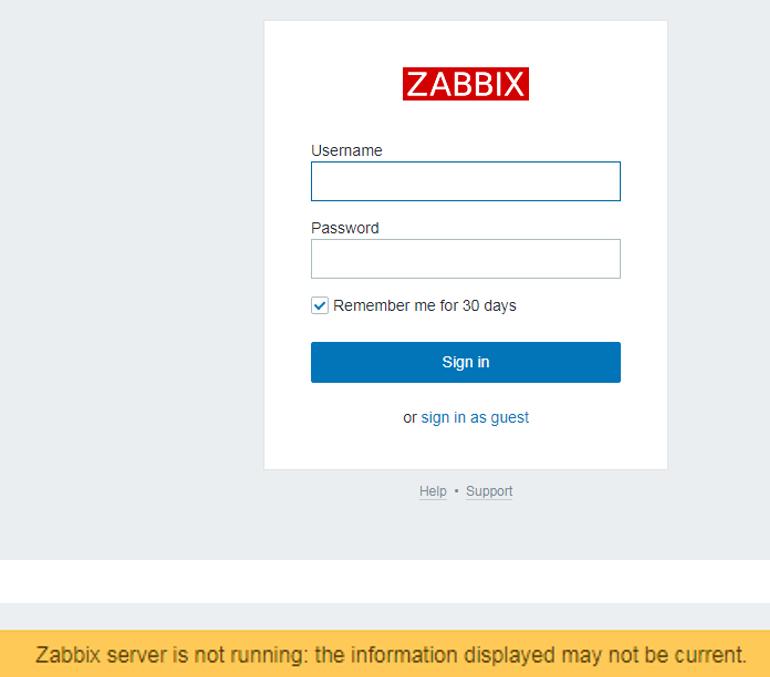
若出现上述情况,可以在命令行敲: systemctl status zabbix-server