温馨提示:要看高清*码无**套图,请使用手机打开并单击图片放大查看。
1.文档编写目的
在使用Impala JDBC连接Impala服务时,默认是不带负载均衡的,但一个Impala Daemon很可能会产生单点的问题,这里我们就需要考虑Impala Daemon的负载均衡,官方推荐并支持的负载均衡为HAProxy,参考:
https://www.cloudera.com/documentation/enterprise/latest/topics/impala_proxy.html。
但我们常常会碰到企业已经在用Nginx,Nginx毕竟在http和反向代理这块是最优秀的,这个时候我们就需要考虑复用Nginx。所以Fayson在这篇文章就介绍一下如何使用Nginx实现Impala服务的负载均衡。
- 内容概述
1.Nginx安装及启停
2.配置Impala负载均衡策略
3.Impala shell及JDBC测试
4.常见问题
- 测试环境
1.CM和CDH版本为5.13.0
2.采用root用户操作
3.Nginx1.12.2
4.集群未启用Kerberos
2.Nginx服务安装及启停
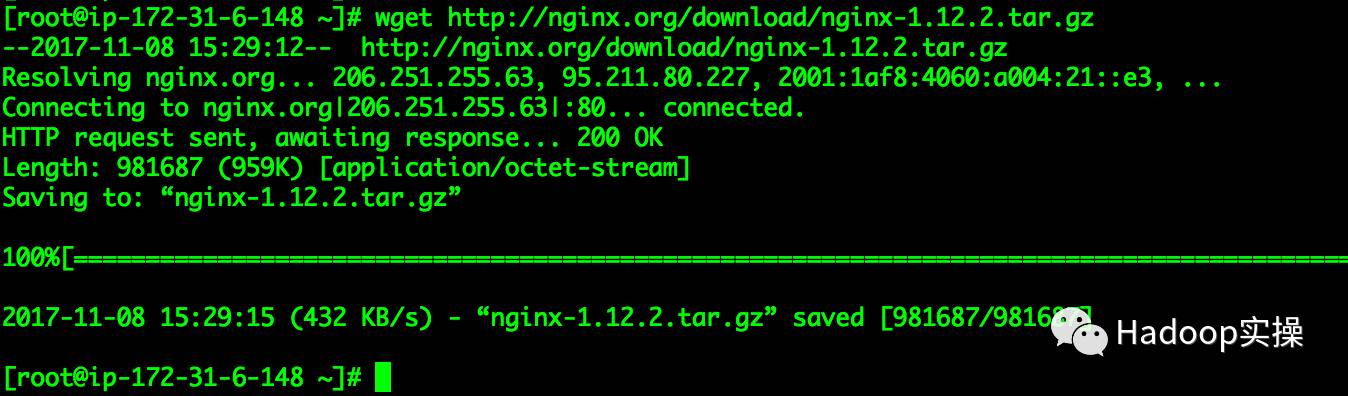
1.*载下**Nginx安装包,*载下**地址如下
选择集群中任意一台服务器用来安装Nginx服务或者选用一*独台**立的服务器用来部署Nginx,需要确保Nginx所在的服务器与集群中所有的Impala节点网络是通的(包括端口号21050)
http://nginx.org/download/nginx-1.12.2.tar.gz
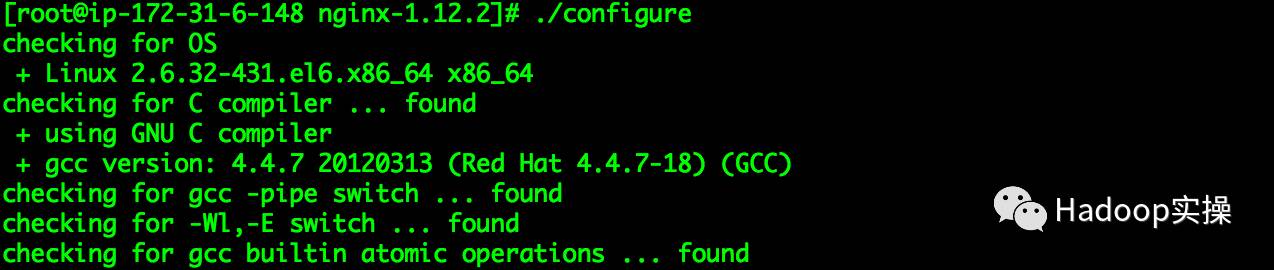
2.解压nginx-1.21.2.tar.gz压缩包,并进行编译安装
[root@ip-172-31-6-148 ~]# tar -zxf nginx-1.12.2.tar.gz
[root@ip-172-31-6-148 ~]# cd nginx-1.12.2
[root@ip-172-31-6-148 nginx-1.12.2]# ./configure --with-stream
[root@ip-172-31-6-148 nginx-1.12.2]# make && make install
注意:必须编译stream模块
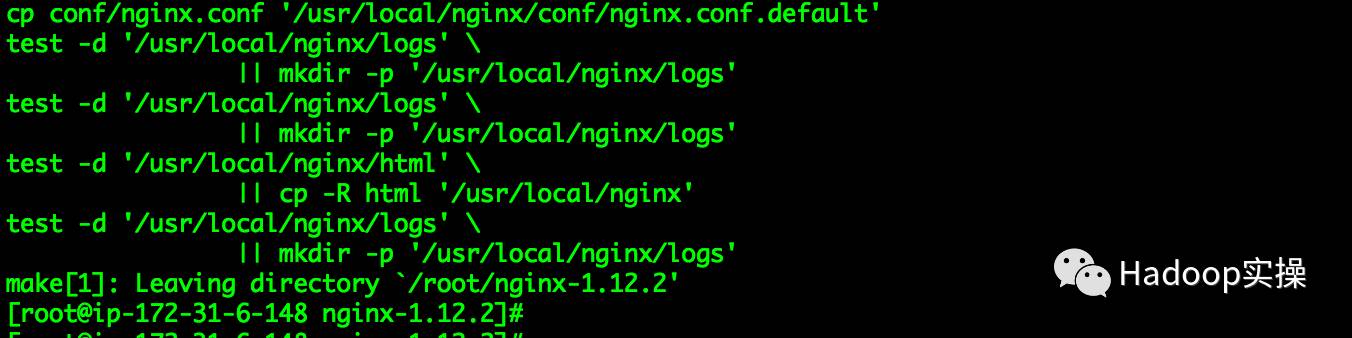
默认Nginx的安装目录为/usr/local/nginx
3.将nginx服务加如系统自启动服务,在/etc/init.d目录下创建nginx脚本,内容如下
#!/bin/sh
#chkconfig: - 85 15
#description: Http server daemon
DESC="nginx daemon"
NAME=nginx
DAEMON=/usr/local/nginx/sbin/nginx
set -e
[ -x "$DAEMON" ] || exit 0
do_start() {
$DAEMON || echo -n "nginx is already running";
}
do_stop() {
$DAEMON -s stop || echo -n "nginx stop failed"
}
do_reload() {
$DAEMON -s reload || echo -n "nginx reload failed"
}
case "$1" in
start)
do_start
;;
stop)
do_stop
;;
reload|graceful)
do_reload
;;
restart)
do_stop
sleep 2
do_start
;;
*)
echo "Usage: $SCRIPTNAME {start|stop|reload|restart}" >&2
exit 3
;;
esac
exit 0

注意:上图标注部分为Nginx的home目录,根据自己安装的目录进行调整。
4.设置自启动脚本执行权限
[root@ip-172-31-6-148 ~]# chmod +x /etc/init.d/nginx
[root@ip-172-31-6-148 ~]# ll /etc/init.d/nginx
-rwxr-xr-x 1 root root 559 Nov 8 15:52 /etc/init.d/nginx
[root@ip-172-31-6-148 ~]#

5.将nginx服务加入系统自启动并设置开机启动
[root@ip-172-31-6-148 ~]# chkconfig --add nginx
[root@ip-172-31-6-148 ~]# chkconfig nginx on
6.启动与停止Nginx
[root@ip-172-31-5-190 nginx-1.12.2]# service nginx start
[root@ip-172-31-5-190 nginx-1.12.2]# netstat -an |grep 80

[root@ip-172-31-5-190 nginx-1.12.2]# service nginx stop
7.测试Nginx是否正常访问,在浏览器输入http://hostname
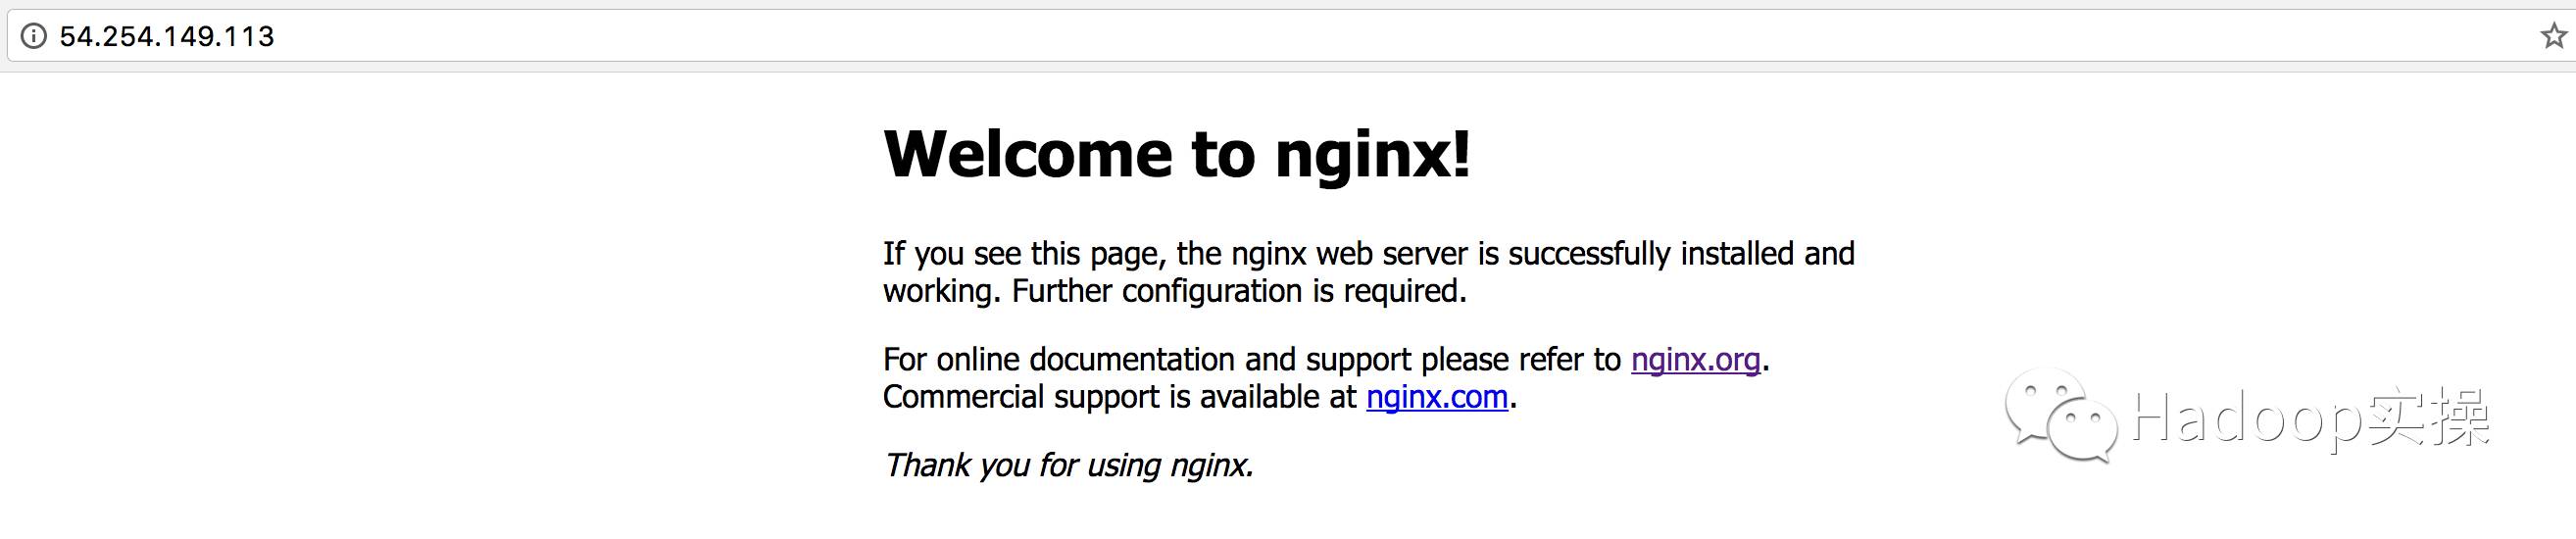
如上图显示则表示Nginx已成功安装并启动。
3.配置Impala负载均衡策略
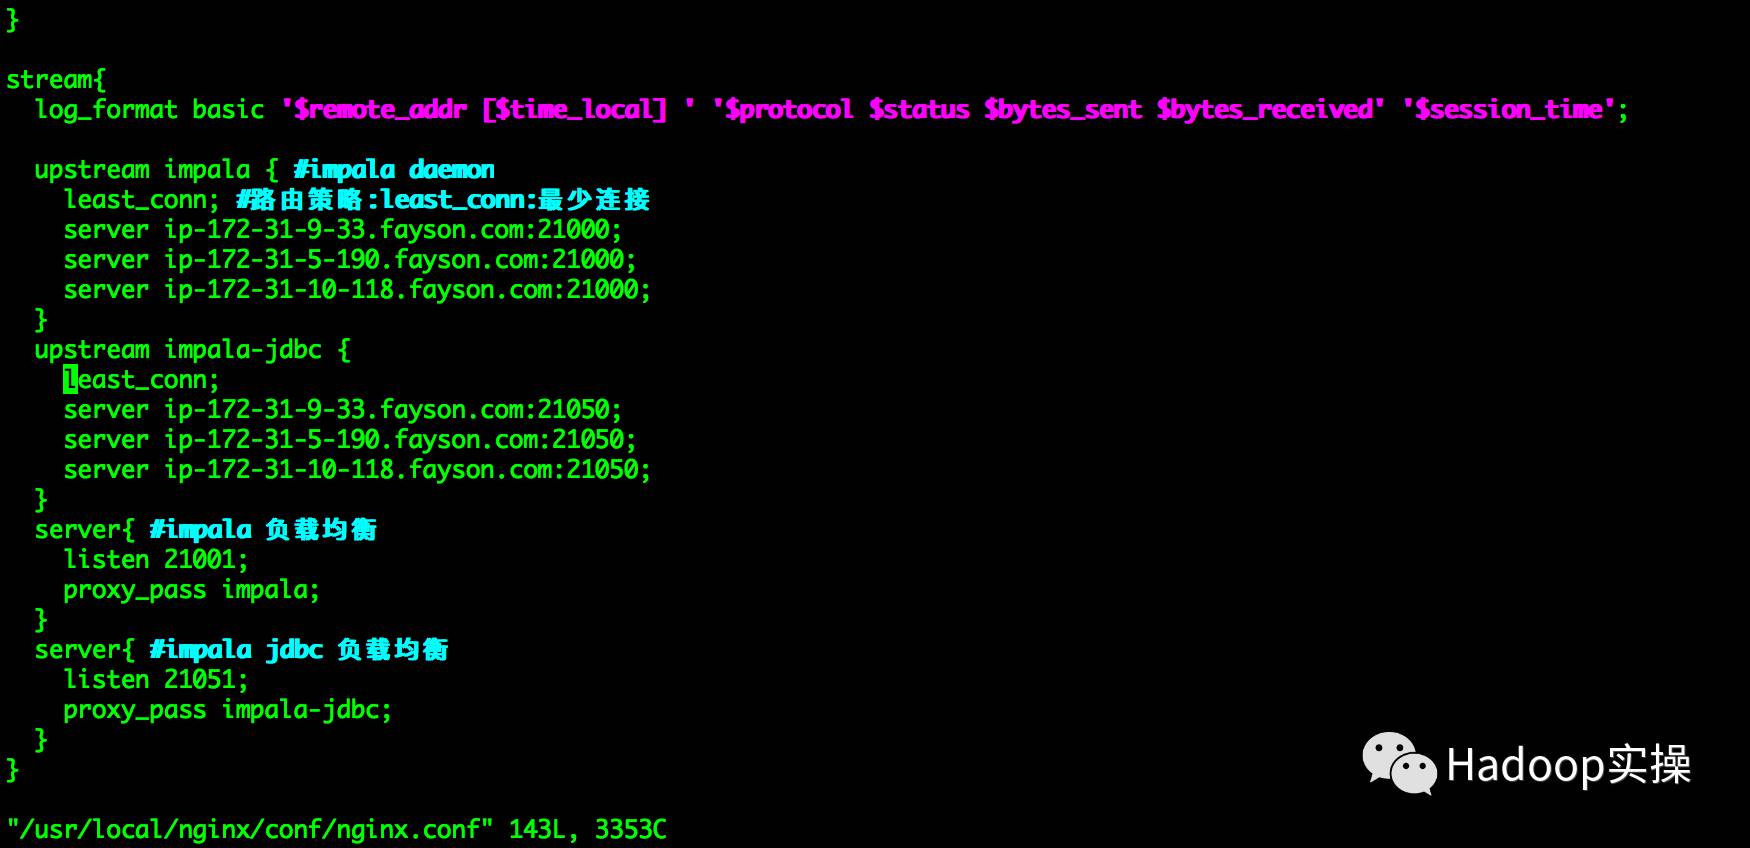
1.修改/usr/local/nginx/conf/nginx.conf文件,在文件末尾增加如下配置
stream{
 log_format basic ’$remote_addr [$time_local] ’ ’$protocol $status $bytes_sent $bytes_received’ ’$session_time’;
 upstream impala { #impala daemon
 least_conn; #路由策略:least_conn:最少连接
 server ip-172-31-9-33.fayson.com:21000;
 server ip-172-31-5-190.fayson.com:21000;
 server ip-172-31-10-118.fayson.com:21000;
 }
 upstream impala-jdbc {
 least_conn;
 server ip-172-31-9-33.fayson.com:21050;
 server ip-172-31-5-190.fayson.com:21050;
 server ip-172-31-10-118.fayson.com:21050;
 }
 server{ #impala 负载均衡
 listen 21001;
 proxy_pass impala;
 }
 server{ #impala jdbc 负载均衡
 listen 21051;
 proxy_pass impala-jdbc;
 }
}
2.重启Nginx服务
[root@ip-172-31-5-190 ~]# service nginx restart
4.测试Impala负载均衡
1.在ip-172-31-10-118.fayson.com节点使用impala-shell连接Impala
[root@ip-172-31-6-148 ~]# impala-shell -i ip-172-31-5-190.fayson.com:21001
[ip-172-31-5-190.fayson.com:21001] > select * from my_first_table;
Query submitted at: 2026-03-18T08:22:00+00:00 (Coordinator: http://ip-172-31-10-118.fayson.com:25000)
+----+------+
| id | name |
+----+------+
| 1 | john |
| 2 | tom |
| 3 | jim |
+----+------+
Fetched 3 row(s) in 1.57s
[ip-172-31-5-190.fayson.com:21001] >
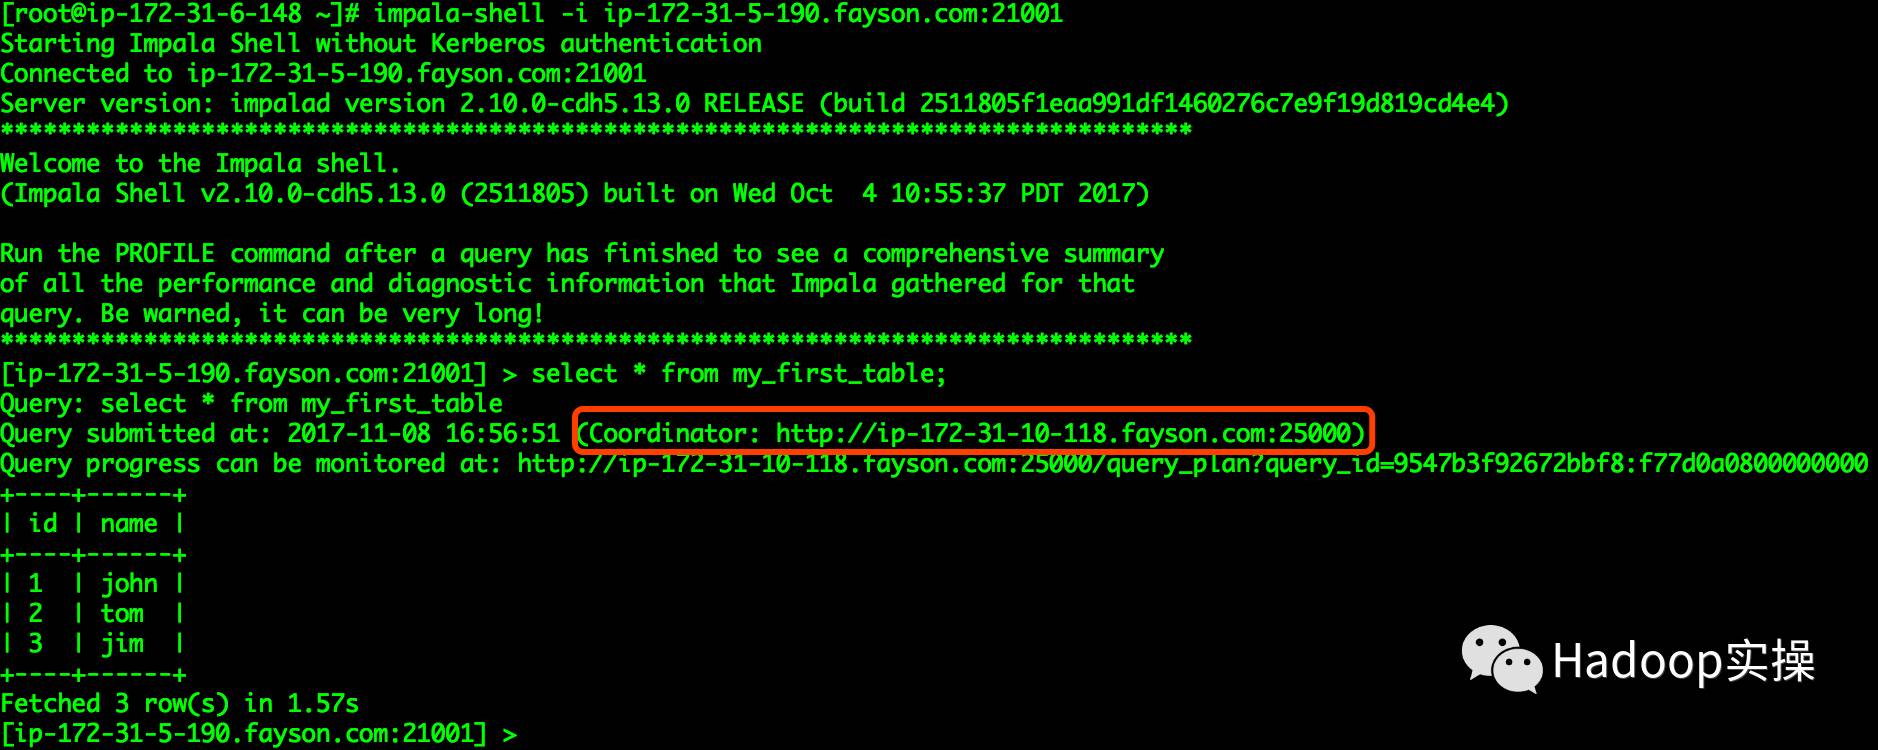
2.同时在ip-172-31-5-190.fayson.com节点使用impala-shell连接Impala
[root@ip-172-31-5-190 nginx-1.12.2]# impala-shell -i ip-172-31-5-190.fayson.com:21001
...
[ip-172-31-5-190.fayson.com:21001] > select * from my_first_table;
Query: select * from my_first_table
Query submitted at: 2026-03-18T08:22:00+00:00 (Coordinator: http://ip-172-31-5-190.fayson.com:25000)
+----+------+
| id | name |
+----+------+
| 2 | tom |
| 3 | jim |
| 1 | john |
+----+------+
Fetched 3 row(s) in 1.40s
[ip-172-31-5-190.fayson.com:21001] >

通过上述两个终端测试可以看到执行sql操作时,连接的不为同一个Impala Daemon
5.Impala JDBC连接测试
1.创建测试工程impalajdbc

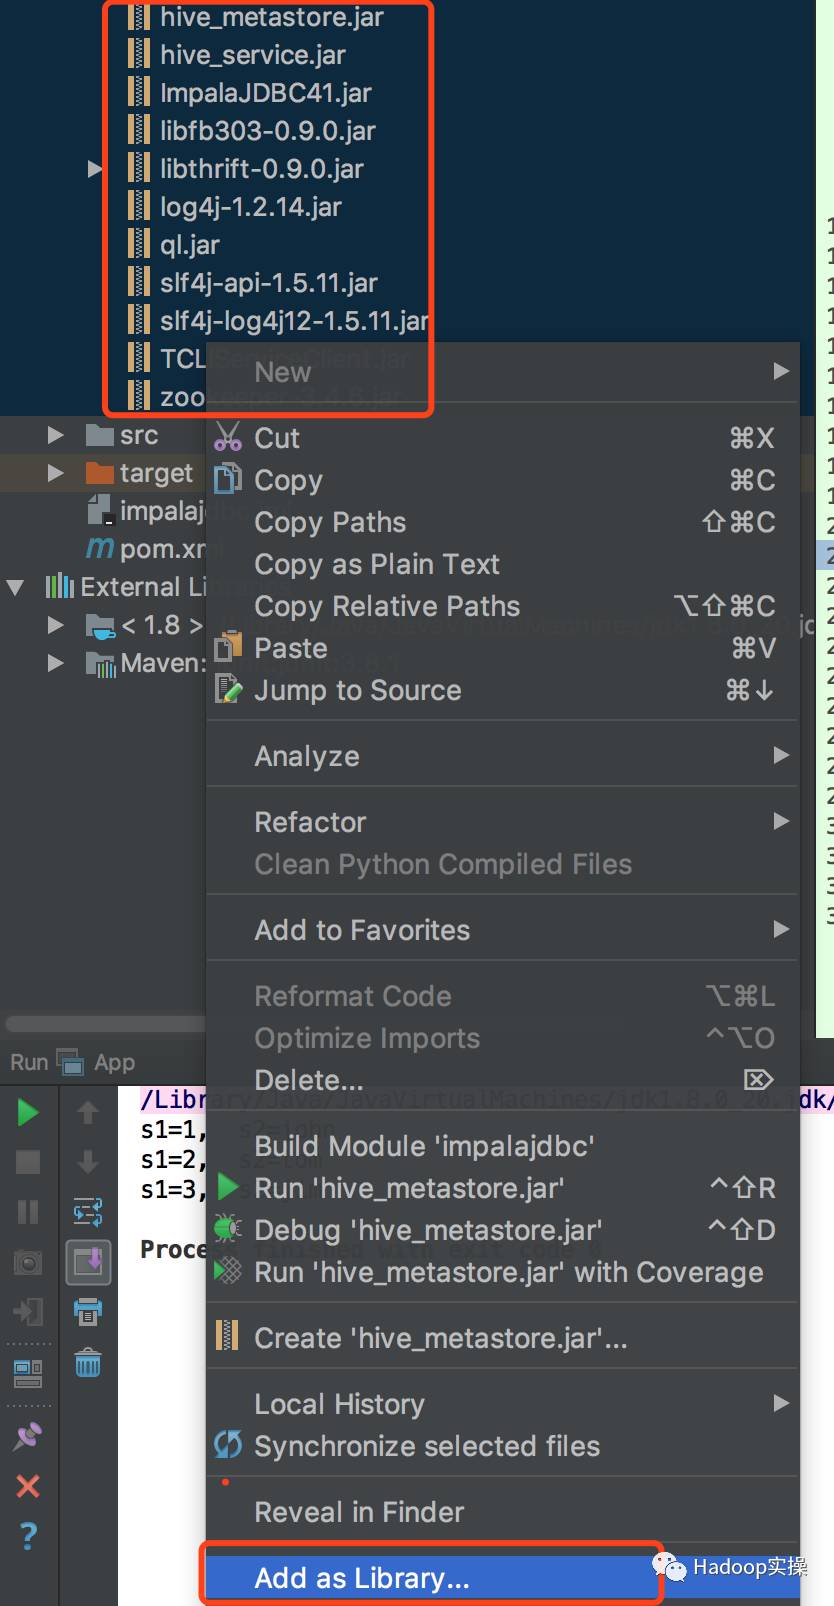
2.将Impala JDBC驱动包加入工程的lib目录下
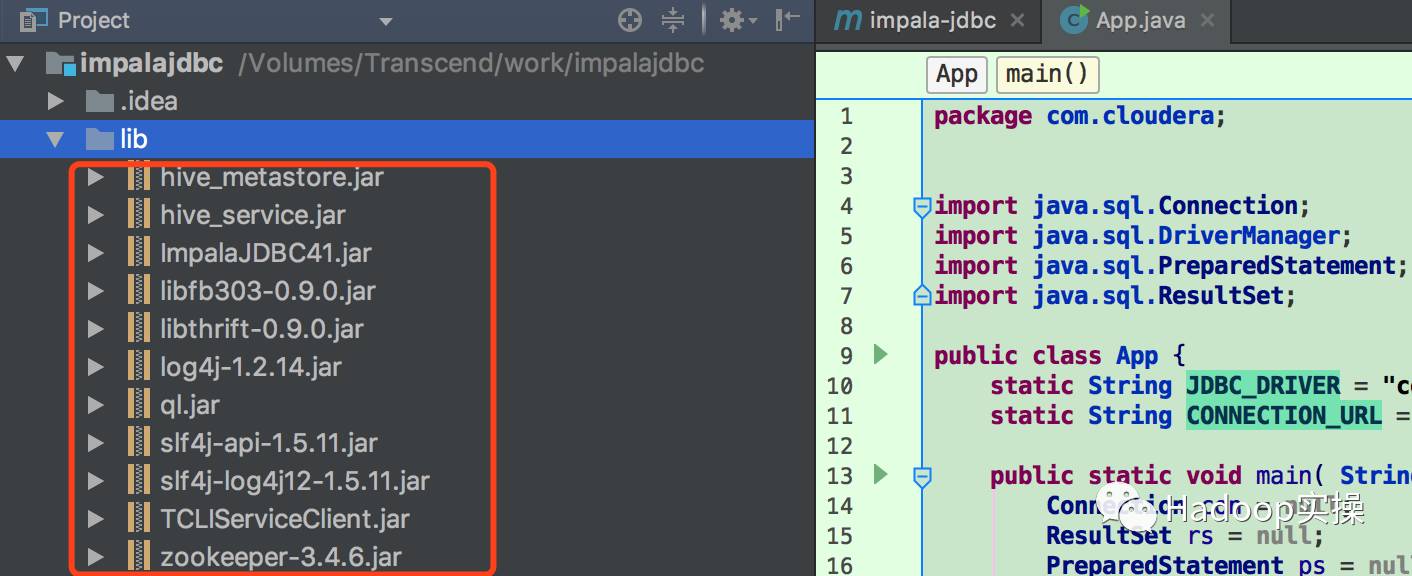
将jar包加入环境classpath
3.编写测试示例代码
package com.cloudera;
import java.sql.Connection;
import java.sql.DriverManager;
import java.sql.PreparedStatement;
import java.sql.ResultSet;
public class App {
 static String JDBC_DRIVER = "com.cloudera.impala.jdbc41.Driver";
 static String CONNECTION_URL = "jdbc:impala://54.254.149.113:21051";
 public static void main( String[] args ) {
 Connection con = null;
 ResultSet rs = null;
 PreparedStatement ps = null;
 try {
 Class.forName(JDBC_DRIVER);
 con = DriverManager.getConnection(CONNECTION_URL);
 //ps = con.prepareStatement("show tables;");
 ps = con.prepareStatement("select * from my_first_table;");
 rs = ps*ex.e**cuteQuery();
 while (rs.next()) {
 System.out.println("s1="+rs.getString(1) + ", s2="+rs.getString(2));
 }
 } catch (Exception e) {
 e.printStackTrace();
 } finally {
 //关闭 rs、ps 和 con
 }
 }
}
4.运行代码测试

6.常见问题
1.Nginx编译时报错./configure:error: C compiler cc is not found
[root@ip-172-31-6-148 nginx-1.12.2]# ./configure
checking for OS
 + Linux 2.6.32-431.el6.x86_64 x86_64
checking for C compiler ... not found
./configure: error: C compiler cc is not found
[root@ip-172-31-6-148 nginx-1.12.2]#
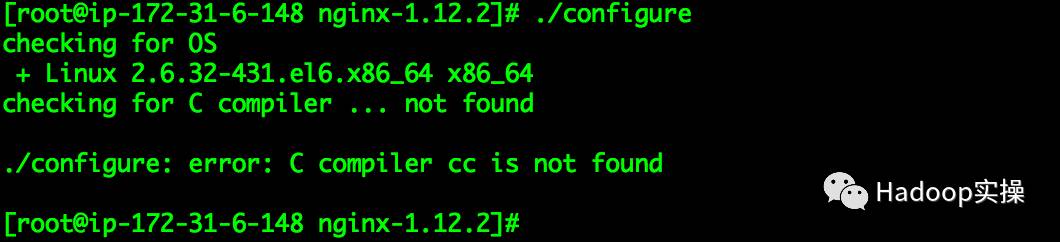
解决方法:
yum -y install gcc gcc-c++
2.Nginx编译报错./configure:error: the HTTP rewrite module requires the PCRE library
./configure: error: the HTTP rewrite module requires the PCRE library.
You can either disable the module by using --without-http_rewrite_module
option, or install the PCRE library into the system, or build the PCRE library
statically from the source with nginx by using --with-pcre=option.
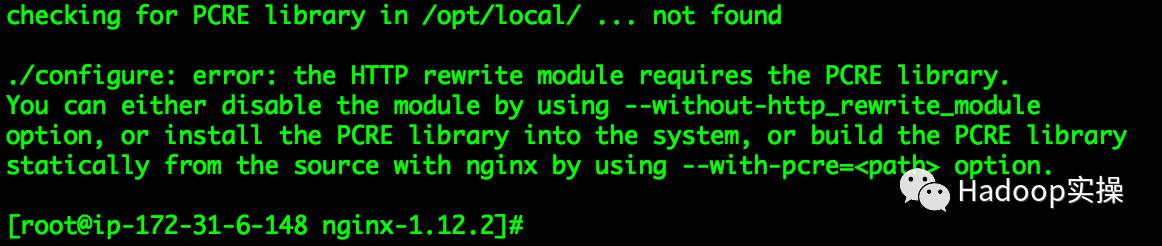
解决方法:
yum -y install pcre-devel
为天地立心,为生民立命,为往圣继绝学,为万世开太平。
温馨提示:要看高清*码无**套图,请使用手机打开并单击图片放大查看。
您可能还想看
安装
CENTOS6.5安装CDH5.12.1(一)
CENTOS6.5安装CDH5.12.1(二)
CENTOS7.2安装CDH5.10和Kudu1.2(一)
CENTOS7.2安装CDH5.10和Kudu1.2(二)
如何在CDH中安装Kudu&Spark2&Kafka
如何升级Cloudera Manager和CDH
如何卸载CDH(附一键卸载github源码)
如何迁移Cloudera Manager节点
如何在Windows Server2008搭建DNS服务并配置泛域名解析
安全
如何在CDH集群启用Kerberos
如何在Hue中使用Sentry
如何在CDH启用Kerberos的情况下安装及使用Sentry(一)
如何在CDH启用Kerberos的情况下安装及使用Sentry(二)
如何在CDH未启用认证的情况下安装及使用Sentry
如何使用Sentry管理Hive外部表权限
如何使用Sentry管理Hive外部表(补充)
如何在Kerberos与非Kerberos的CDH集群BDR不可用时复制数据
Windows Kerberos客户端配置并访问CDH
数据科学
如何在CDSW中使用R绘制直方图
如何使用Python Impyla客户端连接Hive和Impala
如何在CDH集群安装Anaconda&搭建Python私有源
如何使用CDSW在CDH中分布式运行所有R代码
如何使用CDSW在CDH集群通过sparklyr提交R的Spark作业
如何使用R连接Hive与Impala
如何在Redhat中安装R的包及搭建R的私有源
如何在Redhat中配置R环境
什么是sparklyr
其他
CDH网络要求(Lenovo参考架构)
大数据售前的中年危机
如何实现CDH元数据库MySQL的主备
如何在CDH中使用HPLSQL实现存储过程
如何在Hive&Impala中使用UDF
Hive多分隔符支持示例
推荐关注Hadoop实操,第一时间,分享更多Hadoop干货,欢迎转发和分享。

原创文章,欢迎转载,转载请注明:转载自微信公众号Hadoop实操